Creamy Autumn Mac and Cheese Recipe
There’s something about the smell of warm zucchini bread drifting through the house that just brings back all the cozy vibes of my childhood. I remember my mom baking it on rainy Saturdays, the kitchen filling with that sweet, chocolatey aroma mingled with the faint earthiness of fresh zucchini. This swirled chocolate zucchini bread isn’t your ordinary loaf — it’s got that lovely marbled effect that’s as much fun to look at as it is to eat. My kids actually ask me to make it for their lunchboxes every week, and honestly, it disappears in minutes whenever I serve it. If you’ve ever loved a classic zucchini bread but wished it had a little more oomph or needed something a little quicker than your usual cake, this recipe is a total game-changer. It’s the perfect blend of moist, rich chocolate and fresh green goodness — a slice feels like a warm hug, trust me on this one.
What is Swirled Chocolate Zucchini Bread?
Think of swirled chocolate zucchini bread as a joyful marriage between traditional zucchini bread and a decadent chocolate loaf, but with a swirl that makes every bite a surprise. It’s essentially a moist zucchini bread base, not too sweet and wonderfully spongy, combined with a chocolate batter that’s folded or swirled in to create beautiful marbling. The “swirl” part comes from gently folding the chocolate batter into the zucchini bread batter so that it creates those gorgeous, almost artistic patterns. At its heart, zucchini bread is a quick bread that uses shredded zucchini to keep the loaf tender and add a subtle vegetable punch. Giving it a chocolaty twist keeps it exciting, especially if regular zucchini bread feels too tame for your tastes. Plus, it’s a nice way to sneak some veggies into dessert (or breakfast!). It’s huge in many homes because it’s approachable yet a little fancy looking when sliced, which totally impresses guests and kids alike.
Why you’ll love this recipe?
What I love most about this swirled chocolate zucchini bread is that it hits all the right notes without making you break a sweat in the kitchen. First off, the flavor is just delightful — the zucchini adds this subtle earthiness and moisture that keeps the bread from ever feeling dry, while the chocolate swirl brings a rich, comforting depth that feels like an indulgence without going overboard. It’s like a cozy hug wrapped in a loaf.
And the best part? It’s super simple. I love recipes that come together in one bowl with minimal fuss, and this one is exactly that. No fancy equipment or special ingredients required — just things you likely already have in your pantry and fridge. That cost-efficiency makes it ideal for busy weeks when I want to bake something homemade but don’t want to spend a fortune.
Versatility is another bonus. We eat this for breakfast, snack time, and even as a casual dessert with a scoop of vanilla ice cream. I’ve even swapped the glaze for a dusting of powdered sugar when I’m in a rush, and it still feels special. It’s also adaptable; you can switch up the type of chocolate or even add nuts or dried fruit for some texture. If you’ve enjoyed classics like banana bread or pumpkin bread, this recipe offers a fresh twist that keeps your flavor game interesting without being intimidating.
Honestly, I’ve lost count of how many times I’ve made this loaf, and it somehow never gets old — which says a lot in a house full of picky eaters. The smell alone brings everyone running to the kitchen.
How do you make a Zucchini bread?
Quick Overview
This recipe is basically a two-step batter situation: you make a simple zucchini bread batter, whip up a quick chocolate batter, then gently combine them with a swirl technique before popping it in the oven. Because you’re not fully mixing the two, you get those delightful marbled slices that look stunning and taste incredible. The process is straightforward enough even if you’re a baking beginner — no worries about fancy folding skills here, just a few gentle turns with a spatula. What makes this method so great is how quick it is but without sacrificing that homemade love in every bite.
Ingredients
For the Main Batter:
- 2 cups shredded zucchini (about 2 medium zucchini) – fresh and finely grated without excess water
- 1 1/2 cups all-purpose flour – sifted for light texture
- 1 teaspoon baking soda – helps that loaf rise perfectly
- 1/2 teaspoon baking powder – a little extra lift
- 1/2 teaspoon salt – balances sweetness
- 1/2 teaspoon cinnamon – optional, for cozy warmth
- 3/4 cup granulated sugar – adjust to taste, but it keeps the balance just right
- 1/2 cup vegetable or canola oil – ensures moistness without heaviness
- 2 large eggs – room temperature helps with mixing
- 1 teaspoon pure vanilla extract – for that extra flavor oomph
For the Filling:
- 1/2 cup unsweetened cocoa powder – good quality for intense chocolate flavor
- 1/4 cup sugar – adds balance to the cocoa’s bitterness
- 1/4 cup milk (dairy or plant-based) – brings it all together
- 1/4 cup melted butter or oil – adds richness
- 1 teaspoon vanilla extract – complements the chocolate
For the Glaze:
- 1 cup powdered sugar – sifted for smoothness
- 2 tablespoons milk or cream – adjust for consistency
- 1/2 teaspoon vanilla extract – optional but lovely
Step-by-Step Instructions
Step 1: Preheat & Prep Pan
Start by warming your oven to 350°F (175°C). I always line my loaf pan with parchment paper and give it a light spray of oil — it just makes the loaf slide out so much easier. If you don’t have parchment, greasing and flouring the pan works well too. Give yourself time here because a properly preheated oven and well-prepped pan are the little things that make a big difference in the final texture and appearance.
Step 2: Mix Dry Ingredients
In a large bowl, whisk together flour, baking soda, baking powder, salt, and cinnamon if using. This step might seem small, but trust me, it’s worth taking the time to mix these dry ingredients thoroughly. It helps ensure your loaf rises evenly and that the spices distribute nicely. The texture of this blend should be airy and smooth with no clumps.
Step 3: Mix Wet Ingredients
In another bowl, beat the sugar, oil, eggs, and vanilla extract until combined and glossy. This always makes me smile because the mixture turns a lovely caramel color and smells like promise. Then, stir in the shredded zucchini. This is where your loaf gets that juicy, tender crumb — the zucchini’s moisture is pure magic here.
Step 4: Combine
Pour the wet ingredients into the dry ingredients and gently fold them together with a spatula just until you don’t see any more flour. Don’t overdo it here! A few small lumps are okay. Overmixing is a common pitfall that can leave the bread denser than I like. The batter should look thick but smooth, almost like a soft cookie dough.
Step 5: Prepare Filling
For the chocolate swirl, whisk the cocoa powder, sugar, milk, melted butter, and vanilla extract in a separate bowl until smooth and glossy. This kind of simple mixture delivers a velvety chocolate swirl that you’ll want to scrape straight off the spoon — no judging, I do it too!
Step 6: Layer & Swirl
Pour about half of your zucchini batter into the prepared pan. Dollop half of the chocolate batter over it in spoonfuls. Then, add the remaining zucchini batter on top, followed by the rest of the chocolate dollops. Take a butter knife or skewer and gently swirl the batters together with slow, looping motions. You want to see beautiful chocolate ribbons all throughout but not fully blended in. The more gentle and patient you are here, the prettier your swirl — and that wow factor when you slice.
Step 7: Bake
Pop the loaf into the oven on the middle rack and bake for about 55-65 minutes. The exact time varies depending on your oven, so start checking around 50 minutes by inserting a toothpick in the center. It should come out with just a few crumbs attached — no wet batter. If it’s browning too fast, cover the top loosely with foil to prevent burning. I learned this little trick after a few burned edges from past attempts!
Step 8: Cool & Glaze
Once baked, allow the bread to cool in the pan for 15 minutes, then transfer to a wire rack. Cool completely — don’t rush, as the glaze melts best when the bread is cool but not fridge cold. Mix your powdered sugar, milk, and vanilla to a slightly thick but pourable glaze. Drizzle over the loaf and let it set. This glaze adds just the right touch of sweetness and makes each slice feel like a treat.
Step 9: Slice & Serve
When slicing, use a serrated knife and cut gently to preserve the marbled pattern. I like serving this slightly warm with a cup of coffee or cold milk, but it’s equally good at room temperature. A little scoop of vanilla ice cream or a pat of butter is a nice touch for extra indulgence. Presentation-wise, a neat diagonal slice showcases those swirls perfectly.
What to Serve It With
For Breakfast: I love pairing this loaf with a strong cup of black coffee or a lightly frothed latte. The bread’s chocolate notes and moist texture stand up well to coffee’s bitterness, and it’s perfect for a slow morning when you have time to savor every bite.
For Brunch: Dress it up by serving the sliced loaf alongside fresh fruit like berries and a dollop of yogurt or whipped cream. A sparkling mimosa or passionfruit iced tea really brightens the table. It looks lovely on a wooden serving board, maybe garnished with mint for a pop of color.
As Dessert: When serving this as dessert, I like to warm a slice slightly and add a scoop of vanilla or caramel ice cream, with a drizzle of warm chocolate sauce for serious chocolate lovers. Some toasted nuts sprinkled on top bring a great crunch.
For Cozy Snacks: This loaf shines as an afternoon pick-me-up with a mug of hot cocoa or chai tea. My family’s favorite is to enjoy it wrapped in a soft blanket on chilly days, just soaking in the warmth and scent of home baked love.
One of my personal traditions is to bake this for casual weekend gatherings — it’s never a disappointment and always gets devoured so quickly. The mix of chocolate and zucchini feels indulgent yet wholesome, and people keep asking for the recipe.
Top Tips for Perfecting Your Swirled Chocolate Zucchini Bread
Zucchini Prep: Fresh zucchini works best, but it’s key to squeeze out any excess moisture after grating—otherwise, your loaf can turn out soggy. I wrap it in a clean kitchen towel and give it a good press. For texture, using medium or fine grating works well; too coarse can create pockets of watery bits.
Mixing Advice: Be gentle when combining the wet and dry ingredients. Overmixing develops gluten, which makes the bread dense and less tender. Fold until just combined — think soft lumps still visible but no big clumps of flour.
Swirl Customization: For a dramatic look, don’t rush your swirling. A few slow 8-shapes or circular motions with a knife create the prettiest marble pattern. If you prefer more chocolate ribbons, add a bit more of the chocolate batter but watch not to overblend.
Ingredient Swaps: I’ve swapped all-purpose flour for half whole wheat with great success — the loaf gains a lovely nutty taste and heartier crumb. For dairy-free, almond or oat milk works wonderfully in the chocolate mixture, and coconut oil can replace butter for a subtle coconut hint. Just keep the ratios the same.
Baking Tips: Oven temps can fluctuate, so I use an oven thermometer to be sure. If your loaf’s top browns too quickly, tent with foil after 40 minutes to avoid burning. Make sure your loaf pan is the right size — too small and the batter overflows; too big and it flattens out.
Glaze Variations: You can add a teaspoon of espresso powder to the glaze for a mocha hint, or swap vanilla for orange zest for a citrusy zing. If you want a thinner glaze, simply add more milk or cream, but be careful not to make it too runny or it won’t set nicely.
One lesson I learned the hard way: patience really matters, especially during the cooling phase. The bread gels up better if you let it cool fully before glazing. Rushing to glaze warm bread causes the icing to melt into a sticky mess. Waiting is worth it for that perfect finish.
Storing and Reheating Tips
Room Temperature: Keep the zucchini bread covered at room temperature for up to 2 days. I usually wrap it tightly in plastic wrap or store it in an airtight container to keep it moist. It’s amazing how fresh it stays, but if your kitchen’s warm, I’d recommend refrigerating.
Refrigerator Storage: This loaf stores beautifully in the fridge for up to 5 days. Wrap it well in plastic wrap or place in an airtight container to prevent drying out or absorbing fridge smells. Bring slices to room temp or warm gently before serving — I find a quick 10-second zap in the microwave turns it back to perfection.
Freezer Instructions: You can freeze this bread for up to 3 months. Slice it first for easy portioning, then wrap individual slices in plastic wrap and place in a freezer bag. When you’re ready, thaw slices overnight in the fridge or warm them gently in a toaster oven.
Glaze Timing Advice: For storage, I usually add the glaze right before serving. If you want to store glazed bread, put it in the fridge uncovered briefly to let the glaze set completely before wrapping it to avoid smudging or sticking.
One thing I’ve noticed is that freezing glazed bread can sometimes cause the glaze to crack or discolor slightly, so for long-term storage, it’s best to glaze fresh.
Frequently Asked Questions
Final Thoughts
If you’ve come this far, I hope you’re as excited to try this swirled chocolate zucchini bread as I am to share it. It’s one of those recipes that feels both special and everyday, the kind that makes your kitchen smell like love and your family ask for seconds without hesitation. I can’t tell you how many times I’ve brought this loaf to potlucks or made it for Sunday mornings — it always brings smiles and sticky fingers. Whether you’re new to zucchini bread or looking to shake things up a bit, this recipe offers a perfect little adventure in baking that’s both approachable and rewarding. Give it a whirl, and don’t forget to leave me a comment or share how you customized your swirl — I’d love to hear all about it. Happy baking, and enjoy every gooey, chocolaty, veggie-filled bite!
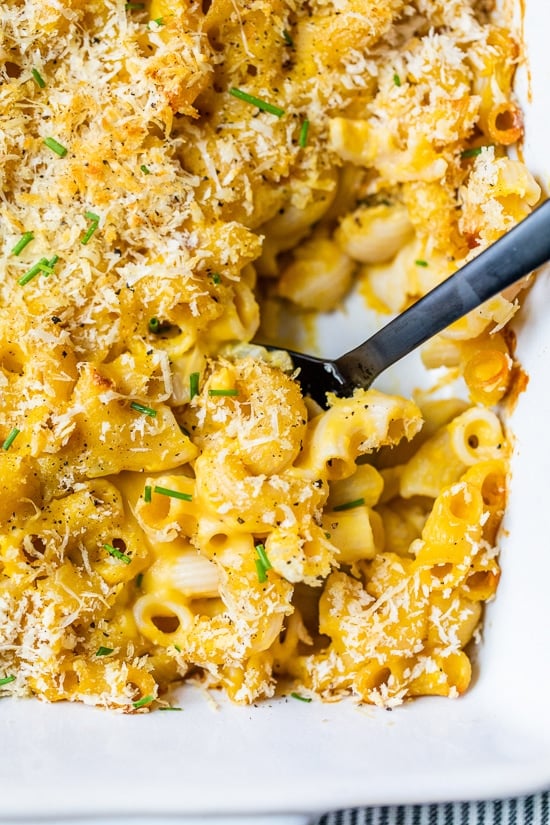
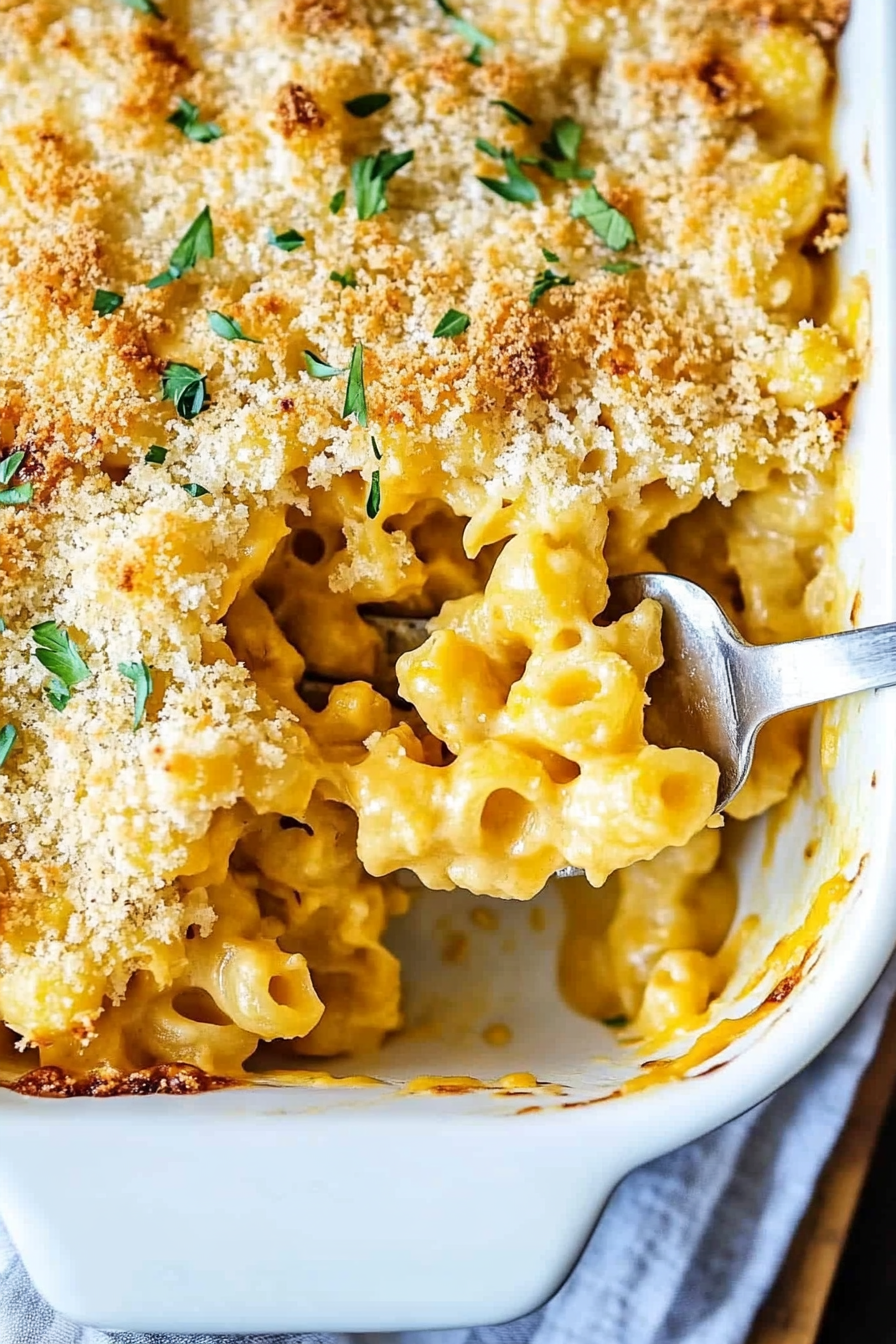
butternut squash mac and cheese
Ingredients
Method
- Preheat oven to 375 degrees F. Spray a 9” x 11” glass baking dish with olive oil spray and set aside.
- Bring a large pot of salted water to boil. Add cubed butternut squash and cook until tender, about 5-6 minutes.
- When squash is fork tender, transfer it with a slotted spoon to a blender.
- Add elbow pasta to the boiling water and cook according to package directions until al dente. Drain and return pasta to the pot.
- To the blender with the squash, add 0.5 cup vegetable broth, onion powder, garlic powder, 1 teaspoon kosher salt, and black pepper to taste. Blend until smooth and creamy.
- In a small bowl, combine panko breadcrumbs, Parmesan cheese, 0.25 teaspoon kosher salt, and black pepper. Set aside.
- Melt unsalted butter in a medium saucepan over medium heat. Add minced shallot and sauté for 2 minutes. Sprinkle flour over shallots and cook for another minute.
- Add remaining 1 cup vegetable broth and skim milk to the saucepan, whisk to combine. Bring to a boil, then reduce heat to medium-low and cook for 5 minutes, whisking frequently.
- Remove the saucepan from heat and whisk in shredded Gruyere cheese, shredded cheddar cheese, pureed squash mixture, 1.5 teaspoons kosher salt, and black pepper.
- Pour the cheese sauce over the cooked pasta and gently mix to combine. Transfer the mixture to the prepared baking dish.
- Sprinkle breadcrumb mixture evenly over the top. Bake for 25 minutes. Switch oven to high broil and broil for 2-3 minutes until breadcrumbs start to brown.
- Garnish with chopped chives if desired. Serve warm and enjoy your healthy butternut squash mac and cheese!