Easy Rice Soup Recipe for a Cozy Meal
I remember the first time I baked zucchini bread. It was years ago, in a tiny apartment kitchen with a squeaky oven that never quite heated evenly. My garden was bursting with zucchinis—big, green, and practically begging to be used up—and I was looking for something just a little different than my usual banana bread. That first slice was a revelation—the texture was so moist, almost cake-like, with a lovely hint of sweetness that made it disappear from the plate in minutes. Now, this zucchini bread has become a family staple. My kids ask for it all the time, especially when I’ve got zucchinis coming out of my ears. Honestly, what I love most about this recipe is how it’s so forgiving and versatile. You can toss in nuts, chocolate chips, or even switch up the glaze. And trust me, it’s a lifesaver on busy nights when I need something homemade but quick. I’ve tested it with almond milk and a little coconut oil, and it actually made it even creamier—so don’t shy away from experimenting!
What is Zucchini bread?
Think of zucchini bread as the cozy cousin of your classic banana bread—moist, tender, and with a subtle vegetable twist that keeps it surprisingly light and not at all “healthy-looking.” It’s essentially a sweet, spice-infused loaf where shredded zucchini melts right into the batter, keeping everything super moist and adding a little bit of a veggie secret. The name comes from the main ingredient, zucchini, which provides moisture without the need for loads of butter or oil. It’s been a favorite in my family since my grandma first handed me her recipe—back then, it was a way to sneak vegetables into the kids’ afternoon snack. Over the years, I’ve tweaked her recipe here and there, adding a touch of vanilla and a sprinkle of cinnamon, and now I swear it’s one of the best quick bread recipes around. Think of it as a warm hug in every slice, perfect for breakfast, a snack, or even a late-night treat.
Why you’ll love this recipe?
What I love most about this zucchini bread is how it hits all the right notes—flavorful, moist, and just the right amount of sweet. The aroma alone when it’s baking is enough to make your whole house smell like a cozy bakery. Plus, it’s so easy to whip up—I always do this when I need something quick and homemade, especially when I’ve got overgrown zucchinis from the garden. It’s budget-friendly, too; you probably already have most of the ingredients in your pantry. And the best part? It’s totally versatile. My kids love it with a drizzle of glaze, but I’ve also served it toasted with cream cheese spread. You can add nuts or chocolate chips for extra richness, or keep it simple for breakfast. I’ve even tested it with maple syrup instead of sugar, and trust me, it’s just as good. This one’s a true comfort food, and I promise you’ll find yourself coming back to it again and again.
How do I make Zucchini Bread?
Quick Overview
This zucchini bread comes together in a breeze. You start by shredding your zucchinis, squeezing out excess moisture, then whisking up a simple batter with butter, sugar, eggs, and flour. Mix in spices and vanilla, then fold in your grated zucchini. Pour half the batter into your loaf pan, add a layer of sweet cinnamon-sugar filling, swirl, then top with the remaining batter. Bake until golden and a skewer inserted in the center comes out clean. While it’s cooling, whip up a quick glaze if you’re feeling fancy. It’s foolproof and makes your house smell like heaven—perfect for family brunch or a quick afternoon snack.
Ingredients
For the Main Batter:
- 2 cups grated zucchini (about 2–3 medium zucchinis)
- 1/2 cup unsalted butter, melted (or coconut oil for dairy-free)
- 1 cup granulated sugar (or coconut sugar for a healthier spin)
- 2 large eggs
- 1 teaspoon vanilla extract
- 1 1/2 cups all-purpose flour (or gluten-free blend)
- 1 teaspoon baking soda
- 1 teaspoon ground cinnamon
- 1/2 teaspoon baking powder
- 1/4 teaspoon salt
For the Filling:
- 3 tablespoons brown sugar or coconut sugar
- 1 teaspoon cinnamon
For the Glaze:
- 1 cup powdered sugar
- 2–3 tablespoons milk (dairy or plant-based)
- 1/2 teaspoon vanilla (optional)
Step-by-Step Instructions
Step 1: Preheat & Prep Pan
Set your oven to 350°F (175°C) and line a standard loaf pan with parchment paper or lightly grease it. Preheating is crucial for even baking. I always do this early so everything’s ready when I start mixing—trust me, nothing worse than rushing in last minute!
Step 2: Mix Dry Ingredients
In a bowl, whisk together flour, baking soda, cinnamon, baking powder, and salt. This ensures everything gets evenly distributed—no clumps, no surprises. I like to do this step first so it’s ready for the wet mixture later.
Step 3: Mix Wet Ingredients
In a large bowl, combine melted butter and sugar. Whisk until smooth, then add eggs one at a time, mixing well after each addition. Stir in vanilla. The mixture should become creamy and light—this step is what gives the bread its tender crumb.
Step 4: Combine
Gradually add the dry ingredients into the wet, folding gently with a spatula. Don’t overmix—just until everything is moistened. Overmixing can make your bread dense, and that’s not what we want here.
Step 5: Prepare Filling
Mix together the 3 tablespoons of sugar with cinnamon. Set aside. This will be layered and swirled into the batter for that sweet cinnamon surprise inside.
Step 6: Layer & Swirl
Pour half the batter into your prepared pan. Sprinkle evenly with the cinnamon-sugar mixture. Then add the rest of the batter on top, smoothing it out. Using a toothpick or skewer, swirl gently to create marbled patterns—this adds a nice visual and flavor burst.
Step 7: Bake
Pop it into your preheated oven and bake for about 50–60 minutes. Check doneness with a toothpick—if it comes out clean, it’s ready! Ovens vary, so start checking around the 50-minute mark. If the top browns too quickly, tent it loosely with foil.
Step 8: Cool & Glaze
Let it cool in the pan for about 15 minutes, then transfer to a wire rack. While still warm, drizzle the glaze over the top if you like that shiny, sweet finish. I love to keep it simple—just powdered sugar and milk—but you can add lemon zest or a splash of maple syrup for extra personality.
Step 9: Slice & Serve
Once cooled fully, slice with a serrated knife for clean cuts. Serve slightly warm or at room temperature. It’s fantastic with a cup of coffee or tea. My family loves it sliced thick and enjoyed plain, but I often add a dollop of whipped cream or a smear of butter for extra indulgence.
What to Serve It With
This zucchini bread is quite the chameleon—here’s how I usually serve it:
For Breakfast: Paired with a hot cup of coffee and a smear of butter, it makes a perfect start to the day. My kids love it with vanilla yogurt and a drizzle of honey.
For Brunch: Serve slices with fresh berries and maybe a side of scrambled eggs. It’s fancy enough to impress but simple enough to keep the relaxing vibe.
As Dessert: Toasted slightly and topped with whipped cream or ice cream—delicious! Add a splash of caramel sauce for extra decadence.
For Cozy Snacks: Cut into thick slices and enjoy with a hot cocoa or apple cider. It’s the kind of treat that soothes the soul during chilly evenings.
Over the years, I’ve found that this bread is the ultimate ‘back pocket’ recipe—you can serve it anytime, and it’s always a hit. I especially love giving it as a gift, wrapped in parchment and tied with a ribbon. It feels like a warm hug to anyone who receives it.
Top Tips for Perfecting Your Zucchini Bread
With a few tricks up your sleeve, this recipe can become irresistible every time. Here are my favorites based on experience:
Zucchini Prep: Always squeeze out excess moisture with a clean dish towel or paper towels after grating. Moisture can throw off the baking, making the bread dense or wet.
Mixing Advice: Gently fold your wet and dry ingredients. Overmixing leads to tunnels and a tough crumb—I’ve learned this the hard way after several dense loaves!
Swirl Customization: Use a toothpick to gently swirl the batter and create pretty patterns—but don’t overdo it. You want a marbled effect, not a muddy mess.
Ingredient Swaps: I’ve experimented with coconut sugar, maple syrup, and even apple sauce. The texture changes slightly, but the flavor stays divine. Just remember to adjust the baking time accordingly.
Baking Tips: Middle rack is best for even heat. Keep an eye on the loaf as it nears the end—ovens vary, and nobody wants a dry loaf. The skewer test is your best friend to check doneness.
Glaze Variations: If you want a lemon-flavored glaze, substitute lemon juice for part of the milk. Or add a teaspoon of vanilla bean paste for extra depth. The glaze should be thick enough to hold on but thin enough to drip beautifully.
From baking hundreds of loaves, I’ve found that patience and gentle handling are key. Every oven baked loaf has its personality, so get to know yours a little. Sometimes, a little extra baking time makes a huge difference in the final moistness. And remember: a cool loaf slices better, so don’t rush that step.
Storing and Reheating Tips
This bread stays delicious for several days if stored properly. Wrap it tightly in plastic wrap or store in an airtight container. At room temperature, it’ll stay fresh for about 2 days—just make sure it’s not in direct sunlight or a humid spot. If you want to keep it longer, pop slices in the fridge for up to a week. To reheat, warm slices in the microwave for about 10–15 seconds or toast gently. The flavor and texture are almost like freshly baked, and it’s perfect for a quick snack or breakfast on-the-go.
If freezing, wrap slices individually in plastic wrap, then put them in a freezer bag. They can last up to 3 months. To serve, thaw at room temperature or reheat in the microwave. I’ve found that a quick warm-up helps restore that cozy, freshly-baked feel—just be cautious not to overdo it, or the bread can dry out.
As for the glaze, I usually add it just before serving if I’ve stored the bread in the fridge. That way, it stays shiny and fresh-looking. If I freeze slices, I prefer to add a fresh drizzle after thawing.
Frequently Asked Questions
Final Thoughts
This zucchini bread is one of those recipes that’s become a favorite in my house not just because it tastes fantastic, but because it’s so forgiving and easy to tweak. Whether I’m using up garden zucchinis or just craving a cozy slice of something sweet and wholesome, it never disappoints. Over the years, I’ve shared it with friends, brought it to potlucks, and even given it as gifts—each time, it gets rave reviews. What I hope is that you give it a try and make it your own with your favorite add-ins or tweaks. Trust me, once you see how simple and satisfying it is, you’ll make it over and over. Happy baking, friends—and I can’t wait to see how your loaf turns out! Drop a comment or share your variations—I’d love to hear your stories.
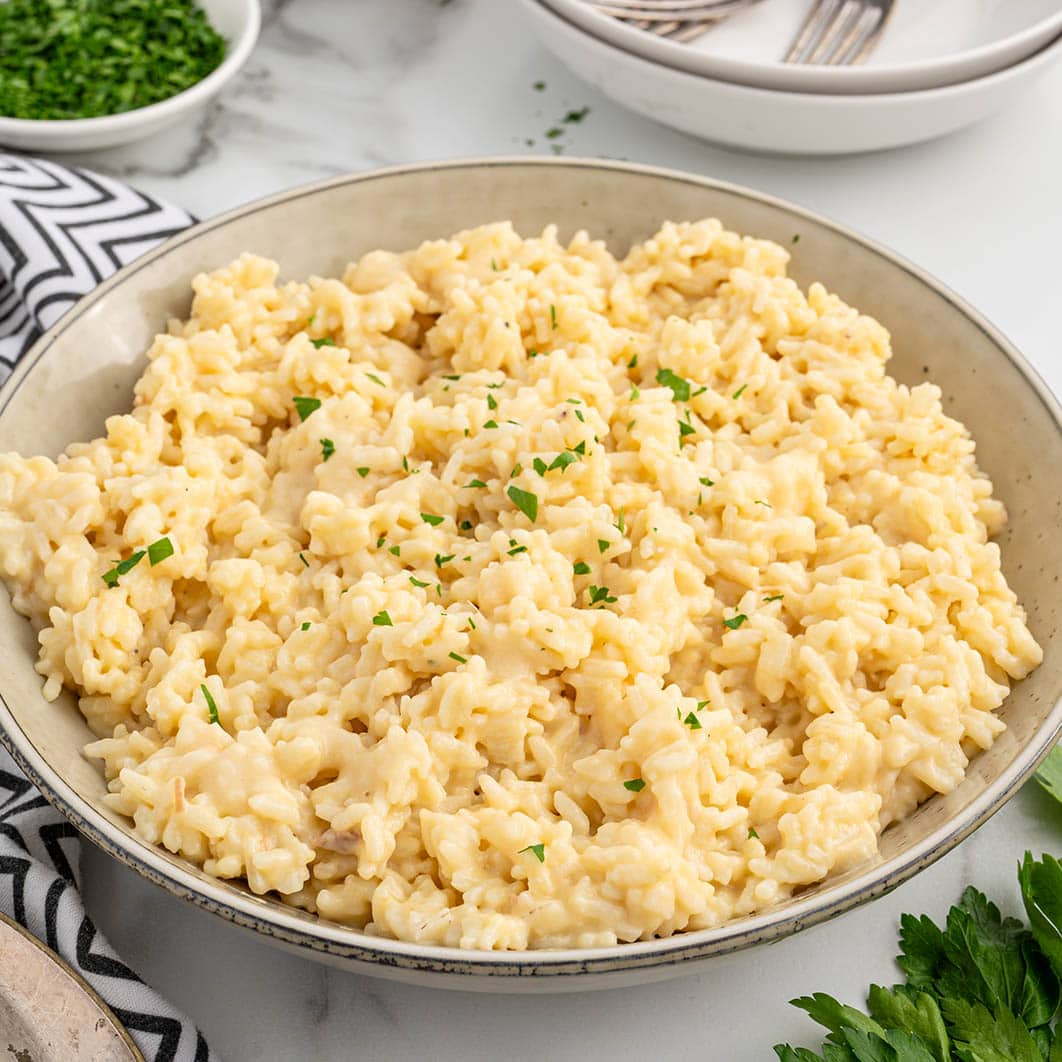
souper rice
Ingredients
Method
- To a medium (2 ½ - 3 quart) sauce pot with a tight-fitting lid, stir together the chicken broth, condensed cream of chicken soup, chicken bouillon, and black pepper. Bring to a boil over medium-high heat.
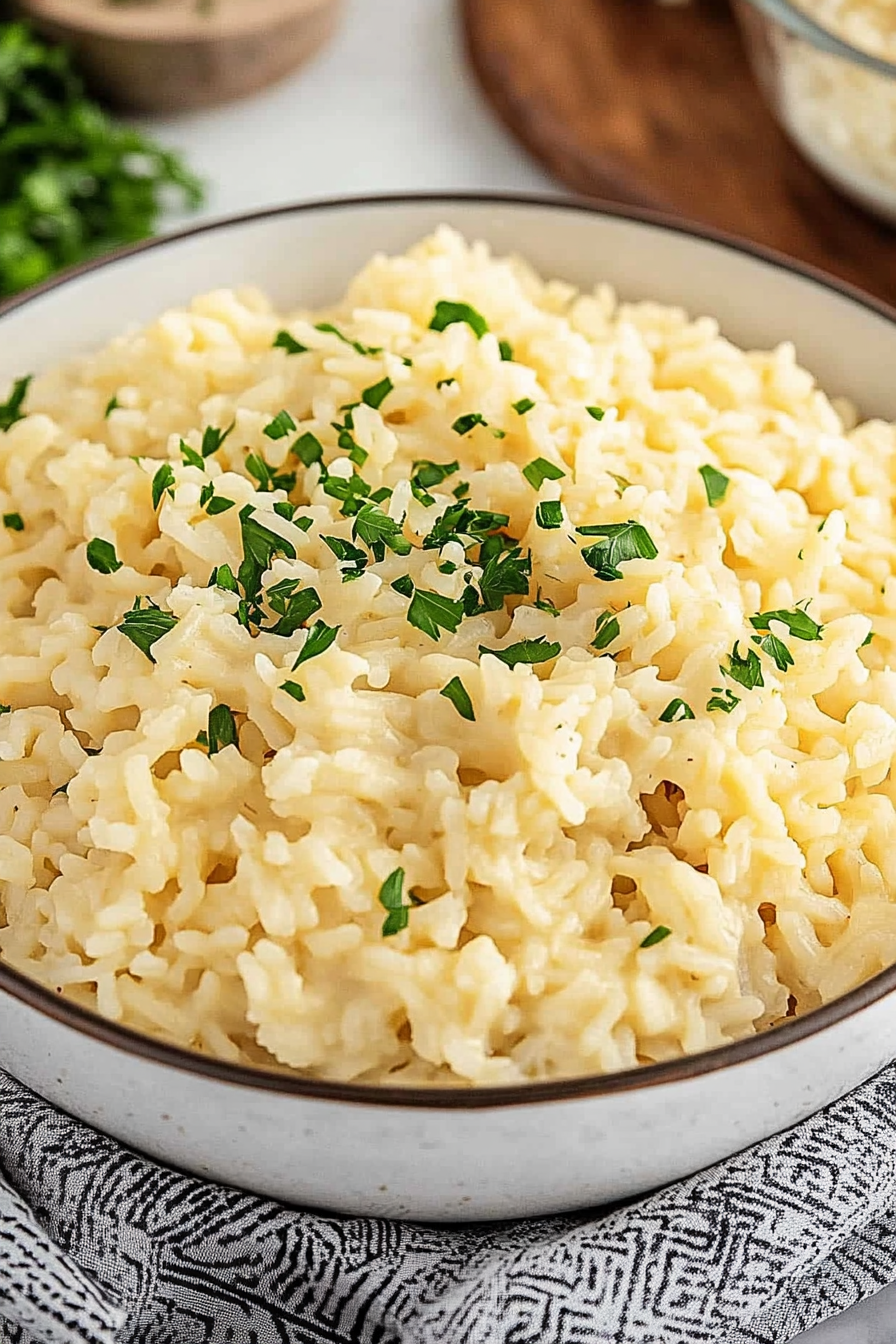
- Once the mixture comes to a boil, stir in the instant white rice and grated parmesan cheese.
- Cover the pot with a tight fitting lid and remove from the heat.
- Allow the rice to sit undisturbed for 5-8 minutes or until tender and most of the liquids are absorbed.
- Stir the rice well before transferring to a serving bowl and optionally garnish with chopped parsley.