Easy Peanut Butter Fudge Recipe
If you had told me a few years ago I’d be falling head over heels for zucchini in a dessert, I probably wouldn’t have believed you. But honestly? This is one of those recipes that sneaks in veggies without anyone noticing, and suddenly you’re all about the fresh, tender zucchini paired with just the right sweetness. I always do this when I want something a little comforting but still a bit special — it’s like a cozy hug in cake form. My kids ask for this all the time, especially when I want to sneak in a veggie or two without any fuss. The smell alone brings everyone to the kitchen — think warm cinnamon, buttery batter, and that hint of zucchini’s freshness. It’s incredible how something so simple can taste so delightful; plus, it’s quick to put together, meaning it’s a lifesaver on busy nights. Honestly, this recipe’s become a beloved family favorite, and I can’t wait to share it with you. Trust me, once you make it, it’ll be part of your regular rotation, too!
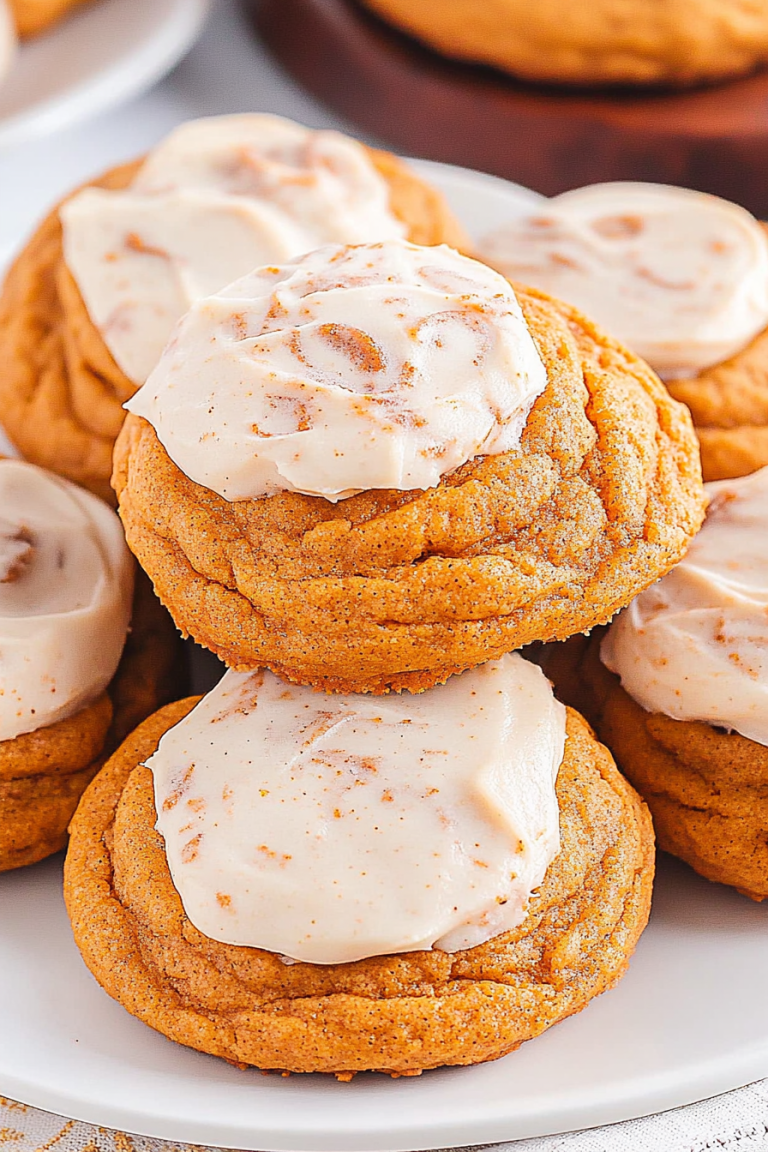
What is Zucchini cake with creamy filling and sweet glaze?
Think of these as tiny, slightly rustic cakes with a secret ingredient—zucchini—that keeps them moist and tender. They’re essentially you’ve taken classic cake batter, added shredded zucchini for that fresh, earthy flavor, and baked them into adorable little rounds. The “creamy filling” is made from whipped cream cheese and a touch of vanilla — smooth, luscious, almost like a soft cheesecake filling wrapped in a tender cake. Then there’s the sweet glaze—glossy, sugary, and perfect for drizzling over the top. The name might sound fancy, but honestly, these little cakes are quite forgiving and so fun to make. It’s like a kind of dessert you might find at a cozy bakery, but with a personal twist. They’re great for brunch, teatime, or even just a quick, satisfying treat when you’re craving something sweet but don’t want to bake a huge cake. Plus, they’re adorable enough to serve at parties or gift to friends — I’ve done both, and every time they disappear in minutes!
Why you’ll love this recipe?
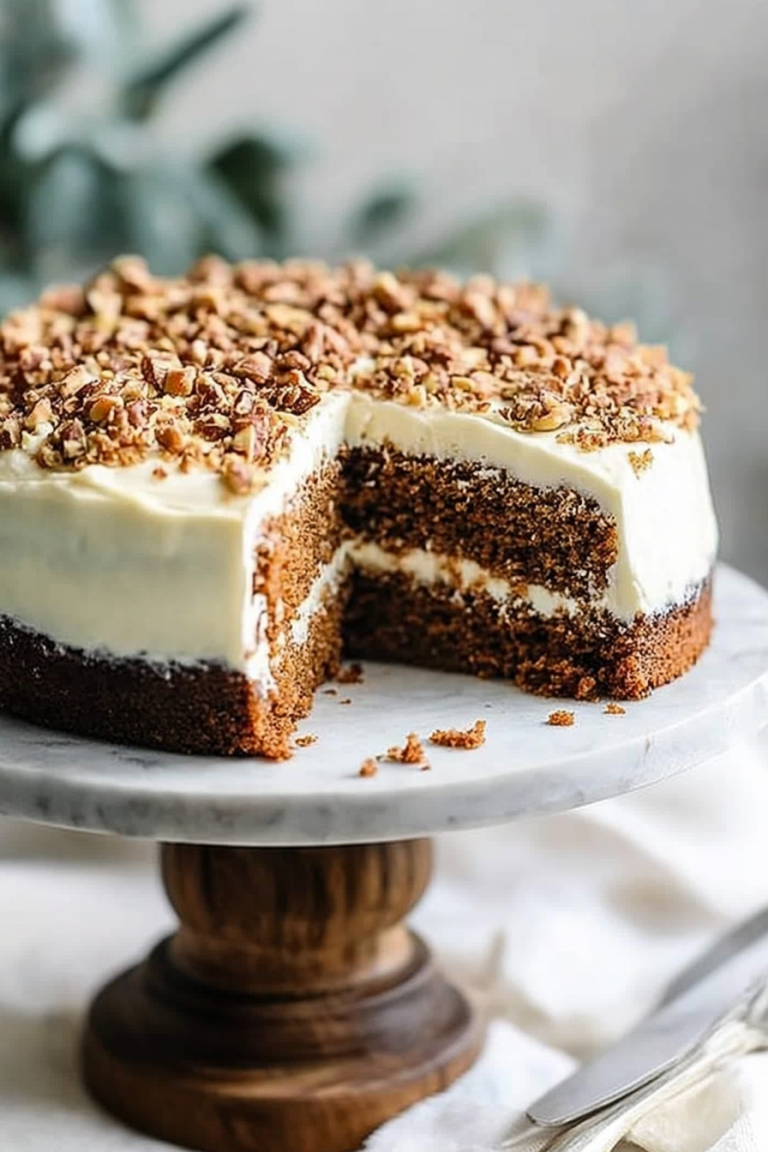
What I love most about this is how versatile and forgiving it is. The flavor is a lovely combo of subtle zucchini freshness with warm cinnamon and vanilla — totally inviting. The batter comes together in minutes with ingredients I usually already have on hand, making it perfect for those evenings when I want something homemade without extra fuss. The shredded zucchini keeps the cakes insanely moist, which means even if you overmix a little (been there!), they still turn out tender. And let’s be honest — the filling is just creamy enough to make them feel fancy, but simple enough to whip up quickly. I’ve tested this with different sweeteners, like honey or maple syrup, and it works beautifully. One thing I do usually is add a sprinkle of chopped nuts on top — optional but totally worth it. Honestly, what makes these special is that they’re impressive enough for guests but easy enough for a weeknight treat. Plus, you can customize the glaze — a drizzle of dark chocolate or a simple dusting of powdered sugar works too. It’s pure comfort, with a little gourmet flair!
How do I make Zucchini Cakes with Creamy Filling and Sweet Glaze?
Quick Overview
This recipe is all about simplicity. You start by shredding zucchini and mixing it into a fragrant batter packed with cinnamon and vanilla. Then, you pour the batter into a greased baking pan or scoop into muffin tins for individual cakes. While they bake, you whip up the creamy filling, which is basically whipped cream cheese sweetened just right. After baking and cooling, you spread or pipe the filling on top, then drizzle with a sweet glaze. It’s a layered process, but each step is straightforward, and the final product—sweet, tender, and just the right amount of fluffy—is so worth it. This makes a dozen or so little cakes, perfect for sharing or slicing up for later. Plus, you get all the comfort of a dessert that’s not overly heavy, thanks to the zucchini which keeps everything moist and flavorful.
Ingredients
For the Main Batter:
– 2 cups grated zucchini (roughly 2 medium zucchinis, shredded and drained)
– 1 1/2 cups all-purpose flour
– 1 teaspoon baking powder
– 1/2 teaspoon baking soda
– 1 teaspoon ground cinnamon
– 1/4 teaspoon salt
– 2 large eggs
– 1/2 cup granulated sugar
– 1/3 cup brown sugar (packed)
– 1/2 cup unsalted butter or oil (melted)
– 1 teaspoon vanilla extract
For the Filling:
– 8 oz cream cheese, softened
– 1/2 cup heavy cream
– 1/4 cup powdered sugar
– 1 teaspoon vanilla extract
For the Glaze:
– 1 cup powdered sugar
– 2-3 tablespoons milk or cream
– 1/2 teaspoon vanilla (optional)
– Additional toppings like chopped nuts or sprinkles (optional)
Step-by-Step Instructions
Step 1: Preheat & Prep Pan
Preheat your oven to 350°F (175°C). Grease a round cake pan or line a muffin tin with paper liners if you want individual cakes. If you use a larger pan, the baking time will be a bit longer, so keep an eye out for doneness.
Step 2: Mix Dry Ingredients
In a bowl, whisk together the flour, baking powder, baking soda, cinnamon, and salt. Set aside. This helps ensure everything is evenly distributed and prevents clumps—trust me, it makes a big difference in the texture.
Step 3: Mix Wet Ingredients
In a separate large bowl, beat the eggs with sugars until smooth and slightly frothy. Add the melted butter (or oil) and vanilla, mix well. This base is what gives the cakes their rich, moist crumb.
Step 4: Combine
Gradually add the dry mixture into the wet, folding gently just until combined — don’t overmix! Now, fold in the shredded zucchini, releasing any excess moisture by squeezing it lightly with your hands or pressing in a paper towel first. The batter should be thick but pourable.
Step 5: Prepare Filling
In a small bowl, beat the softened cream cheese with heavy cream, powdered sugar, and vanilla until you get a smooth, scoopable consistency. If you want a tangier flavor, add a squeeze of lemon juice or a sprinkle of lemon zest. Keep this chilled until ready to use.
Step 6: Layer & Swirl
Pour the batter into your prepared pan, smoothing out the top. Drop spoonfuls of the cream cheese mixture randomly over the batter, then use a knife or toothpick to gently swirl the filling into the batter—don’t overmix, just a few gentle swirls. It creates a lovely marbled effect.
Step 7: Bake
Bake for about 25-30 minutes for cupcakes or until a toothpick inserted in the center comes out clean. If using a larger pan, start checking around 35 minutes. The tops should be golden, and the edges slightly pulled away from the pan. Let them cool in the pan for 10 minutes, then transfer to a wire rack.
Step 8: Cool & Glaze
Let the cakes cool completely. While they cool, make your glaze by whisking powdered sugar with milk and vanilla until smooth. The consistency should be pourable but not runny. Once cooled, drizzle generously over the cakes — the glaze is what makes them extra pretty and adds just the right sweetness.
Step 9: Slice & Serve
If you’ve baked these in a cake pan, slice into squares or wedges. For cupcakes, just peel off the paper if used. Serve at room temperature with a cup of coffee or tea. They’re just as good the next day, especially after chilling in the fridge for a bit — the flavors settle and it becomes even more delicious.
What to Serve It With
This sweet treat is pretty versatile, so I like to serve it in different ways depending on the occasion. For breakfast or brunch, pair these little cakes with a strong, black coffee or a frothy cappuccino. The flavors are comforting enough to kickstart your morning — the cinnamon, the tender crumb, that subtle zucchini flavor. My family loves these with a dollop of Greek yogurt on the side too.
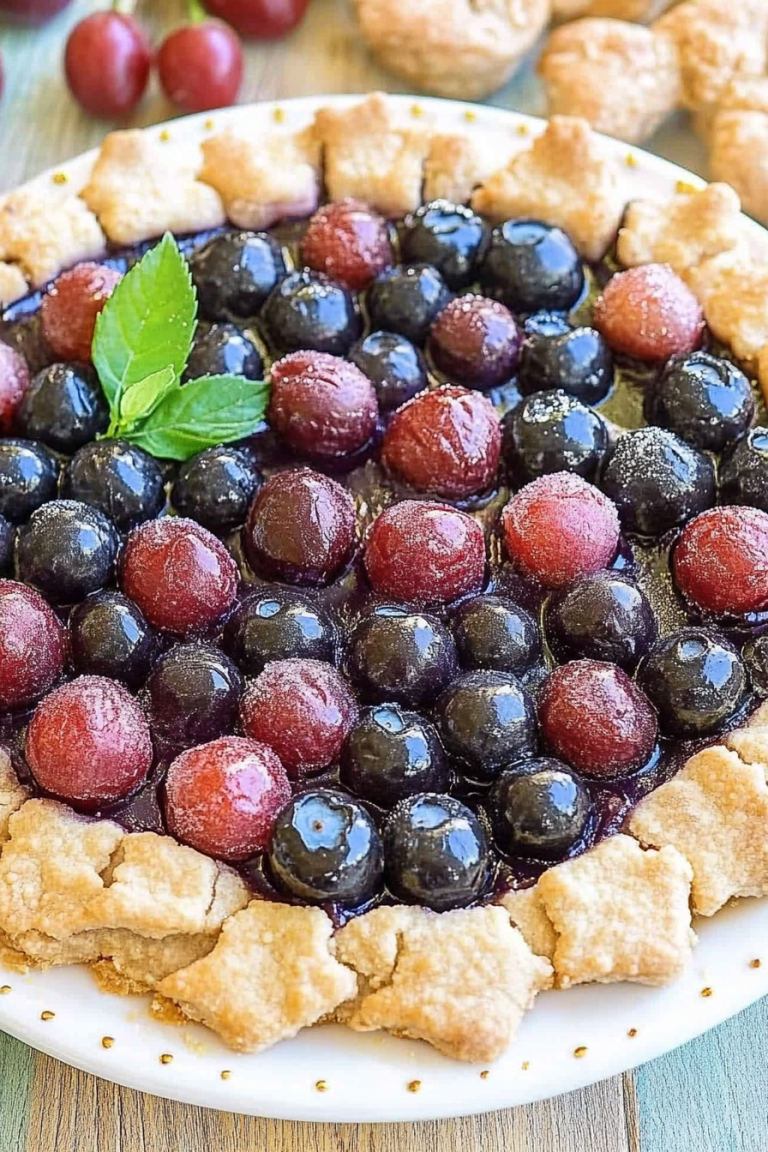
At brunch, I drape the cakes in a fancy platter with fresh berries and mint leaves—looks pretty and tastes even better. If you want to serve these as a dessert, add a dusting of powdered sugar, a scoop of vanilla ice cream, or even a drizzle of dark chocolate. They’re also fantastic as a casual snack, packed in lunch boxes or enjoyed warm with a bit of butter. We’ve made these for neighborhood get-togethers, and they always get rave reviews. The kids especially love how moist and sweet they are — plus, I love sneaking in those veggies without fuss!
Top Tips for Perfecting Your Zucchini Little Cakes with Creamy Filling and Sweet Glaze
Over the years, I’ve learned a few tricks that make these cakes come out just right every time. First, don’t skip draining or squeezing excess moisture out of the zucchini. Too much water makes the batter runny, and you’ll end up with flat cakes. I learned this the hard way early on! Grate and then press the zucchini gently with a paper towel — it’s a small step but makes all the difference.
When mixing, I always try to fold the dry ingredients gently into the wet—overmixing can make the cakes tough, and that’s no fun. Keep the batter just combined, and it’ll stay light and fluffy. Also, when swirling the filling into the batter, I recommend using a toothpick or skewer—this creates those beautiful marbled patterns that make each bite extra special.
For ingredient swaps, I’ve tested using honey or maple syrup instead of granulated sugar — works beautifully, just reduce the liquid slightly. If you’re gluten-free, swap in a good quality baking blend — just remember to add an extra pinch of xanthan gum to help with structure. Oven timing can vary, so start checking for doneness early, especially if you go for mini muffins.
Lastly, I love experimenting with toppings: crushed nuts, shredded coconut, a drizzle of caramel, or even a spicy chili glaze if you’re feeling daring. The glaze can be thickened with cornstarch if you want a more solid finish. Trust me on this, each tweak is a little adventure, and the best part is the delicious reward at the end!
Storing and Reheating Tips
These little cakes keep surprisingly well. If you serve them on the day, just cover with a clean cloth or store in an airtight container at room temperature. They’re best enjoyed within 2 days, but I find they still taste great after refrigeration. To store in the fridge, pop them into a sealed container — just keep an eye on the glaze, as it can harden a little. If you want to reheat, microwave on low for about 15-20 seconds until warm — the moisture from the zucchini keeps them surprisingly tender even after reheating.
If freezing, wrap each cake individually in plastic wrap and place in a zip-top bag. They’ll keep for up to a month. To defrost, leave at room temperature or pop in the microwave for a few seconds. I like to add the glaze fresh after reheating because it stays glossy and sweet that way. Trust me, this way, these little cakes will be your go-to whenever you need a cozy, satisfying treat, even days later.
Frequently Asked Questions
Final Thoughts
This recipe truly shows how a simple ingredient like zucchini can be transformed into something unexpectedly delightful. It’s easy to whip up on busy nights or impress friends with at your next gathering. I love how forgiving it is — a little extra zucchini, a dash more cinnamon, or a slightly different topping, and it still turns out perfect. These little cakes remind me of childhood baking weekends with my grandma, sitting at the kitchen table, sampling spoonfuls of batter, and dreaming about cozy mornings ahead. The layers of flavor and tender crumb make each bite special, and I love how versatile they are for almost any occasion. I hope you give this a try — it’s one of those recipes that feels like a warm hug in dessert form. Please share your tweaks or stories in the comments — I’d love to hear how your version turns out! Happy baking!
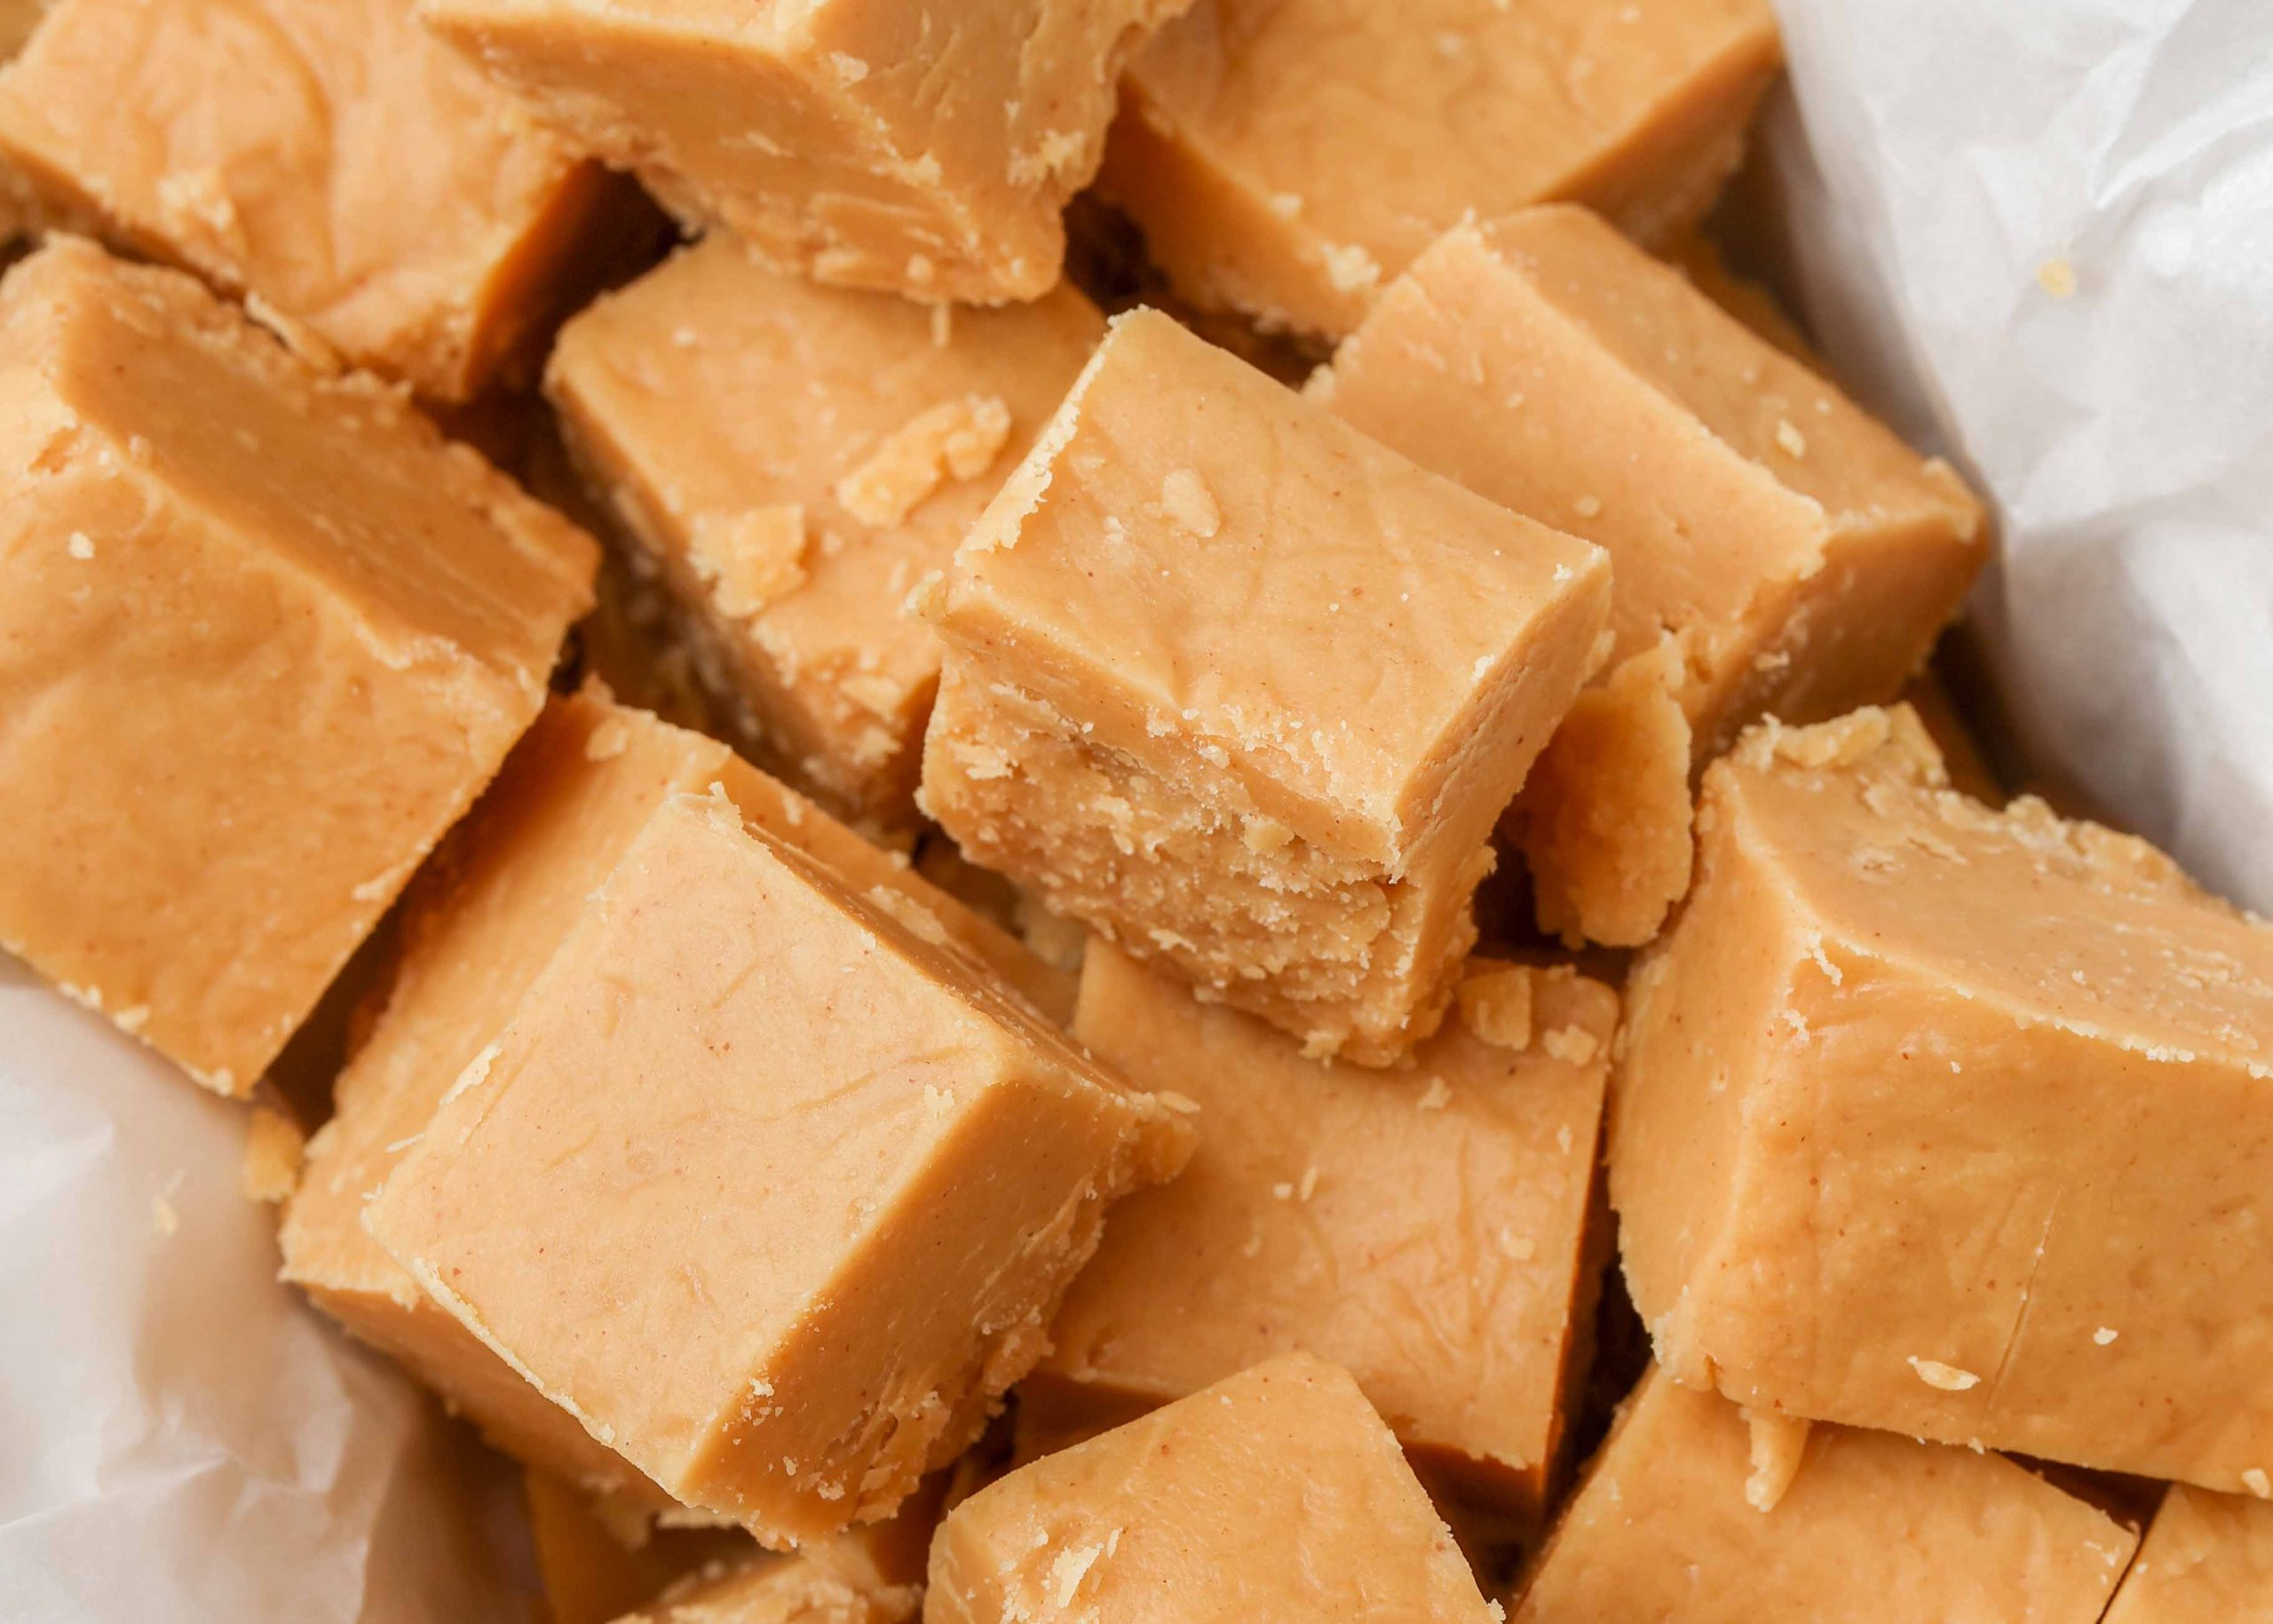
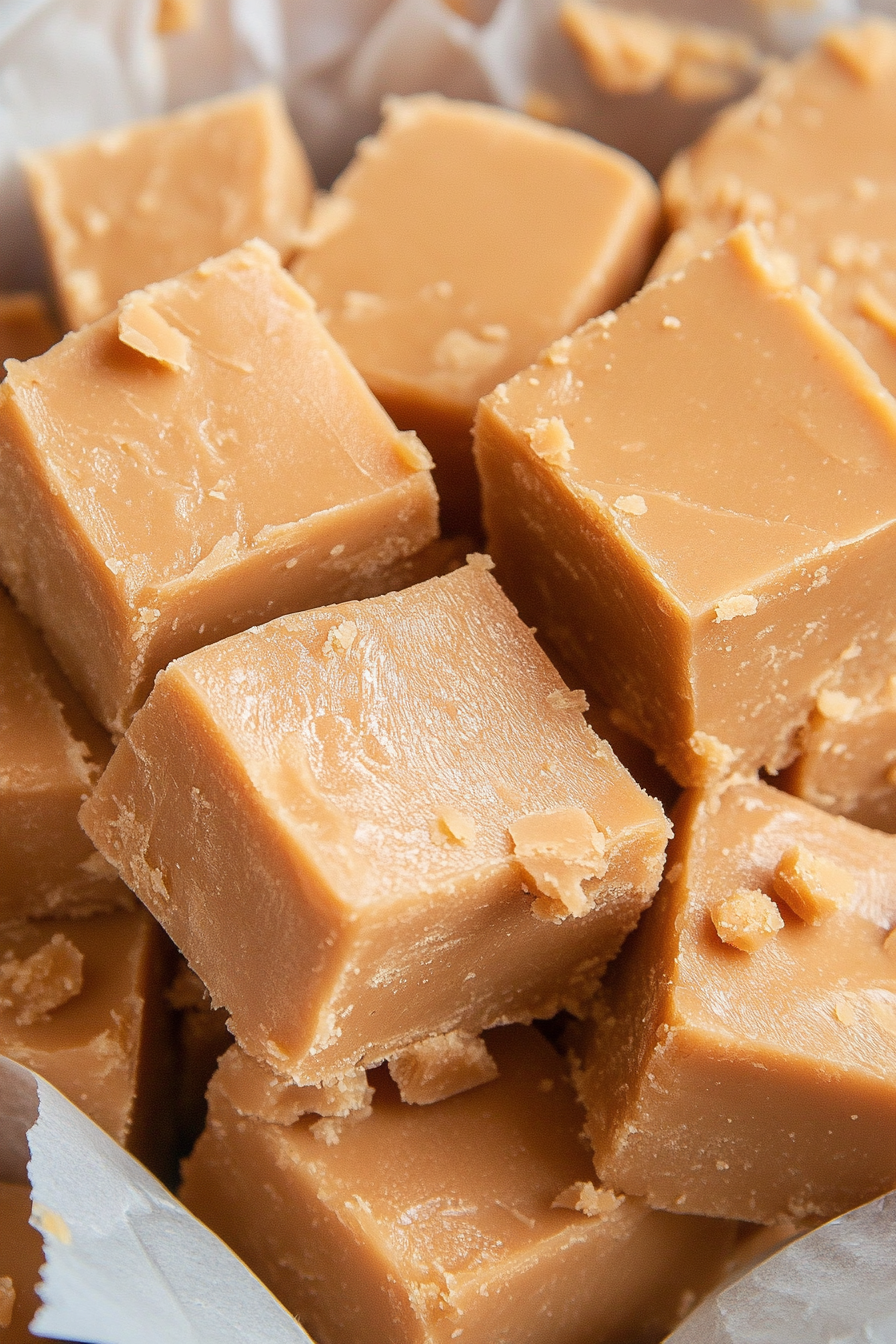
peanut butter fudge
Ingredients
Method
- Combine the peanut butter, butter, and vanilla in a microwave-safe bowl. Microwave for 90 seconds until melted. Stir until smooth, then gradually add powdered sugar, mixing well after each addition.
- Line an 8-inch square pan with parchment paper or lightly butter it. Pour the fudge mixture into the pan and spread evenly.
- Chill in the refrigerator for at least 4 hours or until firm. Slice into squares and serve.