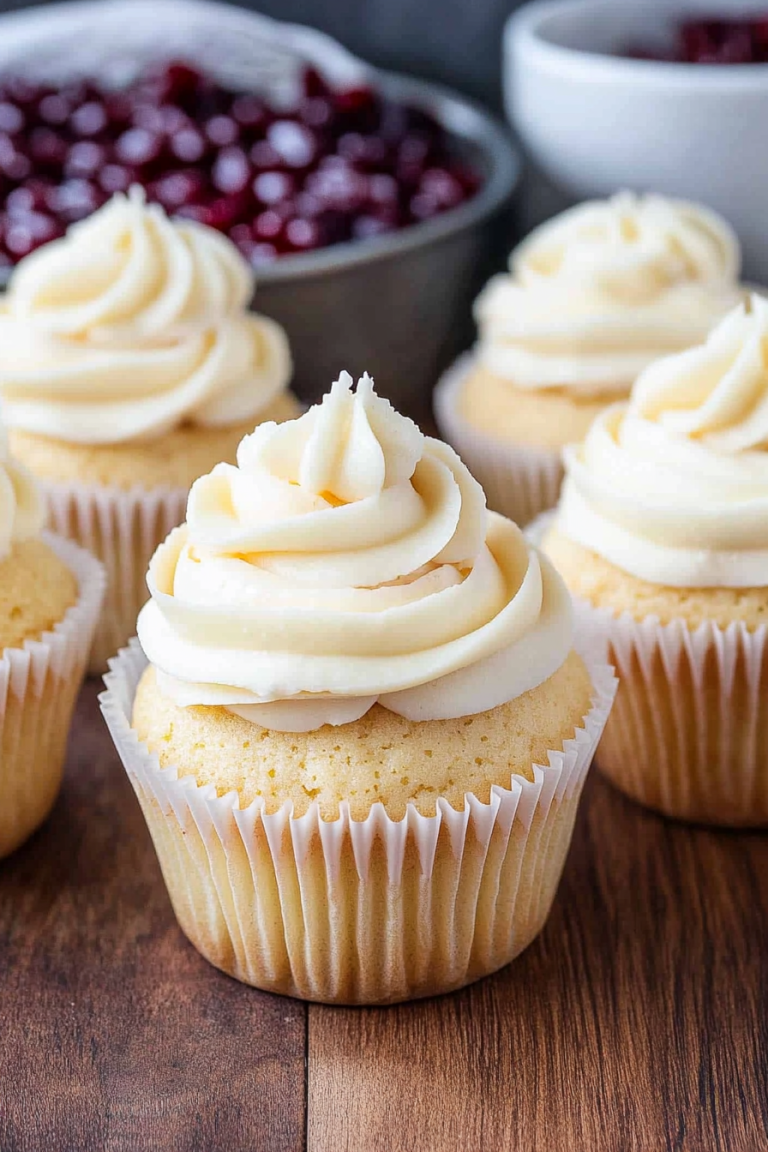
Rich Chocolate Cupcakes How to Bake Them
There’s something about the smell of cinnamon and sweet zucchini baking together that always takes me back in time. I remember helping my grandma in her tiny kitchen, her hands dusted with flour, as she carefully layered this humble vegetable into her famous cake. It’s one of those recipes that’s simple yet totally addictive—no fancy ingredients, just good, honest comfort. Honestly, I’ve made this more times than I can count, and every single time, it disappears in minutes at my house. My kids ask for seconds before I even cut the first slice. It’s like a cozy hug wrapped in cake form, and I swear, you can’t go wrong with it. I love knowing I can whip this up on a busy weeknight or serve it at a weekend brunch—it’s that versatile. Plus, it’s surprisingly healthy for a sweet treat, thanks to the zucchini sneaking in secretly. Trust me on this one, it’s a total crowd-pleaser—family, friends, even the pickiest eaters go crazy for it!’
What is a Zucchini Swirl Cake?
This cake is basically a cozy, cinnamon-spiced zucchini loaf with a beautiful swirled filling of cream cheese and a hint of vanilla. Think of it as a marriage between a classic carrot cake and a cinnamon roll—warm, comforting, and bursting with flavor. It’s called a “swirl” because of the gorgeous ribbon of filling that snakes through the batter, making each bite a little special. The zucchini in this cake acts like a secret ingredient; it keeps everything moist and tender without overpowering the flavor. It’s essentially a humble vegetable that turns into a show-stopping dessert. I love how approachable this recipe is; it’s like baking with a dear friend—no complicated steps, just straightforward goodness. And the best part? It tastes even better the next day, once the flavors have really melded together. This is the kind of cake that becomes a family favorite you’ll want to make over and over—trust me, it’s more than just a recipe, it’s a little piece of home.
Why you’ll love this recipe?
What I love most about this zucchini spiced swirl cake is how it balances flavor and simplicity. The tender crumb is infused with cozy cinnamon and nutmeg, making it taste like fall in every bite. The swirl of sweet cream cheese filling adds a layer of richness that keeps everyone coming back for more—my kids actually ask for seconds, which is rare at my house! Plus, it’s incredibly easy to put together. I always do this when I need a quick dessert that looks fancy but takes minimal effort. Budget-wise, it’s a win because you probably already have most of these ingredients sitting in your pantry or fridge. And flexibility? Oh, it’s got it. Want to swap out the cream cheese for Greek yogurt or almond cream? Go for it. Looking to add walnuts or raisins? Absolutely! It’s so versatile that it can be adapted for breakfast (think crumble topping), brunch, or after-dinner dessert. Honestly, what keeps me coming back is that warm, homey smell filling the kitchen, coupled with how moist and flavorful it turns out every single time. It’s one of those recipes that just feels right—familiar, comforting, with an extra special touch of love.
How do I make Zucchini Swirl Cake?
Quick Overview
This cake comes together quickly, especially if you’ve grated the zucchini ahead of time. You start by mixing the dry ingredients, then whisking together the wet until smooth. Fold everything gently to keep it light, then layer the batter in your pan, swirling in the cream cheese mixture before baking. The oven does all the work while you fill your kitchen with that irresistible aroma. Once baked and cooled, a quick glaze or dusting of powdered sugar transforms it into a bakery-worthy treat. This method keeps the process simple but makes the presentation luxe. It’s perfect when you want homemade cake with little fuss but maximum flavor—delicious any time of day!
Ingredients
For the Main Batter:
- 2 cups grated zucchini (about 2 medium zucchinis, grated and excess moisture squeezed out)
- 1 1/2 cups all-purpose flour (or whole wheat for a healthier twist)
- 1/2 teaspoon baking powder
- 1/2 teaspoon baking soda
- 1 teaspoon ground cinnamon
- 1/2 teaspoon nutmeg
- 1/4 teaspoon salt
- 1/2 cup melted unsalted butter or coconut oil
- 3/4 cup granulated sugar (or coconut sugar for extra depth)
- 2 large eggs
- 1 teaspoon vanilla extract
For the Filling:
- 4 oz cream cheese, softened
- 1/4 cup granulated sugar
- 1 teaspoon vanilla extract
- Optional: 1/4 cup chopped walnuts or chocolate chips for added texture
For the Glaze:
- 1 cup powdered sugar
- 2-3 teaspoons milk or almond milk
- 1/2 teaspoon vanilla extract
- Optional: a sprinkle of cinnamon or lemon zest
Step-by-Step Instructions
Step 1: Preheat & Prep Pan
Set your oven to 350°F (175°C) and generously butter or line a 9-inch loaf pan with parchment paper. I always do this first because it keeps the cake from sticking and makes cleanup a breeze. If you’re using a glass or metal pan, just make sure it’s well greased—trust me, you’ll thank yourself later.
Step 2: Mix Dry Ingredients
In a medium bowl, whisk together the flour, baking powder, baking soda, cinnamon, nutmeg, and salt. Sifting isn’t necessary, but I always do it anyway—it helps keep the batter nice and fluffy. Plus, it ensures there are no pesky lumps.
Step 3: Mix Wet Ingredients
In a large bowl, blend the melted butter, sugar, eggs, and vanilla until smooth. I like to do this with a whisk or a hand mixer; it’s quick and gets everything nicely incorporated. If your eggs are cold, it’s best to beat them slightly before adding to the wet mixture—it helps everything combine more evenly.
Step 4: Combine
Gradually add the dry ingredients into the wet mixture, folding gently with a spatula to keep the batter airy. Don’t overmix—just until it’s combined. Overmixing can make the cake dense, and that’s the last thing we want here.
Step 5: Prepare Filling
Mix the softened cream cheese with sugar and vanilla until smooth. I usually do this with a fork or small whisk. If you like a sweeter or tangier filling, adjust the sugar to taste. If you want to add nuts or chocolate chips, fold them in now.
Step 6: Layer & Swirl
Pour half of the batter into your prepared pan, then dollop spoonfuls of the cream cheese mixture on top. Add the remaining batter and carefully swirl a knife through the layers to create a beautiful marbled effect. My trick is to be gentle—swirling too hard can blend everything together instead of creating prettiness.
Step 7: Bake
Pop it in the oven and bake for about 50-60 minutes. Check for doneness by inserting a toothpick in the center—it should come out clean or with a few moist crumbs. If your edges are browning too fast, tent loosely with foil. Every oven is different, so keep an eye on it around the 50-minute mark.
Step 8: Cool & Glaze
Let the cake cool in the pan for about 15 minutes, then transfer to a wire rack. While it cools, make your glaze by mixing powdered sugar with milk, vanilla, and your flavorings. Pour or drizzle over the cake once it’s completely cooled. This gives it that little extra sweetness and glossy finish.
Step 9: Slice & Serve
Use a serrated bread knife for clean cuts, especially if your swirl is pretty prominent. Serve it at room temperature or slightly warmed—either way, it’s heaven. I love serving it with a cup of coffee or a dollop of whipped cream. It’s such a hit during fall gatherings or just as a sweet escape after a long day.
What to Serve It With
This cake is so forgiving that it works equally well for breakfast, brunch, or dessert. For breakfast, I love pairing it with a strong black coffee or a cinnamon-spiced latte. It’s cozy enough to serve on a lazy weekend morning, especially with a glass of freshly squeezed orange juice. During brunch, I suggest presenting slices with a dollop of Greek yogurt and fresh berries—looks pretty and freshens it up. As a dessert, it pairs beautifully with vanilla ice cream or a drizzle of caramel sauce. If I want a truly indulgent treat, I sprinkle crushed pistachios or toasted coconut on top of the glaze. My family’s favorite way? Simply warm a slice in the microwave and enjoy with a cup of herbal tea. It’s also fantastic for casual lunches or picnic outings—portable, tasty, and sure to make everyone smile. Honestly, I’ve made this so many times that I’ve lost count of the variations, but one thing’s for sure: it’s a guaranteed crowd-pleaser in our house!
Top Tips for Perfecting Your Zucchini Spiced Swirl Cake
Over the years, I’ve picked up a few tricks to make this cake absolutely flawless. First, when grating the zucchini, I always use a box grater and then press out excess moisture with a clean kitchen towel or paper towels. It’s crucial because too much moisture can make the batter too runny or cause the cake to sink in the middle. Trust me on this—squeezing out those little water droplets makes all the difference in texture.
When mixing the batter, fold gently—don’t use a whisk or beat aggressively. Gentle folding keeps the cake light and airy. Overmixing can turn it dense, which nobody wants! I also recommend letting the batter rest for about five minutes after mixing—this helps it relax and results in a smoother crumb.
Swirling the filling is my favorite part. I try to create a pretty marbled effect by placing spoonfuls of the filling every few inches and then swirling with a toothpick or knife. It should look a little messy, but artistic—more rustic charm than perfection.
For ingredient swaps, you can try Greek yogurt instead of cream cheese for a tangy, creamier filling, or use honey instead of sugar for a natural sweetness. I tested this with almond milk, and honestly, it added a subtle nutty flavor that I loved—plus, it made the cake even moister!
When baking, I place my pan in the middle rack and rotate midway through if I notice uneven browning. Every oven is different, so keep an eye on it after 45 minutes. When testing doneness, insert a toothpick—if it comes out with moist crumbs, give it a few more minutes. Once cooled, glazing or dusting with powdered sugar is the perfect touch; avoid glazing too early, or the glaze can become gluey.
My biggest lesson? Patience. Letting it cool completely before slicing ensures the swirl holds its shape and the filling stays intact. The anticipation is always worth it—this cake’s charm lies in the little details, and I promise, it’s worth every effort.
Storing and Reheating Tips
This cake stays fresh and moist for several days if stored properly. I usually wrap it tightly with plastic wrap or keep it in an airtight container. If you’re planning to eat it within two days, room temperature is fine—just keep it out of direct sunlight, and it’ll stay soft and delicious for up to 24 hours. After that, I pop it into the refrigerator, where it keeps well for up to 4 days. It’s convenient because the flavor actually deepens after a day or two in the fridge. Just bring slices to room temp before serving for the best texture.
If you want to freeze a slice or two, wrap them individually in plastic wrap, then in foil, and store for up to three months. Thaw at room temperature or microwave with a damp paper towel for a quick reheat. I find that reheating slightly helps bring back that freshly baked moisture, and the swirl stays pretty intact, especially if you’ve glazed it beforehand. For the glaze, I usually wait to add it until just before serving to keep that shiny appearance and fresh flavor.
Frequently Asked Questions
Final Thoughts
Honestly, this zucchini spiced swirl cake has become a true staple in my baking repertoire. It’s a testament to how simple ingredients can create something warm, flavorful, and just a little fancy. The secret is in the balance—the moist zucchini batter, the cozy spices, and that luscious cream cheese swirl that makes every slice feel like a special treat. I’ve shared this recipe with friends, my neighbors, and even my kids’ teachers, and every time, the praise just keeps coming. It’s the kind of dessert that feels homemade in the best way—never fussy, always hearty, and guaranteed to bring smiles around the table. If you’re looking for a new go-to for mornings, brunch, or whenever you need a comforting slice of happiness, give this a try. I can’t wait to hear how yours turns out! Don’t forget to leave a comment below or share your variations—happy baking!
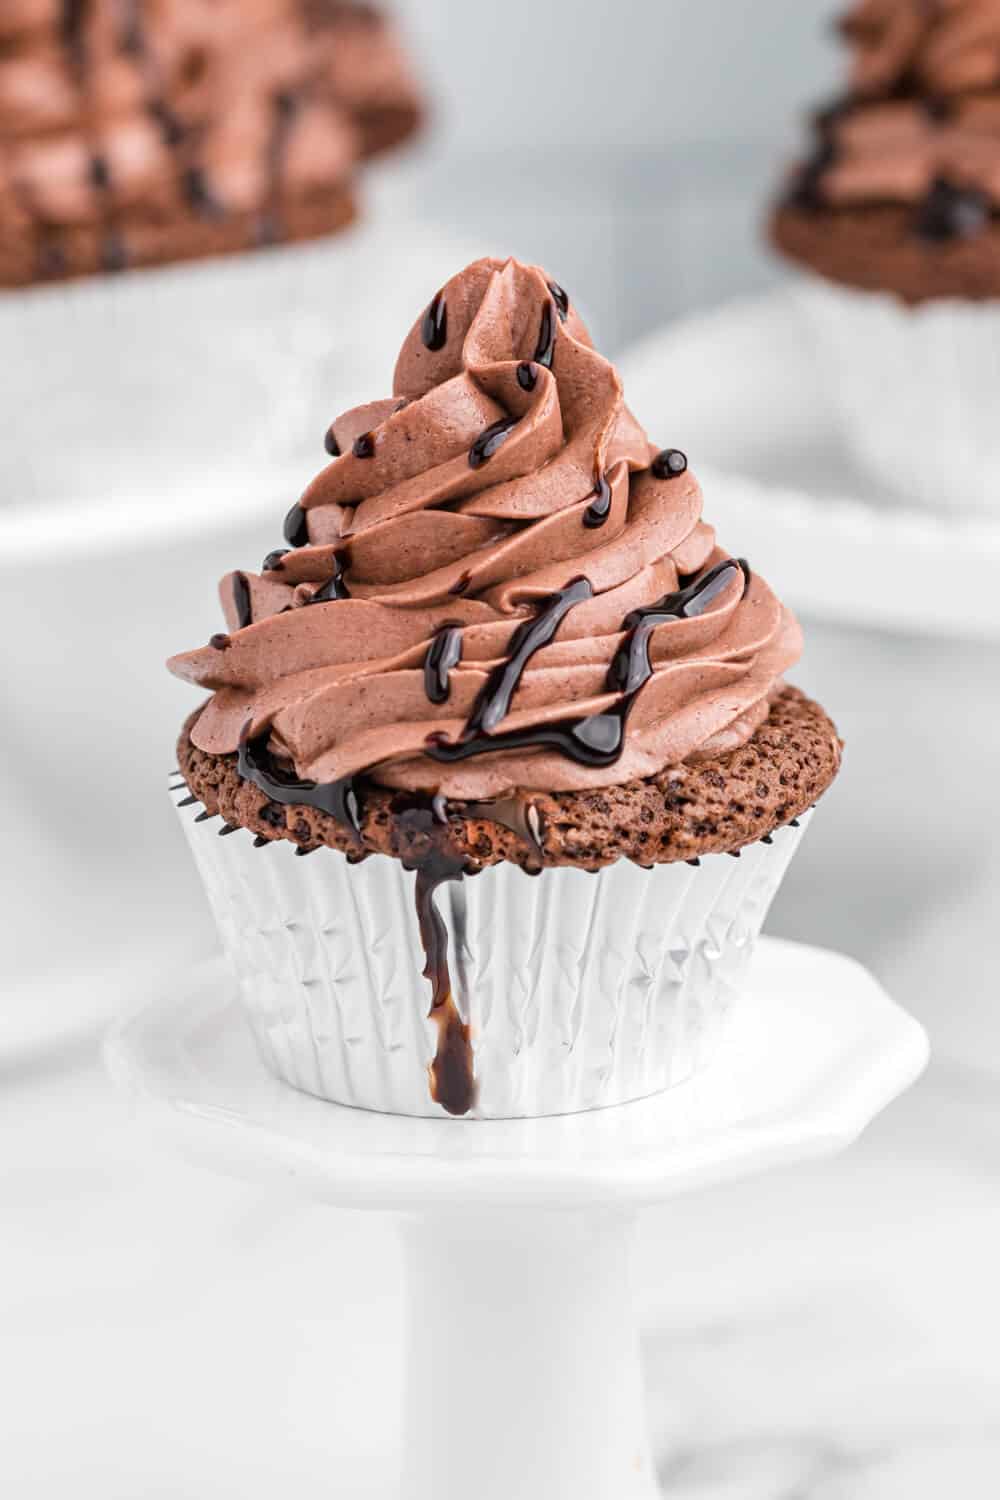
chocolate cupcakes
Ingredients
Method
- Preheat oven to 350°F. Line a muffin tin with cupcake liners.
- In a large bowl, sift together flour, salt, baking powder, and cocoa powder.
- In another bowl, beat together butter and sugar until creamy.
- Melt chocolate chips in microwave, stir until smooth, and add to butter mixture. Mix well.
- Add eggs and egg yolks one at a time, mixing well after each addition.
- Mix in oil, vanilla, and sour cream until combined.
- Gradually add dry ingredients to wet ingredients, mixing until just combined.
- Fill cupcake liners about 3/4 full with batter.
- Bake for 23 to 25 minutes, or until a toothpick inserted in the center comes out clean.
- Allow cupcakes to cool completely. Prepare frosting by beating butter until smooth. Mix in half and half and vanilla. Add powdered sugar and cocoa, beat until fluffy.
- Frost cooled cupcakes. Drizzle with chocolate sauce if desired.