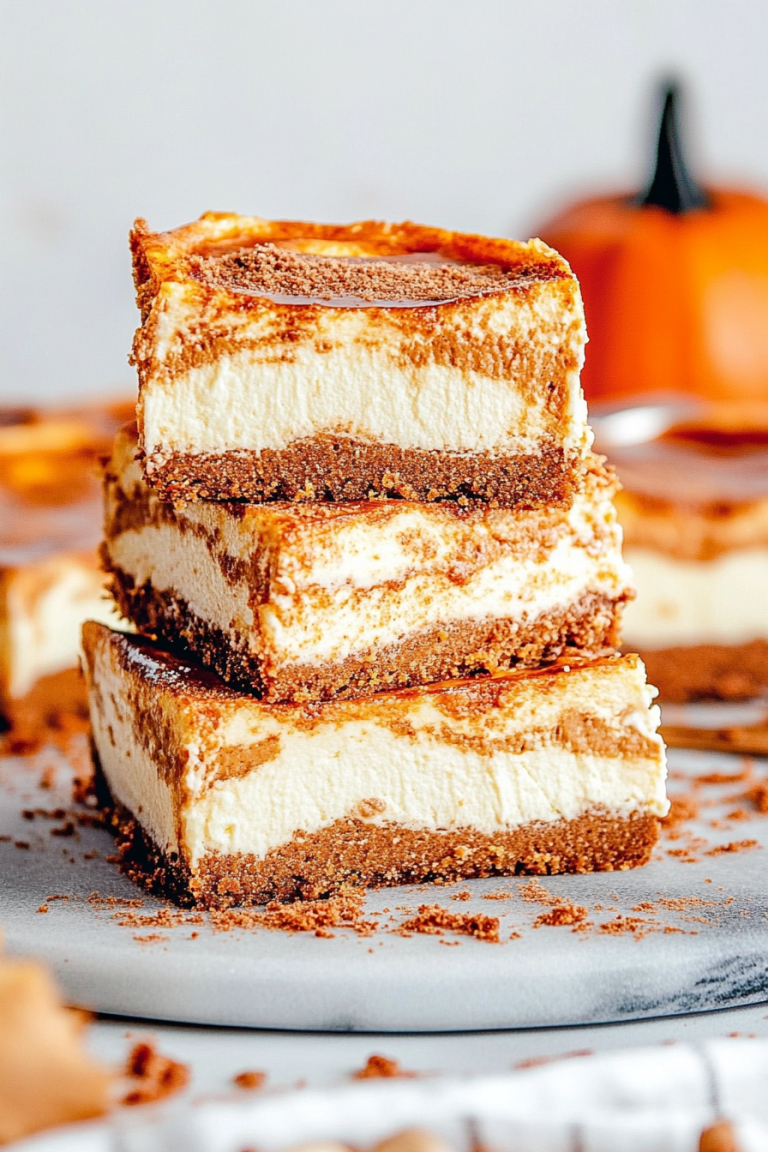
Easy Homemade Pie Crust Recipe
There are some recipes that just feel like a warm hug, you know? This zucchini bread is one of those for me. I remember my grandma making it when I was a kid, the house filling with this incredible, sweet, spicy aroma that just signaled pure comfort. Every time I bake it, it takes me right back to her kitchen. And honestly, it’s a total lifesaver on busy weeknights when you need a little something sweet but don’t want the fuss of a whole cake. My kids? They go absolutely bonkers for it, and it’s one of those rare treats that vanishes faster than you can say “more, please!” It’s seriously the best zucchini bread, and I’ve tinkered with so many variations over the years, but this one? This one is IT. If you’ve ever loved a good banana bread, get ready, because this is right there with it, maybe even a little bit better.
What is Zucchini bread?
So, what exactly *is* zucchini bread? At its heart, it’s a quick bread, meaning it uses chemical leaveners like baking soda or baking powder instead of yeast, so you don’t have to wait around for dough to rise. Think of it as a cakey, moist, and wonderfully spiced loaf where grated zucchini is the secret star. Don’t worry, it doesn’t taste like zucchini! The vegetable is actually the superhero here, adding incredible moisture and a tender crumb without any discernible veggie flavor. It’s essentially a delicious excuse to use up that mountain of zucchini you’ve inevitably got in your garden (or from that generous neighbor!). It’s often spiced with cinnamon and nutmeg, and can have add-ins like nuts or chocolate chips. It’s rustic, unfussy, and utterly delightful.
Why you’ll love this recipe?
Okay, let’s get down to brass tacks. Why is *this* zucchini bread recipe my go-to, the one I’ve scribbled notes all over and practically have memorized? First off, the flavor is just out of this world. It’s perfectly sweet without being cloying, with just the right punch of cinnamon and nutmeg that makes it smell like autumn even in July. The texture? Oh, the texture! It’s unbelievably moist and tender, thanks to that magical zucchini. No dry, crumbly loaves here, I promise. And it’s surprisingly simple. I mean, you just mix everything together in a couple of bowls and bake. It’s honestly easier than making a box of brownies, and way more impressive. Plus, it’s incredibly budget-friendly! Zucchini is usually pretty inexpensive, and the rest of the ingredients are pantry staples. What I truly adore about this recipe, though, is its versatility. It’s fantastic on its own, but it’s also a dream with a smear of cream cheese or a dollop of yogurt. It’s that perfect treat for when you’re craving something sweet at 10 pm but don’t want to bake a whole cake. It’s a guaranteed crowd-pleaser, and frankly, it’s just pure joy in every slice. If you’re a fan of my classic banana bread, you’ll find a similar comfort and delight here, with an added bonus of fantastic moisture from the zucchini.
How do you make Zucchini bread?
Quick Overview
This recipe is all about simplicity and amazing results. You’ll quickly whisk together your dry ingredients, then your wet ingredients, combine them gently, fold in the star ingredient (zucchini!), and bake it until golden and fragrant. The beauty of this method is how it ensures a tender, moist crumb without any fuss. It’s designed to be foolproof, even if you’re new to baking quick breads. You get a fantastic, homemade loaf with minimal effort, perfect for any occasion.
Ingredients
For the Main Batter:
You’ll need 2 cups of all-purpose flour. I always use unbleached, as I find it gives a slightly better texture. A teaspoon and a half of baking soda is crucial for that lovely lift. We also need half a teaspoon of salt to balance out the sweetness. For the spice, 1 teaspoon of ground cinnamon is a must for me, and a generous half teaspoon of ground nutmeg really brings out the warmth. If you’re feeling adventurous, a pinch of ground cloves is lovely too. For sweetness, 1 cup of granulated sugar is standard, but I sometimes reduce it to 3/4 cup if I’m using very ripe bananas or adding chocolate chips. And then there’s the moisture: 2 large eggs, lightly beaten, are essential for binding and richness. Half a cup of vegetable oil (or any neutral-flavored oil) keeps it super moist; I’ve even tested this with melted butter, and while it’s delicious, the oil gives a more consistently tender crumb. And the secret ingredient, of course: 1 cup of finely grated zucchini. Make sure to squeeze out as much excess moisture as possible before adding it!
For the Filling (Optional but Highly Recommended!):
This is where you can really play. A simple mix of 1/4 cup brown sugar and 1 teaspoon of cinnamon is divine. You can also toss in 1/2 cup of chopped walnuts or pecans for crunch, or even 1/2 cup of chocolate chips (mini or regular!). Sometimes I’ll mix a little cream cheese with a tablespoon of sugar and a splash of vanilla for a creamy swirl. It’s all about what you’re craving!
For the Glaze (Again, Optional but Oh-So-Good):
A simple glaze makes this extra special. You’ll need 1 cup of powdered sugar, sifted to avoid lumps. Then, about 2 tablespoons of milk (any kind works – I tested this with almond milk and it actually made it even creamier!). A splash of vanilla extract adds a lovely depth of flavor. You can also use lemon juice for a citrusy zing, or even a bit of orange juice.
Step-by-Step Instructions
Step 1: Preheat & Prep Pan
First things first, get your oven preheated to 350 degrees Fahrenheit (175 degrees Celsius). This is key for an even bake. While the oven heats up, grease and flour a standard 9×5 inch loaf pan. You can also line it with parchment paper, leaving some overhang on the sides, which makes lifting the baked loaf out a breeze. Make sure you get into all the corners!
Step 2: Mix Dry Ingredients
In a large bowl, whisk together the flour, baking soda, salt, cinnamon, and nutmeg. Give it a good whisk to make sure all the dry ingredients are evenly distributed. This ensures that your leavening agents and spices are spread throughout the batter, which means no surprise pockets of plain flour or intense spice.
Step 3: Mix Wet Ingredients
In a separate medium bowl, whisk together the granulated sugar, eggs, and vegetable oil until well combined. It might look a little glossy. If you’re adding vanilla extract, now’s the time to stir that in too.
Step 4: Combine
Pour the wet ingredients into the bowl with the dry ingredients. Now, here’s a little trick: mix *just until combined*. It’s really important not to overmix quick breads. A few streaks of flour are okay; they’ll disappear as you fold in the zucchini. Overmixing develops the gluten too much, which can result in a tough loaf. So, gentle is the name of the game here!
Step 5: Prepare Filling
If you’re using a filling, now’s the time to mix your brown sugar and cinnamon, or have your nuts and chocolate chips ready. If you’re doing a cream cheese swirl, just have it softened and ready to go.
Step 6: Layer & Swirl
Gently fold the grated and squeezed zucchini into the batter. Make sure it’s evenly distributed. Now, if you’re doing a swirl, pour about half of the batter into your prepared pan. Sprinkle your filling mixture (or dollop cream cheese) over the top. Then, spoon the remaining batter over the filling. If you’re using nuts or chocolate chips, you can just fold them into the whole batter before pouring. For a really pretty swirl, take a knife or a skewer and gently swirl it through the batter a couple of times. Don’t overdo it, or you’ll just mix everything together into one color!
Step 7: Bake
Bake for 50 to 65 minutes, or until a wooden skewer or toothpick inserted into the center comes out clean. The top should be golden brown and look set. Ovens can be tricky, so start checking around the 50-minute mark. If the top is browning too quickly but the inside isn’t cooked, you can loosely tent it with foil.
Step 8: Cool & Glaze
Let the loaf cool in the pan for about 10-15 minutes. This helps it set up. Then, carefully invert it onto a wire rack to cool completely. It’s really important that it’s *completely* cool before glazing, otherwise, the glaze will just melt off. For the glaze, whisk together the powdered sugar, milk, and vanilla until smooth and pourable. You want it thick enough to coat but thin enough to drizzle. Drizzle it all over the cooled loaf. The contrast of the slightly crisp glaze on the soft bread is heavenly!
Step 9: Slice & Serve
Once the glaze has set a bit, slice it up and enjoy! I like to use a serrated knife for clean cuts. It’s delicious at room temperature, or even slightly warmed up. Seriously, the smell alone brings everyone to the kitchen.
What to Serve It With
This zucchini bread is so versatile, it fits into any meal or snack time. For breakfast, it’s fantastic as is, maybe with a strong cup of coffee to cut through the sweetness. I love it toasted and spread with a little butter, especially on a lazy Saturday morning. For a more elaborate brunch spread, a slice of this alongside some fresh fruit salad, yogurt parfaits, or even savory quiches makes for a lovely balance. People always rave when I bring this to a potluck brunch! As a dessert, it’s surprisingly elegant. Serve a warm slice with a scoop of vanilla bean ice cream or a drizzle of caramel sauce, and you’ve got a simple yet decadent treat that’s way easier than baking a pie. And for those cozy, quiet moments, there’s nothing better than a thick slice with a cup of tea or hot chocolate. My family traditions often involve this bread for afternoon snacks after school – it’s a guaranteed smile-maker and a great way to fuel up.
Top Tips for Perfecting Your Zucchini Bread
I’ve made this countless times, and over the years, I’ve picked up a few tricks that make all the difference. For zucchini prep, it’s *crucial* to grate it finely and then squeeze out as much water as possible. I usually do this by hand, wrapping the grated zucchini in a clean kitchen towel or cheesecloth and wringing it out. This step is non-negotiable if you want a loaf that’s moist but not soggy. When it comes to mixing the batter, remember: gentle is key! Just mix until the dry ingredients are incorporated into the wet. A few little lumps are perfectly fine, and actually preferable to overmixing, which leads to a tough texture. For the swirl, don’t go crazy. A few gentle passes with a knife or skewer will create beautiful patterns without muddying the flavors. If you’re using nuts or chocolate chips, try tossing them with a tablespoon of the flour mixture before adding them to the batter; this helps prevent them from sinking to the bottom. I’ve experimented with ingredient swaps quite a bit. For a dairy-free version, you can use non-dairy milk in the glaze and any neutral oil in the batter. If you don’t have zucchini, surprisingly, grated carrots work well in a pinch, though the texture will be slightly different. For baking, always keep an eye on your oven. If your loaf is browning too fast on top, just tent it loosely with aluminum foil. The toothpick test is your best friend here – it should come out clean or with just a few moist crumbs attached, but no wet batter. And for the glaze, consistency is everything. If it’s too thick, add milk a teaspoon at a time; if it’s too thin, add more powdered sugar until you reach that perfect drizzling consistency. This recipe is quite forgiving, but these little touches really elevate it.
Storing and Reheating Tips
Keeping your zucchini bread fresh is pretty simple. At room temperature, it stays delicious for about 2-3 days. I usually keep it in an airtight container or wrap it tightly in plastic wrap. If you plan on keeping it longer than that, or if your kitchen is particularly warm, the refrigerator is your best bet. Wrapped well, it can last up to a week in the fridge. The texture might firm up a bit, but it’s still wonderfully moist. If you want to freeze it, this is a fantastic make-ahead option. Let the loaf cool completely, then wrap it tightly in plastic wrap, followed by a layer of aluminum foil, or place it in a freezer-safe bag. It will keep well in the freezer for up to 3 months. To thaw, just unwrap it and let it come to room temperature on the counter. If you glazed your loaf, I generally recommend glazing it *after* it’s been thawed and brought back to room temperature, or right before serving if it’s just been in the fridge. For reheating, a few seconds in the microwave or a quick toast in the toaster oven brings it back to that lovely, fresh-from-the-oven warmth.
Frequently Asked Questions
Final Thoughts
There you have it – my absolute favorite zucchini bread recipe. It’s more than just a recipe; it’s a source of comfort, a little bit of nostalgia, and proof that simple ingredients can create something truly magical. The way the zucchini transforms the batter into something so incredibly moist and tender is just brilliant, and the warm spices make it smell like home. This loaf is perfect for sharing, but honestly, I won’t judge if you decide to keep it all to yourself! If you love this, you might also enjoy my moist banana bread or my easy apple crumble muffins for more comforting baked goods. I truly hope you give this zucchini bread a try. I can’t wait to hear how yours turns out, so please leave a comment below and share your own tips or any fun variations you try! Happy baking, my friends!
pie crust
Ingredients
Method
- In the bowl of a food processor, pulse together the flour, sugar, and salt until combined. Add the shortening and pulse until pea-sized crumbs form. Transfer the dough to a large bowl and bring the dough together with a wooden spoon.
- In a small bowl, whisk together the egg, vinegar, and water. Pour over the dough and mix until combined (dough will be sticky). Form the dough into a disc shape and wrap securely with plastic wrap. Chill it in the refrigerator for at least 1 hour before rolling.
- For a hot pie (e.g. with a filling that needs to be baked), divide the chilled dough in half on a generously floured work surface.
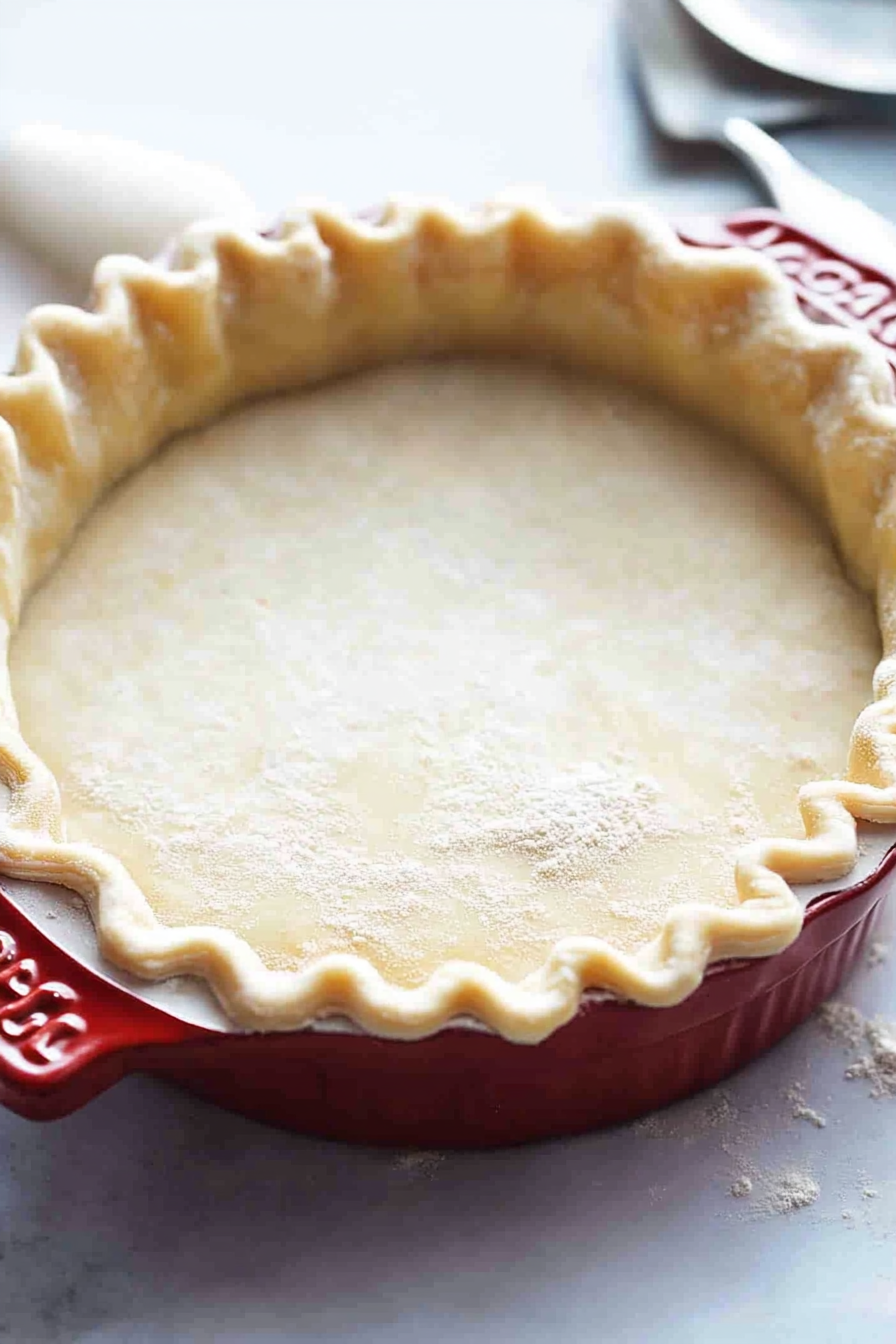
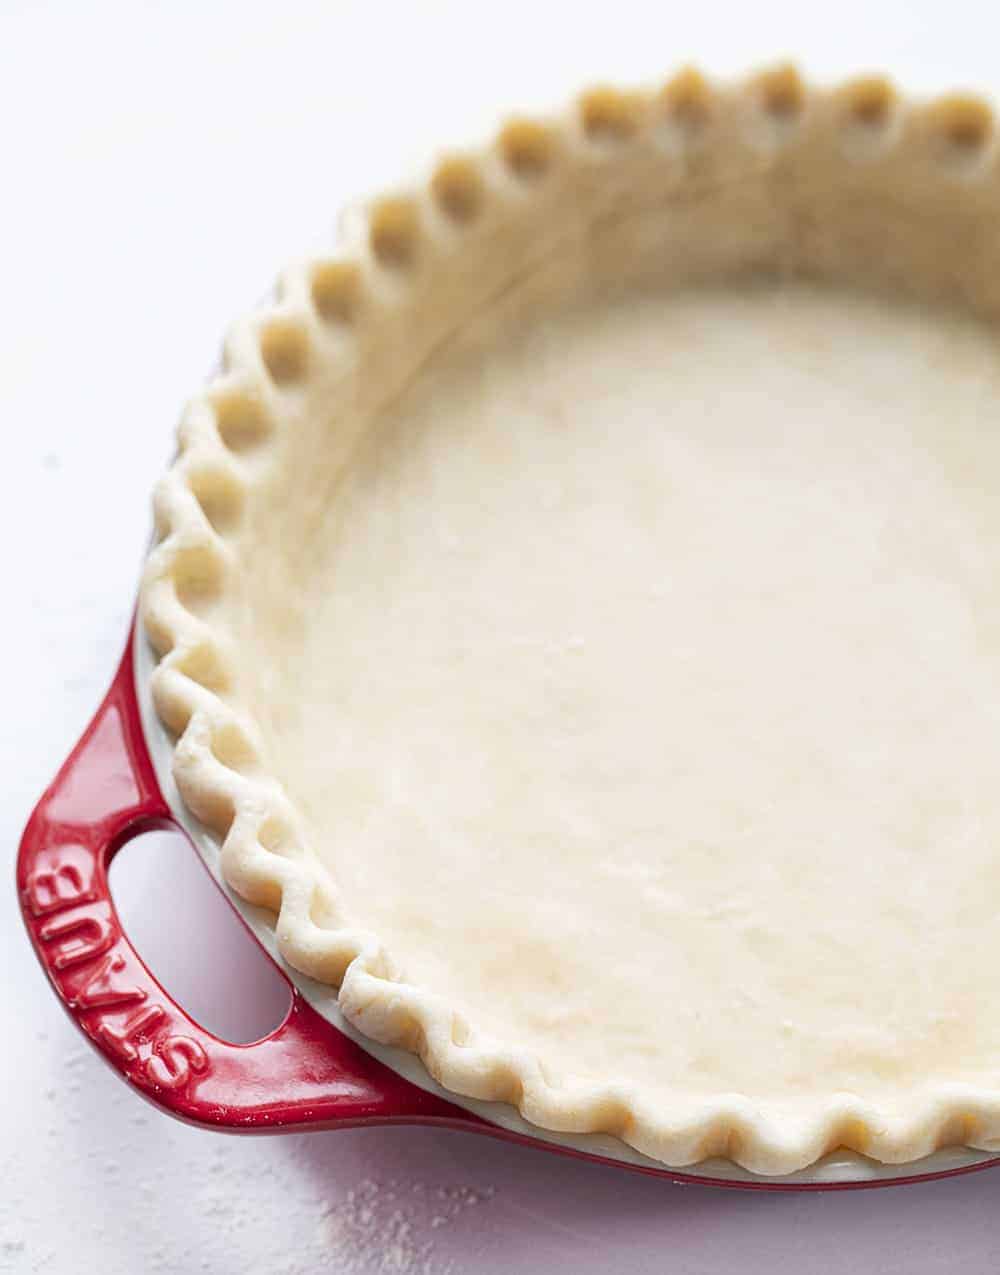
- Roll half of the dough to 0.25-inch thick and transfer to a 9-inch pie dish. Repeat with the second half of the dough if the pie is covered.
- Bake as instructed in the recipe. Wrap any remaining dough in plastic wrap and store in the refrigerator.
- For a cold pie (e.g. with a filling that doesn't need to be baked), divide the chilled dough in half on a generously floured work surface. Roll half of the dough to 0.25-inch thick and transfer to a 9-inch pie dish.
- Continue by following the instructions of your cold pie recipe. Wrap any remaining dough in plastic wrap and store in the refrigerator.