Simple Dense Cake Recipe You’ll Love
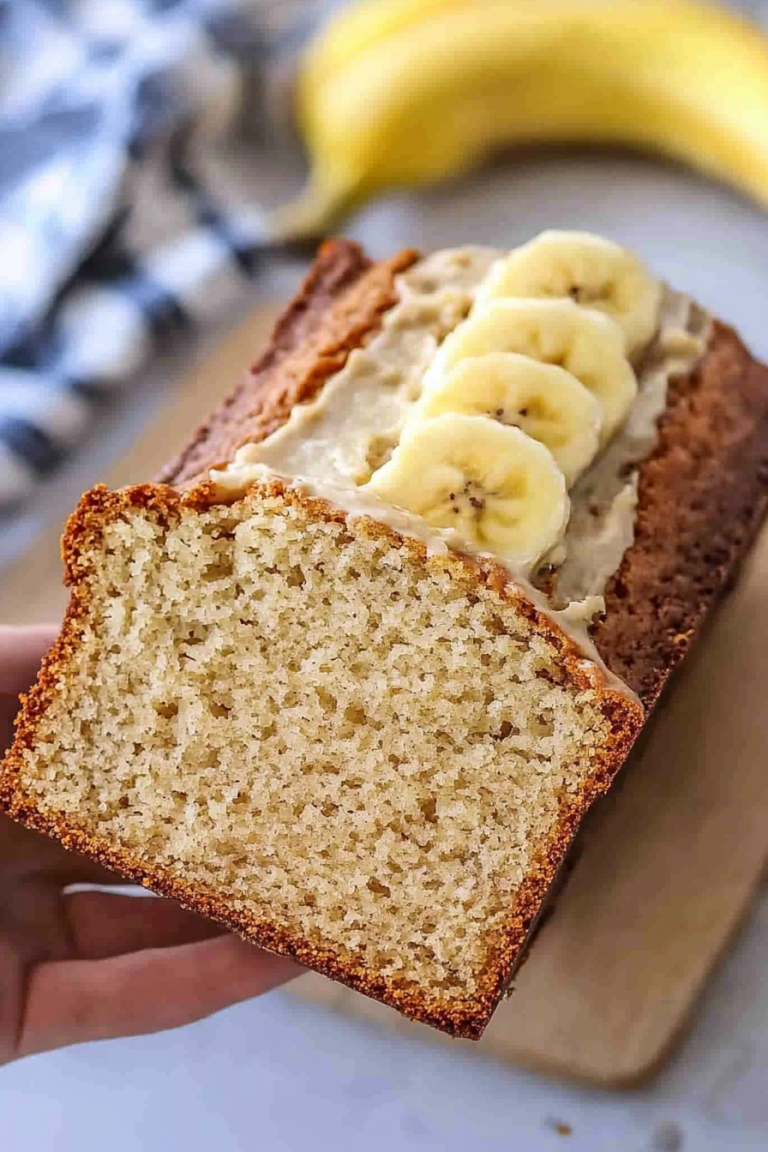
Oh, you guys, I’m so excited to share this with you today! This isn’t just any zucchini bread; this is *the* zucchini bread. The one that my family begs for, the one that disappears from the cooling rack faster than I can slice it, and the one that even my pickiest eaters devour without complaint. Seriously, if you’ve ever looked at a mountain of zucchini from your garden (or the farmer’s market) and wondered what on earth to do with it all, this is your answer. It’s got that perfect balance of moist crumb, subtle sweetness, and just a hint of spice that makes it utterly irresistible. It reminds me so much of my grandma’s baking – that warm, comforting feeling you get from a truly homemade treat. I’ve made it countless times, and it always, always gets rave reviews. Forget those dry, crumbly versions you might have tried before; this one’s a game-changer.
What is Zucchini bread?
So, what exactly *is* zucchini bread? At its heart, it’s a quick bread, meaning it doesn’t require yeast. The magic happens with the zucchini! When baked, the shredded zucchini basically melts into the batter, adding incredible moisture and a tender crumb without any discernible zucchini flavor, which is honestly why it’s such a crowd-pleaser. Think of it as a super moist, slightly spiced cake that happens to have a secret healthy-ish ingredient. It’s not a cake you’d frost heavily; it’s more about the delicious, tender loaf itself, often finished with a simple, delightful glaze. The name itself is pretty straightforward, but the result is anything but ordinary. It’s become a staple in my kitchen, especially during those late summer months when zucchini is at its peak. It’s the ultimate comfort food disguised as a wholesome bake!
Why you’ll love this recipe?
There are so many reasons why this zucchini bread has earned a permanent spot in my recipe binder, and why I just *know* you’re going to adore it too. First off, let’s talk about flavor. It’s not just sweet; it’s got this incredible depth. The cinnamon and nutmeg give it a warm, cozy hug, and the zucchini, as I mentioned, keeps it unbelievably moist. It’s like biting into a little cloud of happiness. And simplicity? Oh, it’s a lifesaver on busy nights! You can literally whip up the batter in about 15 minutes, and then it’s hands-off time in the oven. No fancy techniques required, and honestly, the ingredients are all pretty budget-friendly and easy to find. What I love most about this recipe is its versatility. While it’s fantastic on its own, I’ve also discovered it’s a perfect base for add-ins. Chocolate chips? Absolutely! Walnuts or pecans? Delicious! Lemon zest? Surprisingly wonderful! It truly shines in so many ways. If you love my What is easy banana bread? recipe, you’re going to go nuts for this. It has that same comforting, home-baked goodness, but with its own unique charm. It’s the kind of thing you can make for a quick breakfast, a delightful afternoon snack, or even a light dessert.
How do you make Zucchini bread?
Quick Overview
This recipe is all about simplicity and deliciousness. You’ll start by whisking together your dry ingredients, then combining your wet ingredients in a separate bowl. The key is not to overmix when you bring them together. Shredded zucchini is folded in, along with any optional mix-ins like chocolate chips or nuts. The batter then goes into a prepared loaf pan and bakes until golden brown and a toothpick comes out clean. A simple glaze is drizzled over the top once it’s cooled slightly, and then, well, the best part: devouring it! It’s really that straightforward, and the results are consistently fantastic.
Ingredients
For the Main Batter:
This is where the magic starts! I always use freshly grated zucchini for the best moisture content. You can use a box grater or even a food processor with the shredding attachment if you have one. Don’t bother peeling the zucchini; the skin adds great color and nutrients! I find that about 2 cups packed is the sweet spot for a standard loaf. Make sure to squeeze out just a little excess moisture, but not so much that it becomes dry. We want that hydration!
- 2 cups all-purpose flour
- 1 teaspoon baking soda
- 1/2 teaspoon baking powder
- 1/2 teaspoon salt
- 1 teaspoon ground cinnamon
- 1/4 teaspoon ground nutmeg
- 1/4 teaspoon ground cloves (optional, but adds a lovely warmth!)
- 3 large eggs, at room temperature
- 1 1/2 cups granulated sugar (you can reduce this slightly if you prefer less sweet)
- 1 cup vegetable oil or melted unsalted butter (I often use half and half!)
- 1 teaspoon vanilla extract
- 2 cups packed, grated zucchini (about 2 medium zucchini)
For the Filling:
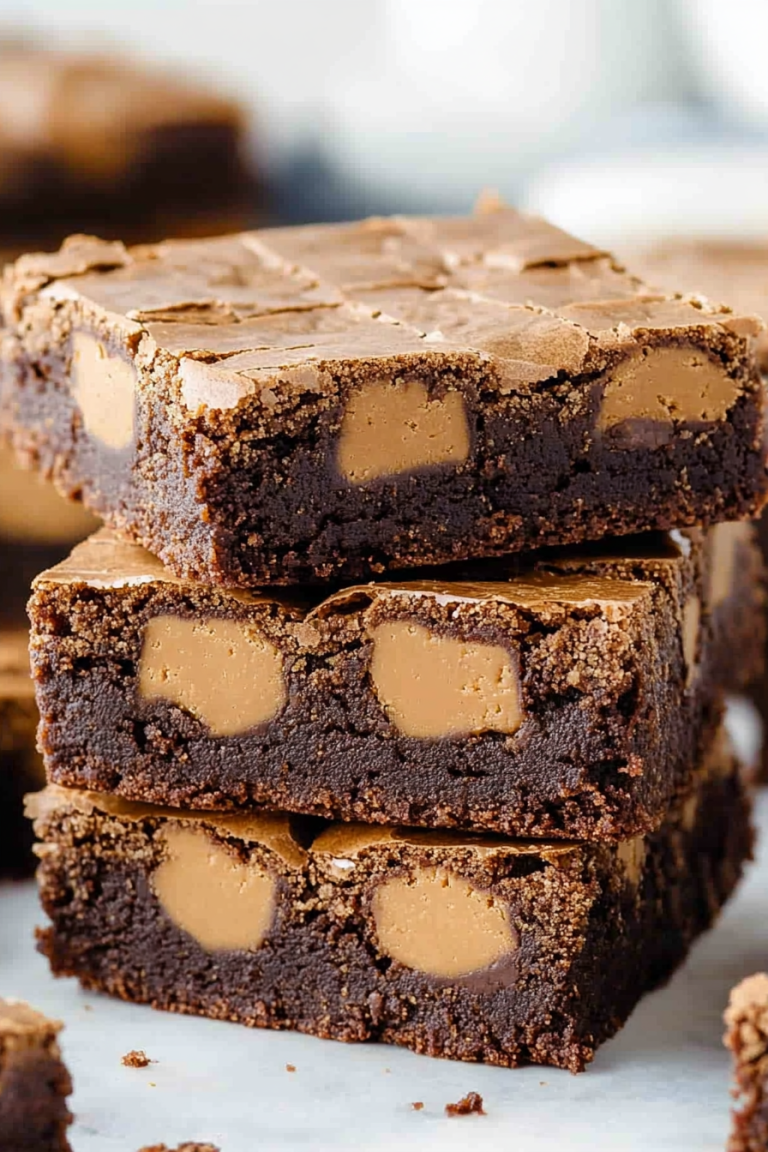
This is where you can really customize! My family is obsessed with chocolate chips, so I usually add about a cup of semi-sweet ones. But don’t stop there! Chopped walnuts or pecans are also a classic and delicious choice. For a more complex flavor, a touch of orange or lemon zest in the batter before adding the zucchini can be a delightful surprise. Just make sure your add-ins are properly prepped – chopped nuts, for instance.
- 1 cup semi-sweet chocolate chips (or chopped nuts like walnuts or pecans)
- Zest of 1/2 lemon or orange (optional, for an extra burst of flavor)
For the Glaze:
This glaze is super simple and adds that perfect finishing touch. It’s not overly sweet, and it hardens just enough to give a lovely sheen. The key is the consistency – you want it pourable but not too thin. If it’s too thick, a tiny splash more milk or lemon juice will do the trick. If it’s too thin, a little more powdered sugar will help.
- 1 cup powdered sugar
- 2-3 tablespoons milk or lemon juice (start with 2 and add more if needed)
- 1/4 teaspoon vanilla extract (optional)
Step-by-Step Instructions
Step 1: Preheat & Prep Pan
First things first, get your oven preheating to 350 degrees Fahrenheit (175 degrees Celsius). This is crucial for an even bake. While the oven is doing its thing, generously grease and flour a standard 9×5 inch loaf pan. You can also use parchment paper to line the pan, leaving an overhang on the sides. This makes it super easy to lift the bread out once it’s cooled. I’ve found that a good greasing and flouring is essential to prevent sticking, especially with such a moist bread.
Step 2: Mix Dry Ingredients
In a medium-sized bowl, whisk together the flour, baking soda, baking powder, salt, cinnamon, nutmeg, and cloves (if using). Whisking them together ensures that all the leavening agents and spices are evenly distributed throughout the flour. This little step really helps prevent pockets of baking soda or uneven spice distribution. You want everything to be perfectly combined and light.
Step 3: Mix Wet Ingredients
In a larger bowl, beat the eggs lightly. Then, add the granulated sugar, oil (or melted butter), and vanilla extract. Whisk everything together until it’s well combined and the mixture looks smooth and slightly pale. If you’re using lemon or orange zest, this is the time to add it!
Step 4: Combine
Now, pour the dry ingredients into the wet ingredients. Gently fold them together with a spatula until *just* combined. Seriously, resist the urge to overmix! A few streaks of flour are perfectly fine at this stage. Overmixing develops the gluten in the flour, which can lead to a tough, dense loaf, and we absolutely don’t want that. This is one of the most important lessons I learned early on!
Step 5: Prepare Filling
Gently fold in your grated zucchini and any chosen add-ins (like chocolate chips or nuts) into the batter. Stir until they are just evenly distributed. Again, don’t go crazy with the mixing here. You want to incorporate everything without overworking the batter.
Step 6: Layer & Swirl
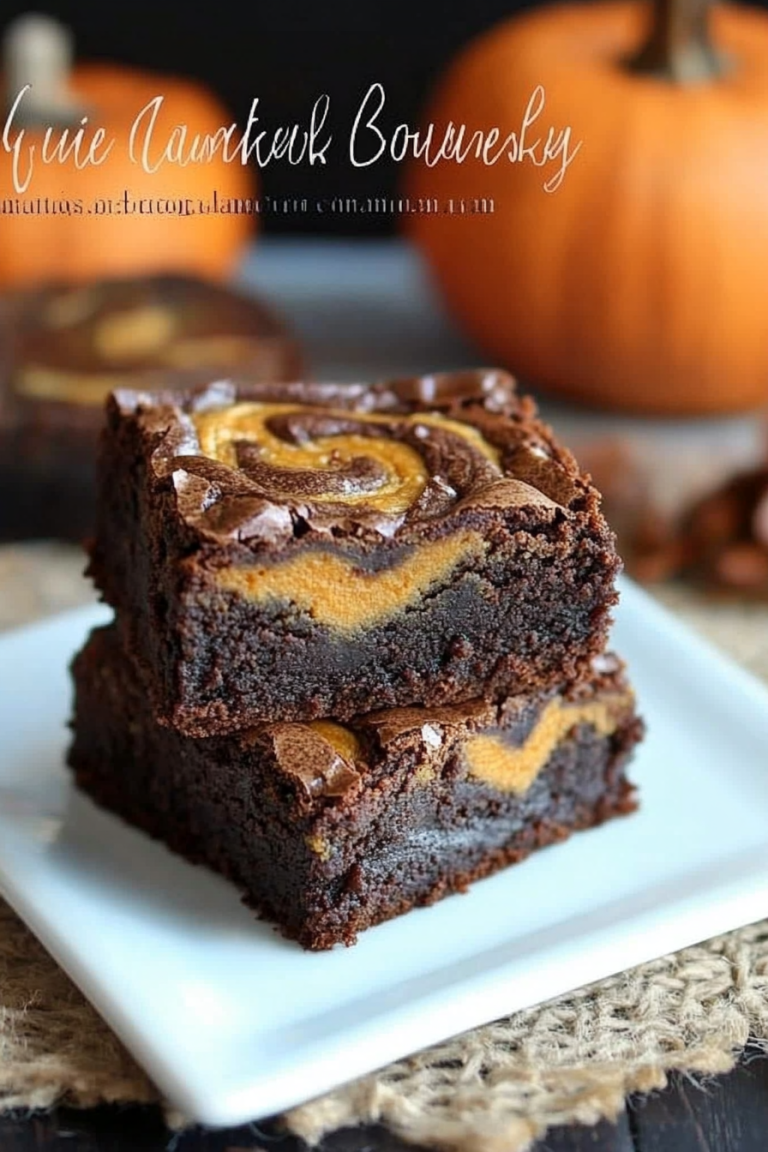
Pour the batter evenly into your prepared loaf pan. If you’re feeling fancy, you can sprinkle a few extra chocolate chips or nuts on top before baking. For an extra pretty swirl, you can add dollops of chocolate chips or a drizzle of melted chocolate over the batter and gently swirl it with a knife or skewer. This isn’t necessary for flavor, but it does make for a lovely presentation.
Step 7: Bake
Bake in the preheated oven for 50-65 minutes. The exact time will depend on your oven. You’ll know it’s ready when the top is golden brown and a wooden skewer or toothpick inserted into the center comes out clean (or with just a few moist crumbs attached, but no wet batter). If the top starts to brown too quickly, you can loosely tent it with aluminum foil for the last 15-20 minutes of baking.
Step 8: Cool & Glaze
Once baked, let the zucchini bread cool in the pan for about 10-15 minutes. This allows it to set up properly. Then, carefully invert the pan onto a wire rack to remove the loaf. Let it cool completely before glazing. If you try to glaze it while it’s still warm, the glaze will just melt and become a sticky mess!
To make the glaze, whisk together the powdered sugar, 2 tablespoons of milk (or lemon juice), and vanilla extract (if using) in a small bowl. Add more liquid, a teaspoon at a time, until you reach your desired drizzling consistency. Drizzle it evenly over the cooled loaf. It’s like the crowning glory!
Step 9: Slice & Serve
Once the glaze has set slightly, slice the bread with a sharp knife. I like to serve it at room temperature, but it’s also delicious slightly warm. The aroma alone is enough to make your mouth water!
What to Serve It With
This zucchini bread is truly a champion all on its own, but it also plays wonderfully with other flavors and can be enjoyed at any time of day. For a classic breakfast, I love it alongside a steaming mug of coffee. The richness of the bread is the perfect counterpoint to a bright, bold brew. If you’re feeling a bit more adventurous in the morning, a light smear of cream cheese or even a dollop of Greek yogurt can be surprisingly delicious. For a more elegant brunch spread, I’ll slice it a bit thinner and arrange it on a beautiful platter. It pairs wonderfully with fresh fruit salads, maybe some scrambled eggs or a light quiche. For dessert, it’s surprisingly sophisticated. A small slice with a scoop of vanilla bean ice cream or a drizzle of caramel sauce is pure bliss. And for those cozy afternoon snacks when you just need a little something comforting? This is it. Serve it with a glass of milk, a cup of herbal tea, or just enjoy it plain while curled up with a good book. My family has this tradition of having it on a Sunday afternoon with a big glass of cold milk – it’s simple, but it’s perfection.
Top Tips for Perfecting Your Zucchini Bread
I’ve made this recipe so many times, and over the years, I’ve picked up a few tricks that make a big difference. For zucchini prep, I always emphasize grating it yourself. Pre-shredded zucchini tends to be drier and sometimes has preservatives that can affect the texture. When grating, I use the medium holes of a box grater. You don’t need to wring out *all* the moisture, just a gentle squeeze to get rid of the excess. Too dry, and the bread will be crumbly; too wet, and it will be gummy. Trust me, finding that balance is key. For mixing, I can’t stress enough the importance of not overmixing the batter once the wet and dry ingredients are combined. You want to mix until *just* combined, leaving a few small streaks of flour. This is the secret to a tender, light crumb. Overmixing develops gluten, and that’s the enemy of a soft quick bread. When it comes to swirl customization, if you’re adding chocolate chips or nuts, gently fold them in rather than aggressively stirring. This prevents them from breaking apart too much. For ingredient swaps, I’ve successfully tested this recipe with whole wheat flour (about half and half with all-purpose works well) and used melted coconut oil instead of vegetable oil for a subtle tropical note. It actually made it even creamier! Baking tips are crucial too: always use the middle rack of your oven for even heat circulation. If your oven tends to run hot, consider reducing the temperature by 10-15 degrees. And the toothpick test is your best friend – it should come out with moist crumbs, not wet batter. For glaze variations, if you want a lemon glaze, simply use all lemon juice instead of milk. For a chocolate glaze, whisk in a tablespoon or two of unsweetened cocoa powder with the powdered sugar before adding the liquid. I’ve also found that letting the loaf cool completely before glazing ensures the glaze sets up nicely and doesn’t just soak in or become a sticky mess.
Storing and Reheating Tips
One of the best things about zucchini bread is how well it keeps! For room temperature storage, once it’s completely cooled (and glazed!), I wrap it tightly in plastic wrap or foil and keep it in an airtight container. It stays wonderfully fresh like this for about 2-3 days. If you live in a warmer climate or know you won’t get through it that quickly, refrigerating it is a great option. Store it in an airtight container in the fridge, and it will keep well for up to a week. The texture might become a bit firmer when cold, but it’s easily remedied. For longer storage, freezing is your best friend! Wrap the cooled, unglazed loaf tightly in a double layer of plastic wrap, then in a layer of aluminum foil, or place it in a freezer-safe bag. It’ll keep in the freezer for up to 3 months. When you’re ready to enjoy it, thaw it overnight on the counter, or gently reheat slices in a toaster oven or microwave. If you froze it unglazed, you can easily whip up a fresh batch of glaze once it’s thawed. For reheating, a few minutes in a toaster oven on low heat or a quick zap in the microwave (about 10-15 seconds per slice) will bring it back to its moist, delicious glory. Avoid over-microwaving, as it can make it tough.
Frequently Asked Questions
Final Thoughts
So there you have it – my absolute favorite zucchini bread recipe! It’s a recipe born out of necessity (hello, garden zucchini surplus!) but perfected through countless bakes and lots of love. It’s proof that sometimes the most unexpected ingredients can lead to the most incredible flavors. It’s moist, it’s perfectly spiced, and it’s just so darn satisfying. This loaf is more than just a recipe to me; it’s memories of my kids begging for “just one more slice,” it’s the aroma filling my kitchen on a lazy Sunday, and it’s the joy of sharing something truly delicious with the people I care about. If you love this recipe, you might also enjoy my classic blueberry muffins or my moist lemon poppy seed cake for more delightful baking adventures. Give this zucchini bread a try, and I promise, you won’t regret it. I can’t wait to hear how yours turns out and what delicious additions you decide to make! Happy baking, everyone!
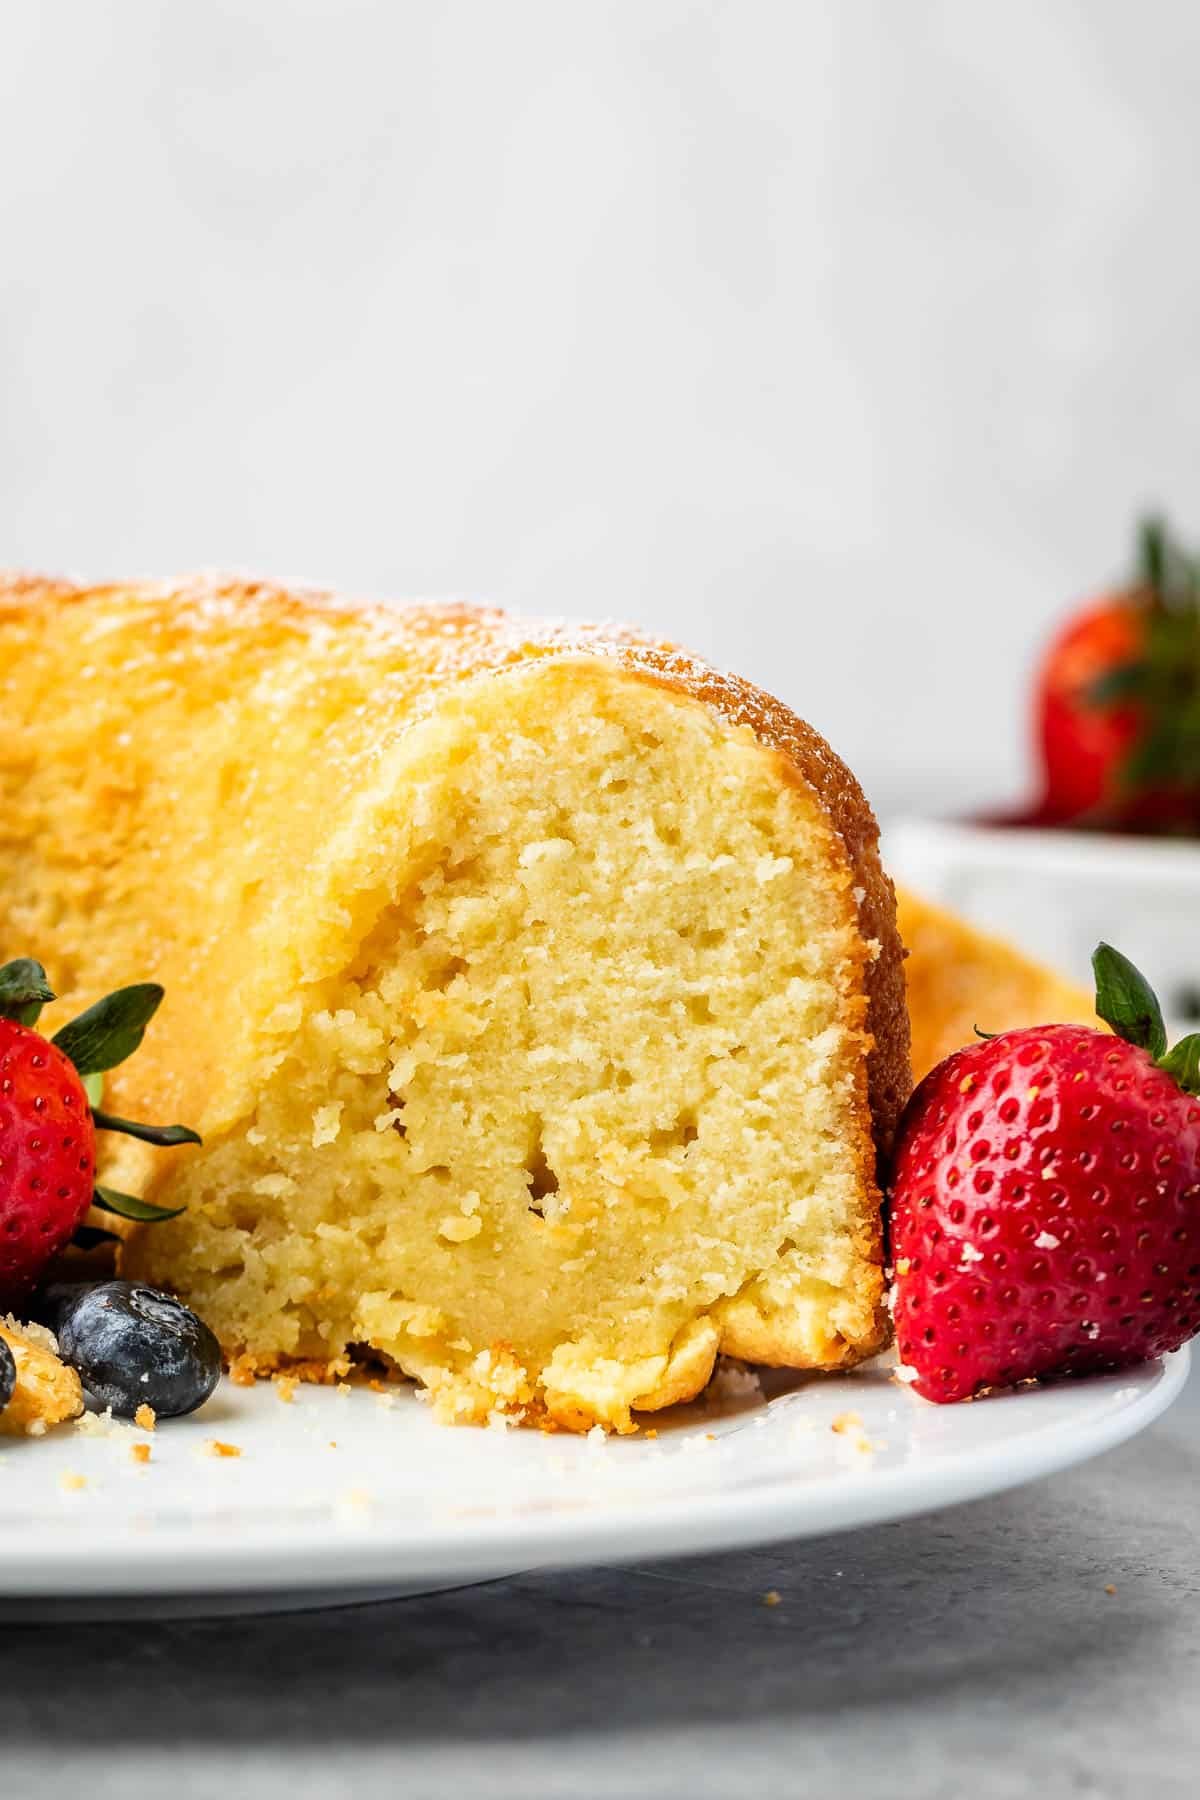
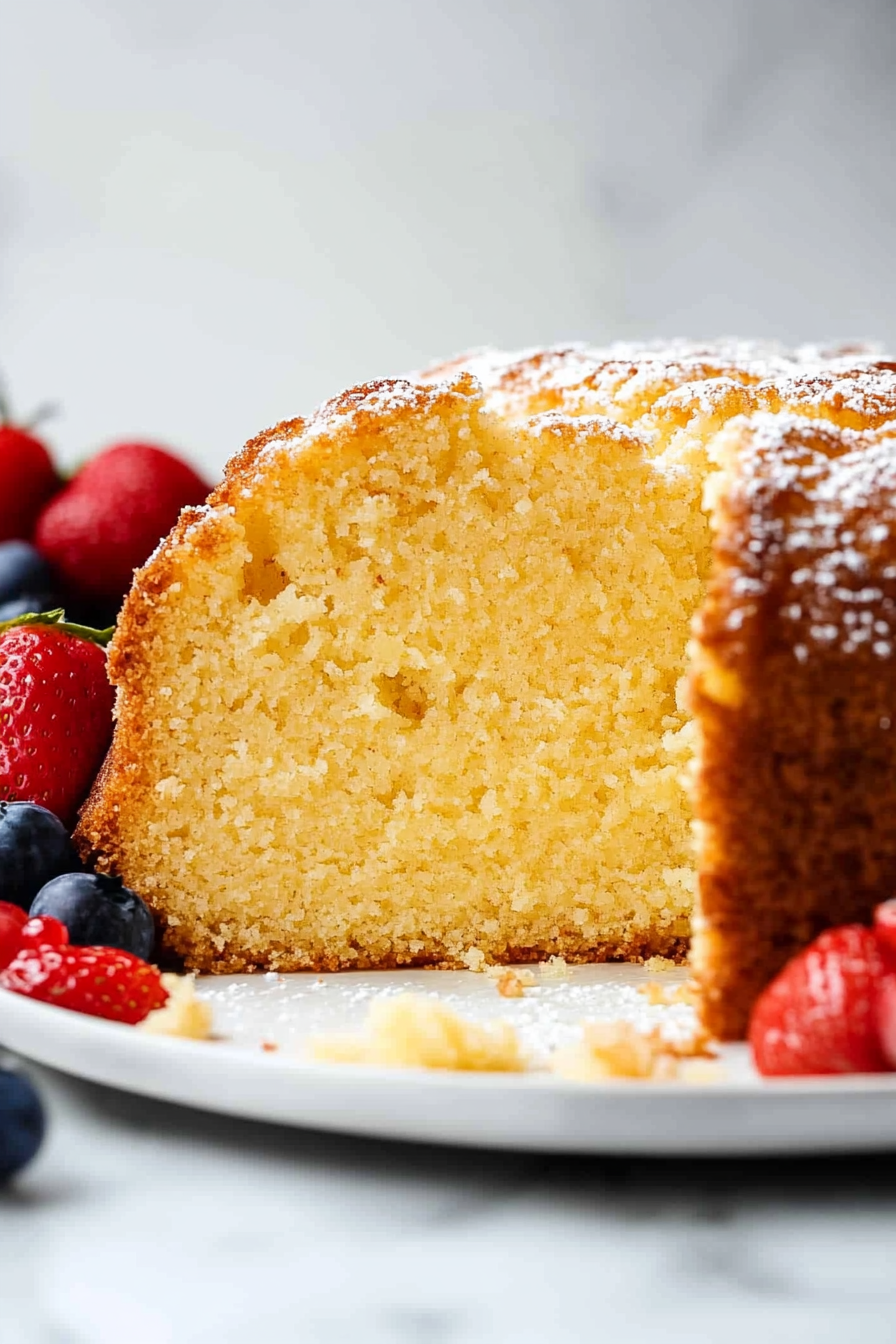
Classic Pound Cake
Ingredients
Method
- Preheat oven to 350°F. Grease and flour a 10-inch fluted bundt pan (or spray well with nonstick cooking spray that has flour in it).
- Place butter and sugar in the bowl of a stand mixer fitted with the paddle attachment. Cream the mixture for a few minutes, or until it’s light, fluffy, and light in color.
- Mix in the eggs, one at a time, beating just until each egg is fully incorporated before adding the next one.
- Add baking powder, vanilla extract, and salt and stir. Then add the sour cream, cornstarch, and flour. Mix just until combined.
- Pour the mixture into the prepared bundt pan. Bake for about 55-65 minutes or until a toothpick inserted near the middle of the cake comes out clean.
- Let cool in the pan for 15 minutes, then invert onto a serving plate and cool completely. (The cake will release more easily when warm).
- Dust the cooled cake with powdered sugar for serving. Store in an airtight container for up to 4 days.