Cozy Earl Grey Tea Latte Recipe
You know those days? The ones where the fridge is looking a little sparse, the kids are asking “What’s for snack?”, and you *really* don’t want to make a complicated dessert? This zucchini bread is my absolute go-to. It’s more than just a way to use up extra zucchini from the garden (though, oh boy, does it do that beautifully!), it’s like a warm, comforting hug in slice form. It’s seriously the best zucchini bread recipe I’ve ever stumbled upon, and let me tell you, I’ve tried *a lot*. It’s so incredibly moist and packed with just the right amount of spice, it never lasts long in my house. Forget those dry, crumbly versions; this one is a game-changer.
What is my secret weapon Zucchini bread?
So, what exactly is this “secret weapon” zucchini bread? Think of it as your ultimate comfort bake. It’s a moist, tender quick bread that’s loaded with grated zucchini, which does some magical things to keep it incredibly soft and also adds a subtle, earthy sweetness. It’s got those warm spices we all love – cinnamon, nutmeg, maybe a touch of clove – and it’s usually crowned with a simple, luscious glaze that just takes it over the top. The “secret weapon” part? It’s the technique I use and a couple of specific ingredient ratios that I’ve tweaked over the years. It’s not overly complicated, but the result is a zucchini bread that tastes like it came from a high-end bakery, not just your average home kitchen. It’s the kind of thing that makes your whole house smell amazing while it bakes.
Why you’ll love this recipe?
What are some of the best reasons to try zucchini bread?flavor is just out of this world. It’s perfectly sweet, but not cloying, with a beautiful warmth from the spices that just makes you want another slice. The zucchini itself lends this incredible moisture that you just can’t get with other quick breads. It’s like biting into a soft cloud! And the simplicity – oh my goodness, the simplicity. You don’t need any fancy equipment, no stand mixer, nothing. Just a bowl, a whisk, and a spatula. It’s literally a lifesaver on busy weeknights when you need a last-minute dessert or breakfast treat. Plus, it’s so cost-effective. Zucchini is usually pretty affordable, and the pantry staples you need are ones you likely already have on hand. It’sversatility! You can serve this for breakfast, as a snack, or even a light dessert. I sometimes add chocolate chips (because, why not?) or a handful of chopped walnuts for extra texture. It’s the perfect companion to a cup of coffee in the morning or a glass of cold milk in the afternoon. What I love most about this recipe is how forgiving it is. Even if you’re a beginner baker, you’re going to nail this. It’s much easier than a lot of other baked goods, and the payoff is huge. If you’ve ever made my banana bread recipe, this has a similar comforting vibe but with that delightful zucchini twist.
How to Make My Secret Weapon Zucchini Bread
Quick Overview
This recipe is all about bringing together simple ingredients to create something truly special. We’ll mix the dry ingredients, then the wet, combine them gently, fold in that wonderful zucchini, and bake it until it’s golden and perfectly tender. The whole process from start to finish, including baking, is surprisingly quick, making it ideal for those times you need a delicious treat without a lot of fuss. It’s truly a one-bowl wonder for most of the batter process!
Ingredients
For the Main Batter:
3 cups all-purpose flour (I use unbleached for a slightly better texture)
1 ½ teaspoons baking soda (this is key for that lift!)
½ teaspoon salt
1 teaspoon ground cinnamon
½ teaspoon ground nutmeg
¼ teaspoon ground cloves (optional, but adds depth!)
1 ½ cups granulated sugar (you can reduce this slightly if you prefer, but I find this amount perfect)
½ cup vegetable oil (or any neutral oil like canola or grapeseed)
3 large eggs, at room temperature (this helps them incorporate better)
1 teaspoon vanilla extract
2 cups grated zucchini (about 2 medium zucchinis, squeezed dry – more on that later!)
½ cup sour cream or plain Greek yogurt (this is another secret to its incredible moistness!)
1 teaspoon lemon zest (optional, but it adds a lovely brightness that cuts through the sweetness)
For the Filling (Optional, but highly recommended!):
½ cup chopped walnuts or pecans (toasted slightly for more flavor)
½ cup chocolate chips (dark, milk, or semi-sweet – your choice!)
For the Glaze:
1 cup powdered sugar, sifted (sifting prevents lumps!)
2-3 tablespoons milk (any kind – dairy or non-dairy works beautifully)
½ teaspoon vanilla extract
Step-by-Step Instructions
Step 1: Preheat & Prep Pan
First things first, let’s get that oven prepped. Preheat it to 350°F (175°C). Then, grab a standard 9×5 inch loaf pan. I like to grease mine really well with butter or baking spray, and then I dust it with a little bit of flour. This ensures that your beautiful zucchini bread will slide right out without sticking, which is always a win! You can also line it with parchment paper if you’re feeling extra cautious, leaving an overhang on the sides to lift it out easily.
Step 2: Mix Dry Ingredients
In a large mixing bowl, whisk together your flour, baking soda, salt, cinnamon, nutmeg, and cloves (if you’re using them). Whisking is important here because it distributes the leavening agents evenly. You want to make sure every bite has that perfect lift and flavor. Give it a good whisk until everything looks well combined and there are no streaks of flour. It should look like a lovely, fragrant sand.
Step 3: Mix Wet Ingredients
In a separate medium bowl, whisk together the granulated sugar, oil, and eggs. Whisk them until they’re well combined and the mixture is a bit lighter in color. Then, stir in the vanilla extract and the sour cream (or Greek yogurt!) along with the lemon zest if you’re using it. This is where a lot of that moisture comes from, so don’t skimp on the sour cream/yogurt!
Step 4: Combine
Now, pour the wet ingredients into the bowl with the dry ingredients. Here’s the crucial part: mix *just* until combined. Seriously, don’t overmix! Overmixing can develop the gluten too much and lead to a tough bread. A few streaks of flour are totally fine; they’ll disappear as you add the zucchini. I usually just use a spatula or a wooden spoon and fold it until it’s almost there. It should be a thick, lovely batter at this point.
Step 5: Prepare Filling
If you’re adding nuts or chocolate chips, now’s the time to toss them in. Give them a quick stir into the batter. I like to reserve a few chocolate chips to sprinkle on top before baking for that extra visual appeal and immediate chocolate gratification.
Step 6: Layer & Swirl
Grate your zucchini – I like a medium shred. Then, this is super important, squeeze out as much liquid as you possibly can. You can do this by putting the grated zucchini in a clean kitchen towel or cheesecloth and wringing it out like you mean it! Excess water is the enemy of good zucchini bread. Add the squeezed zucchini to the batter and gently fold it in. Don’t be afraid to really get in there and distribute it evenly. The batter will become quite thick and you’ll see all those lovely green flecks.
Step 7: Bake
Pour the batter into your prepared loaf pan and spread it out evenly. If you reserved some chocolate chips, sprinkle them over the top now. Place the pan in your preheated oven. Bake for 50-65 minutes. How do you know it’s done? The top should be golden brown, and a toothpick inserted into the center should come out clean (or with a few moist crumbs attached, but no wet batter). If the top is browning too quickly before the inside is cooked, you can loosely tent it with foil.
Step 8: Cool & Glaze
Once it’s baked, take the loaf pan out of the oven and let it cool in the pan for about 10-15 minutes. This allows it to set up properly. Then, carefully invert it onto a wire rack to cool completely. It’s really important that it cools completely before you glaze it, otherwise, the glaze will just melt right off! For the glaze, whisk together the sifted powdered sugar, milk, and vanilla extract until smooth. Add the milk a tablespoon at a time until you get a drizzly consistency. Drizzle it all over the cooled zucchini bread.
Step 9: Slice & Serve
Once the glaze has set a little, slice into your masterpiece! The best way to slice it is with a sharp serrated knife for clean cuts. Serve at room temperature. The aroma alone is just heavenly. You’ll be amazed at how moist and flavorful it is. Enjoy every single bite!
What to Serve It With
This zucchini bread is so versatile, it’s practically a chameleon! For a cozy breakfast, I love serving a thick slice warmed up slightly with a generous smear of butter. It pairs perfectly with a strong cup of coffee or a steaming mug of tea. For a more elegant brunch spread, I’ll cut it into smaller, neater squares and arrange it on a tiered stand alongside fresh fruit salad and maybe some mini quiches. A glass of fresh orange juice or even a mimosa is a perfect accompaniment. As a dessert, it’s wonderful all on its own, especially with that luscious glaze. For a richer treat, a scoop of vanilla bean ice cream on the side is pure indulgence. And for those cozy snack moments when you just need a little pick-me-up, it’s perfect with a tall glass of cold milk. My kids actually love having a piece after school with a handful of berries. It feels like a treat, but it’s packed with good stuff!
Top Tips for Perfecting Your Zucchini Bread
Over the years, I’ve learned a few tricks that make this zucchini bread consistently amazing. For zucchini prep, I can’t stress enough how important it is to squeeze out the moisture. Seriously, wring that thing out like a wet dishrag! You want the zucchini for flavor and moisture, not to make your bread soggy. Grating it on the medium side of a box grater works best; too fine and it disappears, too coarse and you get big chunks. For mixing advice, remember that “just combined” is your mantra. Flour streaks are your friends at this stage! Overmixing is the quickest way to a tough loaf. Trust me, I’ve done it and regretted it. When it comes to swirl customization, if you want to add swirls of cinnamon sugar or even a chocolate ganache, do it right before you bake. Gently swirl it into the batter in the pan; don’t overdo it, or you’ll muddy the flavors. For ingredient swaps, I’ve successfully substituted some of the all-purpose flour with whole wheat for a nuttier flavor, but I usually stick to around ½ cup of whole wheat to keep it light. You can also use unsweetened applesauce instead of some of the oil or sour cream, but it might alter the texture slightly. Baking tips are crucial: always use the middle rack in your oven for even heating. Ovens can vary, so keep an eye on it towards the end and use that toothpick test religiously. If your oven runs hot, you might need to reduce the temperature slightly or shorten the baking time. For glaze variations, if you want a thinner glaze, just add a touch more milk. For a thicker one, add more powdered sugar. You can also add a little orange zest to the glaze for a citrusy kick, or even a tiny pinch of espresso powder for a subtle mocha flavor.
Storing and Reheating Tips
This zucchini bread is pretty forgiving when it comes to storage, which is another reason I love it. At room temperature, it stays wonderfully moist for about 2-3 days, especially if you keep it well-wrapped in plastic wrap or an airtight container. I find that wrapping it tightly helps to keep that moisture locked in. If you’re going to be longer than that, or if your kitchen is particularly warm, pop it in the refrigerator. It’ll keep for up to a week this way, still tasting fantastic. Just make sure it’s in a good airtight container or wrapped well to prevent it from drying out in the fridge. For longer storage, freezer instructions are your best friend. You can freeze the entire loaf or individual slices. Wrap it super well in plastic wrap, then in a layer of aluminum foil, and finally pop it into a freezer-safe bag. It’ll keep its quality for up to 3 months. To thaw, just bring it back to room temperature on the counter. If you’re reheating a slice, a few seconds in the microwave or a few minutes in a toaster oven can bring back that lovely warmth and freshness. For glaze timing, I always recommend glazing *after* the bread has completely cooled if you’re storing it at room temperature or in the fridge. If you’re freezing it, you can either glaze it after thawing, or freeze it plain and glaze it once it’s thawed. Glazing before freezing can sometimes make the glaze a bit sticky.
Frequently Asked Questions
Final Thoughts
This zucchini bread recipe isn’t just about baking; it’s about creating something comforting, delicious, and incredibly satisfying. It’s proof that simple ingredients, treated with a little care and attention, can yield spectacular results. It’s the kind of recipe that brings smiles to faces, whether it’s for a special occasion or just a Tuesday afternoon pick-me-up. I truly hope you give it a try and that it becomes a beloved staple in your kitchen, just like it is in mine. If you love this recipe, you might also enjoy my Moist Blueberry Muffin Recipe or my Foolproof Chocolate Chip Cookie Recipe, which also focus on achieving that perfect tender texture and incredible flavor. Don’t forget to come back and let me know how yours turned out in the comments below, and feel free to share any of your own amazing variations! Happy baking!
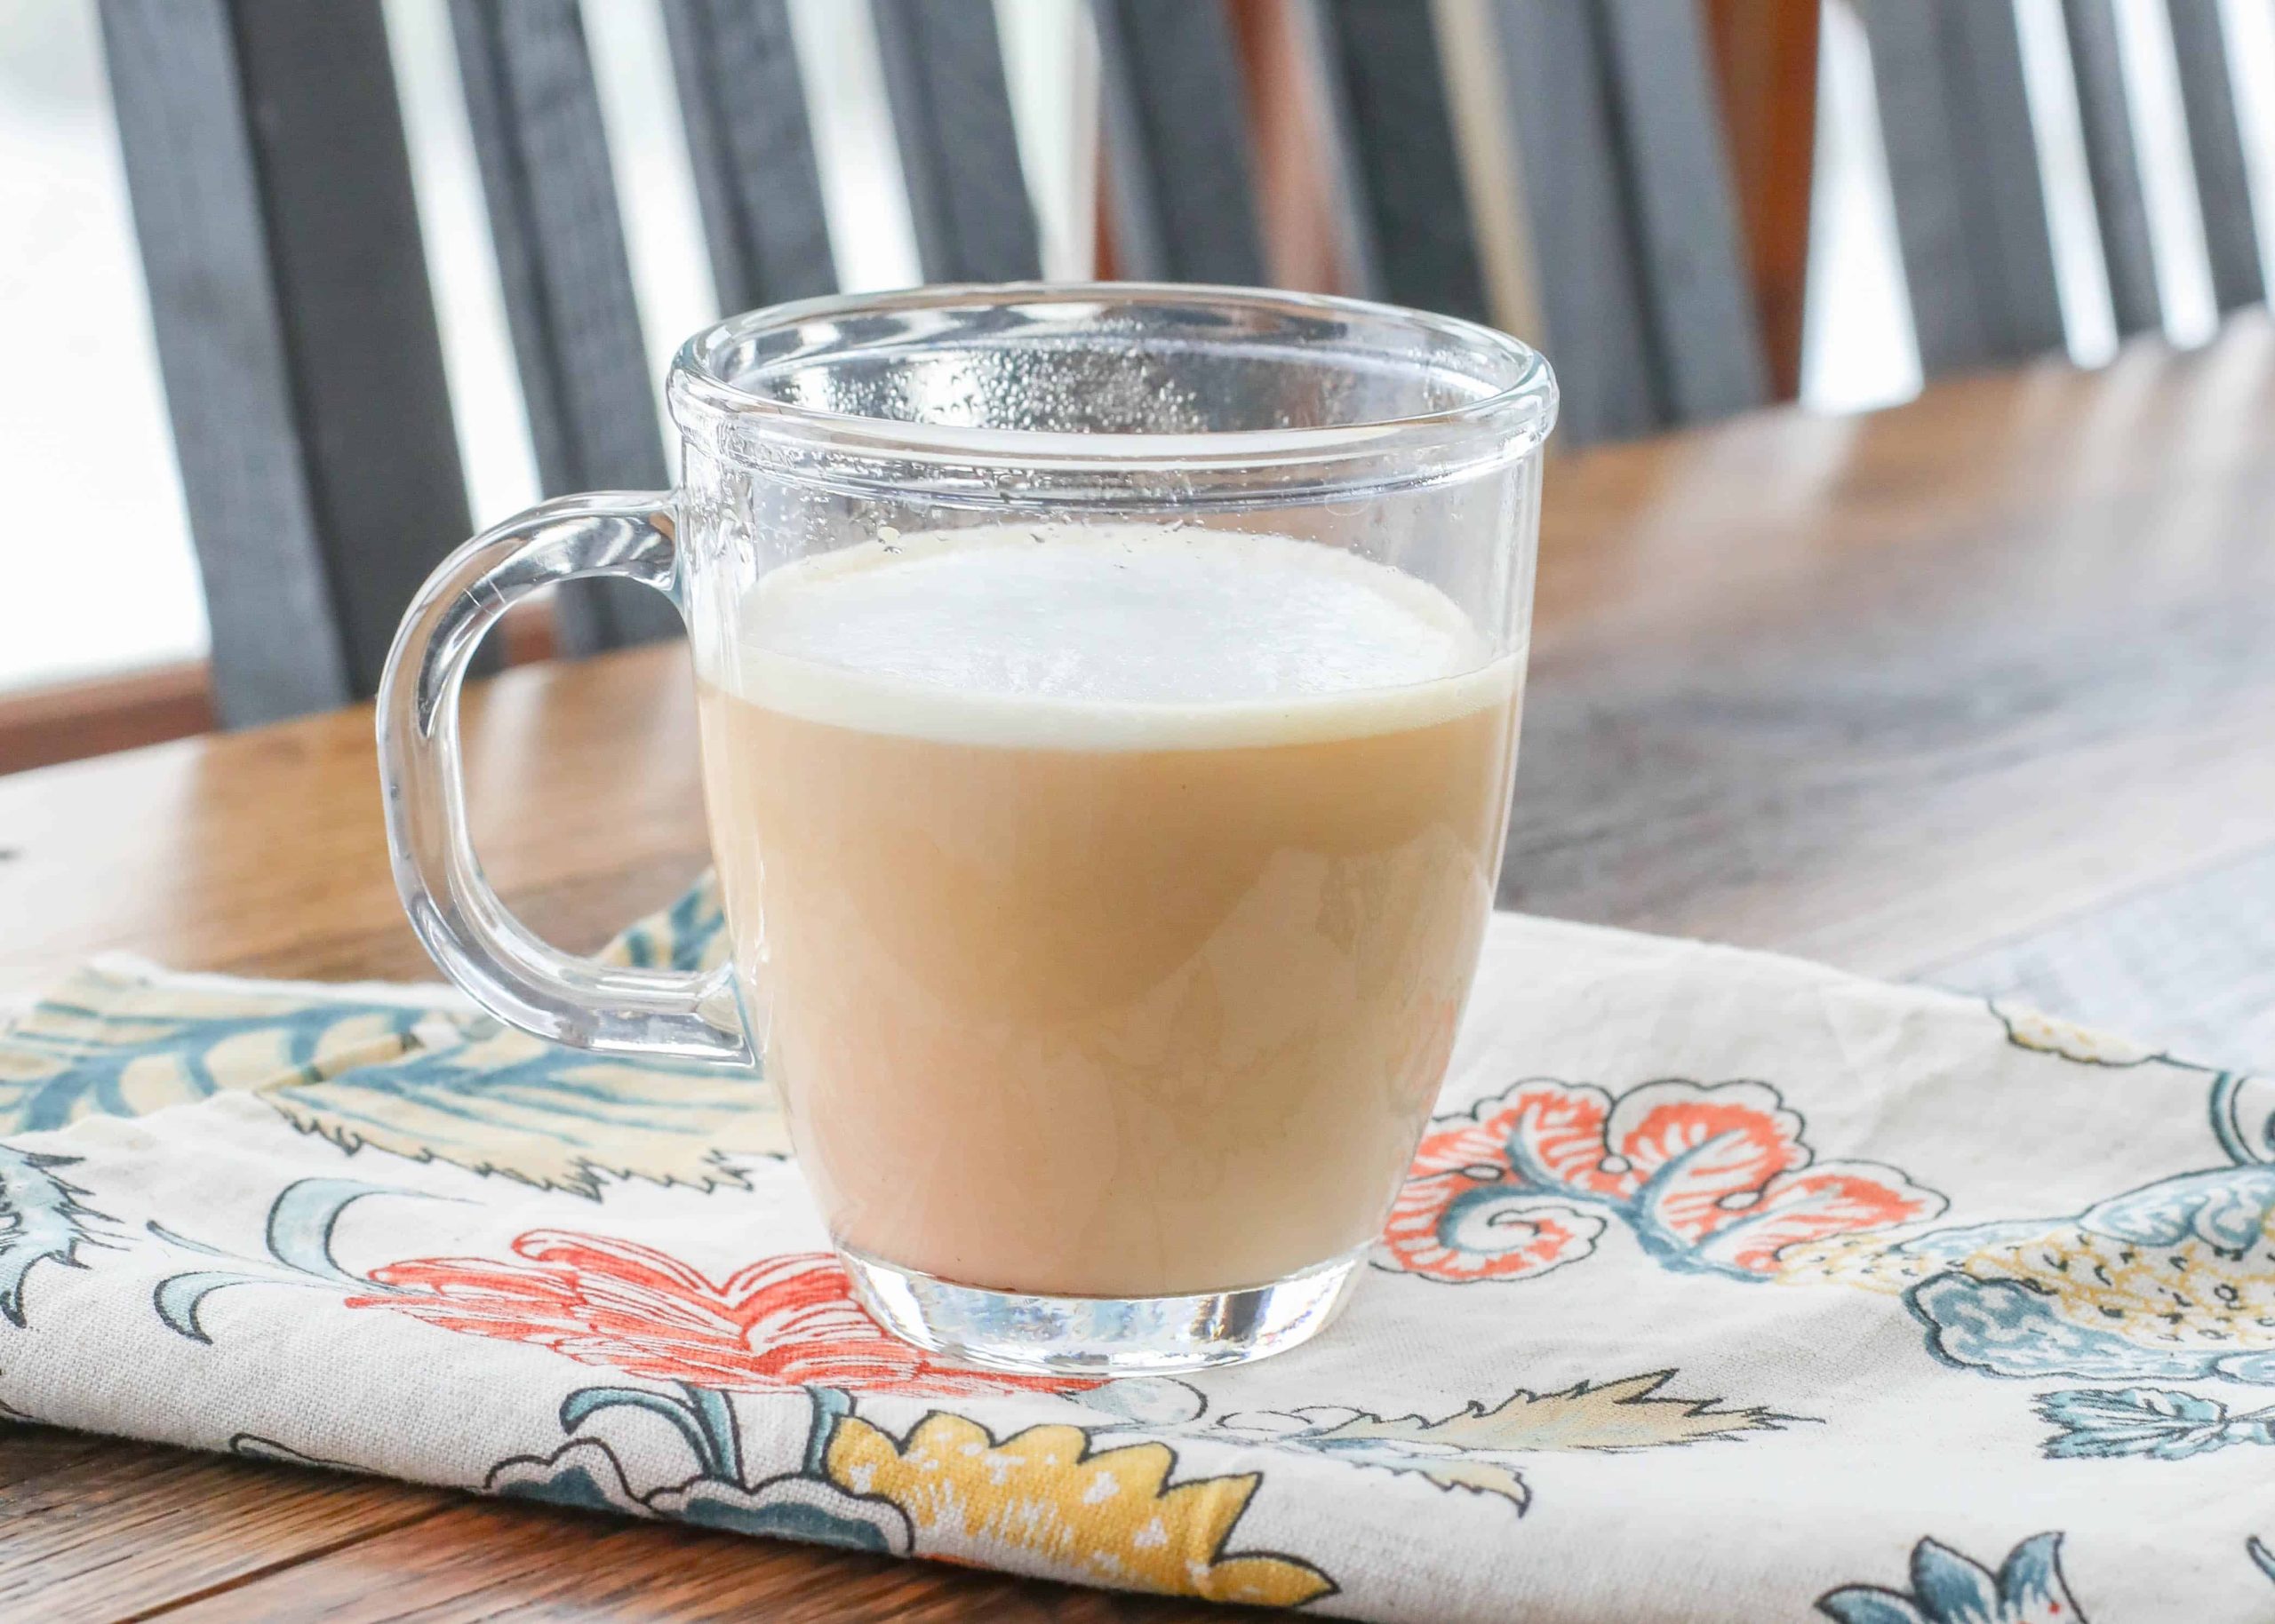
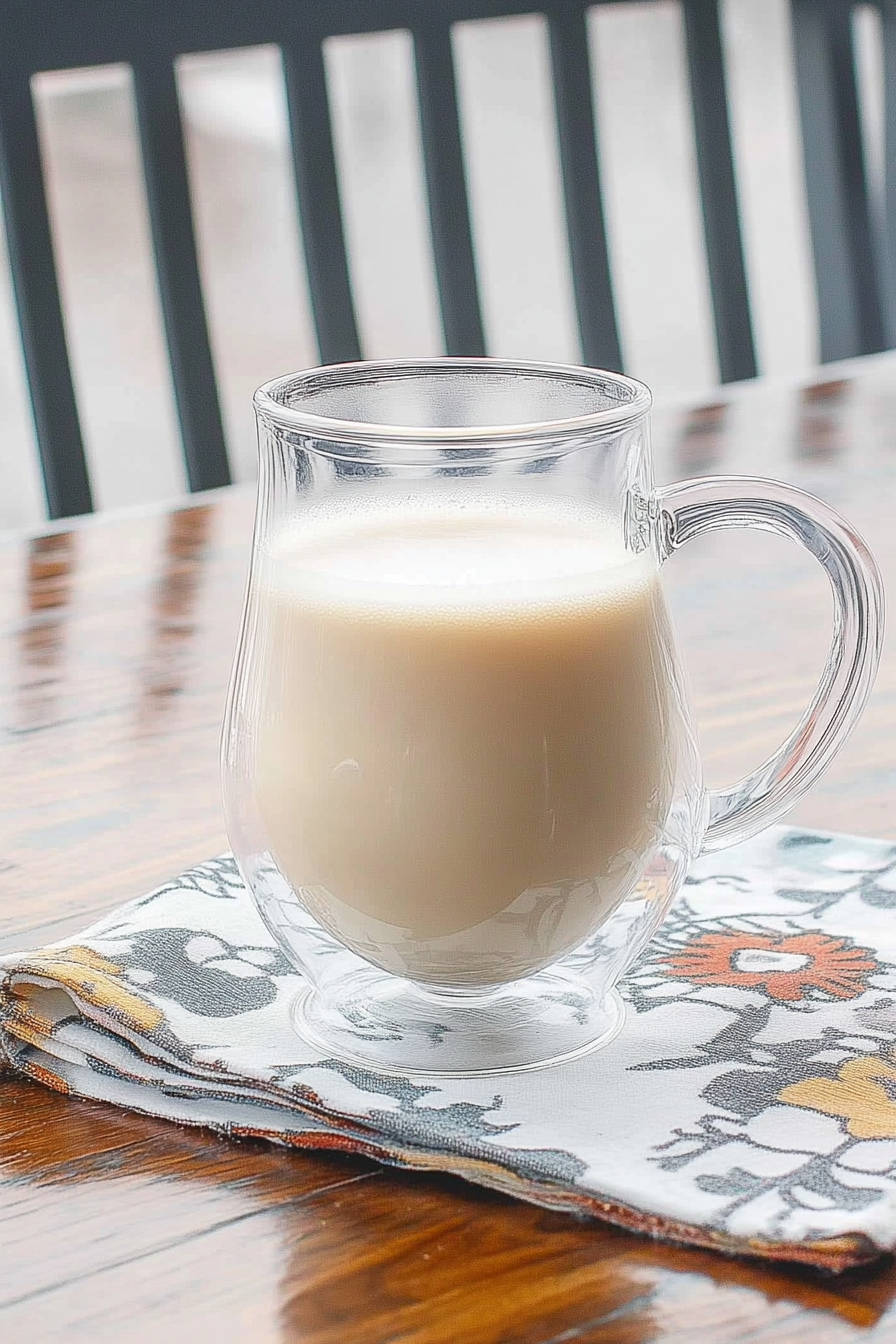
London Fog
Ingredients
Method
- Place the Earl Grey tea bag in a mug with 0.75 cup of boiling water and allow it to steep for 5 minutes. Remove the teabag. If desired, add vanilla syrup and/or your choice of sweetener to the tea and stir.
- While the tea is steeping, heat the milk in a small saucepan over medium heat or in the microwave until it's steaming hot (do not boil). Use a milk frother for about 15 seconds, or whisk vigorously, until the milk doubles in size and becomes super foamy.
- Carefully pour the frothed milk over the hot tea and stir gently to combine. Serve immediately and enjoy your homemade London Fog.