Autumnal Cheesecake Bars How Easy!
There’s something truly magical about pulling out the baking pan and filling the house with that warm, inviting smell of fresh zucchini and sweet vanilla. I remember helping my grandma in her cozy kitchen, where she’d always happen to have a mountain of bright green zucchinis from her garden. She’d say, “Let’s turn these humble veggies into something special!” That’s how this zucchini swirl cake came to be — a recipe I’ve made countless times, and every single time, it feels like a warm hug from my childhood. It’s honestly one of those desserts that surprises everyone — it looks fancy, but it’s ridiculously easy to whip up on a busy weeknight. My kids ask for this all the time, especially when I sneak in extra zucchini to keep it secretly healthy. Plus, the swirls of cinnamon-spiced filling make each bite dance with flavor. Trust me, once you try it, it’ll become a family favorite your loved ones will ask for over and over again—just like mine do.
What is Grandma’s Zucchini Swirl Cake?
This zucchini swirl cake is basically a tender, moist cake layered with a luscious cinnamon-spiced filling that’s rolled into beautiful ribbons. Think of it as a cross between a quick bread and a classic coffee cake—but with a veggie twist. It’s essentially a way to sneak more greens into your family’s diet without any fuss, all wrapped up in a cozy, crumbly texture that’s perfect for breakfast, dessert, or an afternoon pick-me-up. The name comes from those gorgeous swirly ribbons of cinnamon filling that swirl through the batter like a sweet, fragrant dance floor. I discovered this recipe years ago when I was looking for a way to use up my garden zucchinis—and honestly, it turned into a go-to lazy Sunday bake that my friends and family now cling to. Think of it as a dish that’s humble at first glance, but wow, is it full of flavor and soul.
Why you’ll love this recipe?
What I love most about this zucchini swirl cake is how deceptively simple it is—yet the results feel totally special. The flavor profile is irresistibly warm, with notes of cinnamon and vanilla blending seamlessly into the moist, tender crumb. It’s not overly sweet, making it perfect for breakfast alongside a steaming cup of coffee or tea, but it’s just sweet enough to satisfy a dessert craving without feeling heavy. And let’s not forget how budget-friendly and flexible this recipe is! You probably already have everything in your pantry—flour, sugar, a few zucchinis—and the only prep is grating that veggie. Plus, this cake can be customized in so many ways. I’ve tested it with almond milk, swapped out walnuts for pecans, and even added a dash of nutmeg — each tweak just adds its own cozy touch. It’s a lifesaver on busy nights when I want something comforting and homemade without any complicated steps. Honestly, my kids ask for this all the time, and I love that I can sneak in those extra veggies while satisfying our sweet tooth. That’s a win in my book!
How do I make Zucchini Swirl Cake?
Quick Overview
This cake is super straightforward — mix your dry ingredients separately, whisk your wet ingredients, combine gently, layer in the cinnamon filling, swirl, and then bake. It’s a one-bowl kind of deal, which I love because I hate washing tons of dishes. The secret to that gorgeous swirl? Just dollop the filling on top and swirl it in with a toothpick or skewer. Baking time is flexible—mine usually go for about 35-40 minutes, but I always keep an eye on it. Once it’s golden and a toothpick comes out clean, you’re pretty much set. Cool it in the pan for 10 minutes, then transfer it to a cooling rack. The glaze? A simple powdered sugar drizzle with a splash of vanilla — or just a sprinkle of cinnamon on top if I’m feeling lazy. This one’s a lifesaver when you’re craving something sweet at 10 pm but don’t want to bake a full cake. Believe me, it’s just as good the next day, and even better toasted with a little butter!
Ingredients
For the Main Batter:
– 2 cups all-purpose flour (freshly sifted if you can, it makes a difference)
– 1 cup granulated sugar
– 1 teaspoon baking powder
– 1/2 teaspoon baking soda
– 1/4 teaspoon salt
– 1 teaspoon cinnamon (because without it, what’s the point?)
– 1/2 teaspoon vanilla extract (or vanilla bean paste if you have it)
– 1 cup grated zucchini (squeezed dry — I always do this right after grating)
For the Filling:
– 1/4 cup brown sugar
– 1 teaspoon cinnamon (the more, the better in my book)
– 2 tablespoons melted butter or coconut oil
– Optional: chopped walnuts or pecans for crunch
For the Glaze:
– 1 cup powdered sugar
– 1-2 tablespoons milk or almond milk
– A splash of vanilla or a pinch of cinnamon for extra flavor
Step-by-Step Instructions
Step 1: Preheat & Prep Pan
First, I set my oven to 350°F (175°C), which is perfect for this cake. Grease a 9-inch round or square baking pan — I like to line it with parchment paper for easy removal. Make sure your zucchinis are grated and squeezed dry; I do this by wrapping them in a clean kitchen towel and giving them a good squeeze. This step keeps the cake from getting too moist and gummy. Trust me, soggy zucchini is no fun. Once prepped, we’re ready to mix!
Step 2: Mix Dry Ingredients
In a large bowl, whisk together the flour, sugar, baking powder, baking soda, salt, and cinnamon. I always do this in one go because it ensures everything’s evenly distributed. Proper mixing is key—otherwise, those baking soda bubbles might cluster or not work evenly. Once done, set it aside—it’s going to be the base for your batter.
Step 3: Mix Wet Ingredients
In another bowl, whisk your eggs (or flax eggs if you’re vegan), vanilla, and the oil or melted butter. I’ve tested this with applesauce for a healthier twist, and it still worked beautifully! Add the grated zucchini to this mixture, and stir until combined. Make sure the eggs are at room temperature if possible—that helps with mixing smoothly and keeps your batter nice and fluffy.
Step 4: Combine
Pour the wet mixture into the dry ingredients and fold gently with a spatula. No overmixing here — you want a light, tender crumb, not a tough one. The batter will be thick but pourable. If it feels too stiff, a splash of milk or almond milk can loosen it up just right. A little lumpy is okay—that means you didn’t overmix.
Step 5: Prepare Filling
Mix the brown sugar, cinnamon, and melted butter in a small bowl until crumbly. If you’re feeling extra indulgent, throw in chopped nuts here; they add a lovely crunch. This filling will create those irresistible cinnamon ribbons when you swirl it through the batter. I often prepare this while the batter rests—multitasking is my friend on busy days!
Step 6: Layer & Swirl
Pour half of the batter into your prepared pan. Dot it with dollops of the cinnamon filling, then pour the remaining batter on top. Using a skewer or a butter knife, swirl through the layers gently, creating beautiful ribbon patterns. This is my favorite part—it’s so satisfying to see those swirls come together. Just take your time and don’t over-swirl; you want the filling to stay in pockets for that pretty marbled effect.
Step 7: Bake
Pop it into your preheated oven and bake for about 35-40 minutes. The top should be golden and a toothpick inserted in the center should come out clean. Every oven is a little different, so don’t be shy about checking at the 35-minute mark. If it’s browning too fast, tent it with foil. I’ve learned that patience pays off — you want that perfect soft, moist crumb with a little crackly top.
Step 8: Cool & Glaze
Once out of the oven, let the cake cool in the pan for at least 10 minutes—this helps it set and makes slicing easier. Transfer to a wire rack if you want a crisp top. Then, drizzle on your glaze. I like the powdered sugar glaze because it adds just enough sweetness without overpowering. If I’m feeling fancy, I dust it with a touch of cinnamon too. The smell alone during cooling is enough to make everyone eager for a slice!
Step 9: Slice & Serve
Use a sharp knife to cut clean slices. I prefer cutting it once it’s just slightly warm because the glaze melts into each bite, making it even more luscious. Serve with a cup of coffee or tea — I swear this is a morning baked good as much as it is a dessert. Leftovers are great toasted the next day, with a little butter melting on top. Trust me, it disappears in minutes in my house!
What to Serve It With
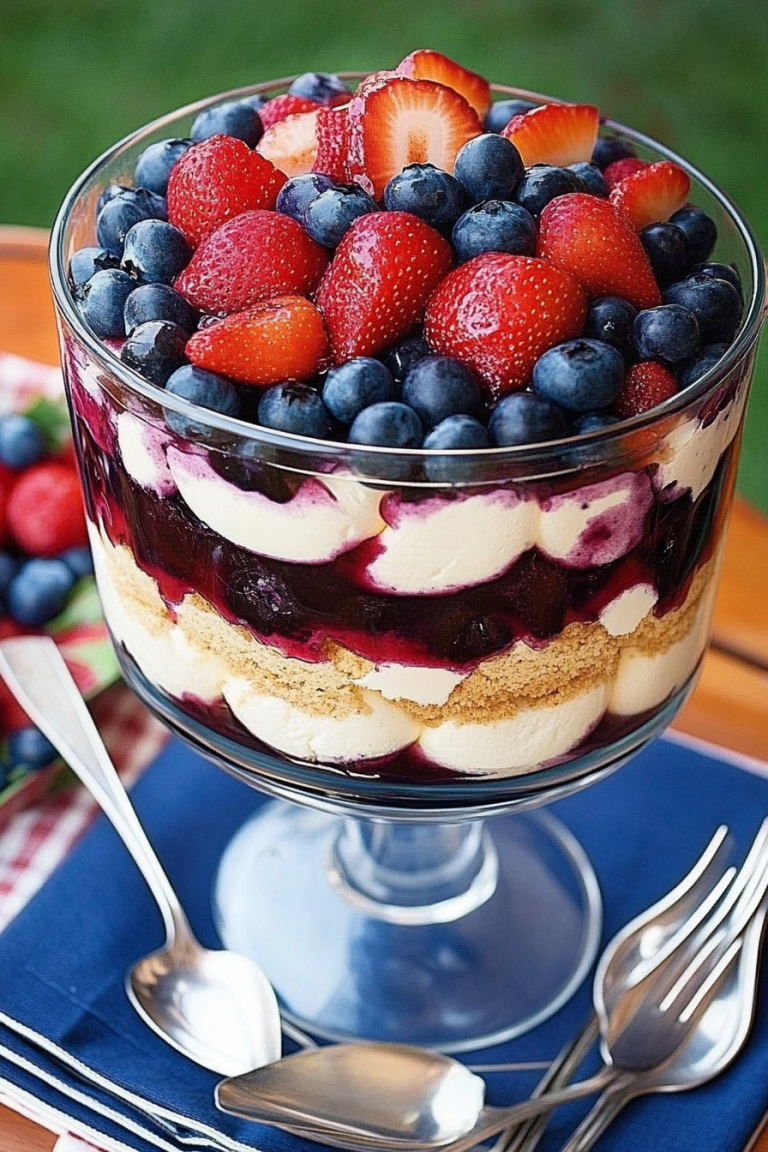
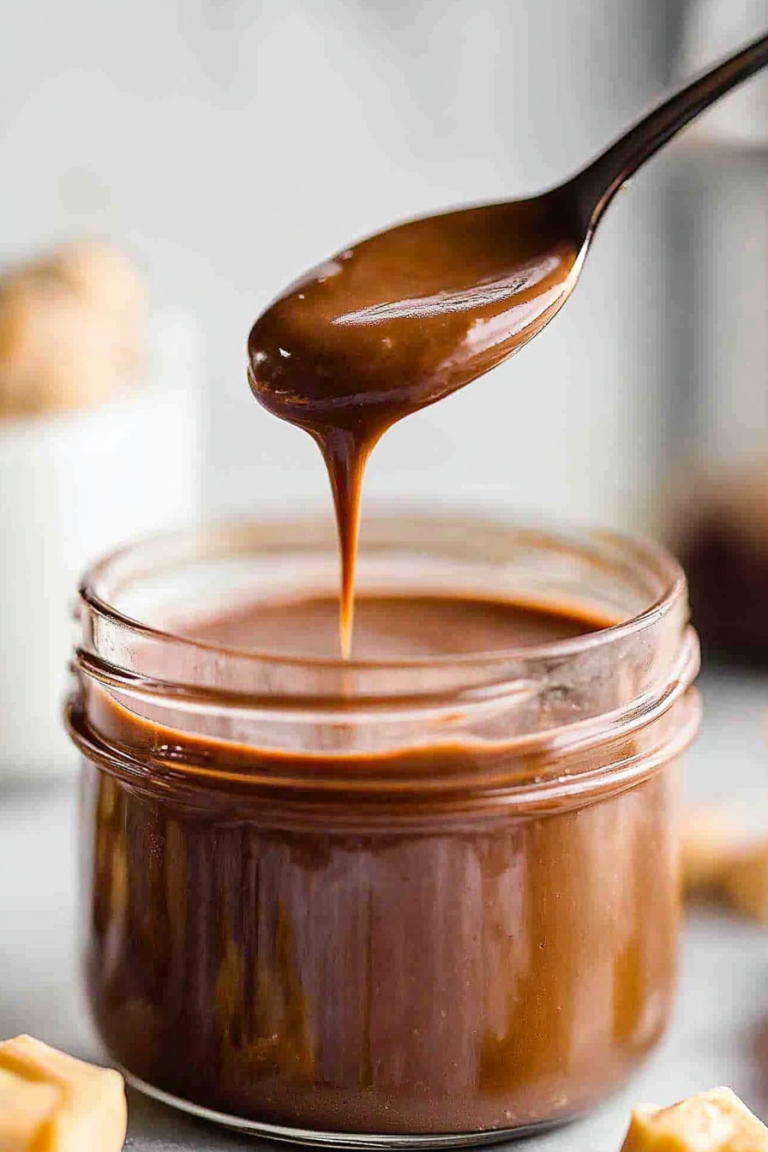
This cake is so versatile. For breakfast, I love pairing it with a strong cup of coffee or a glass of cold milk. My kids love it warm, sliced thick and served with a dollop of whipped cream or a drizzle of honey. When I make it for brunch, I slice it into smaller pieces and pass around with fresh fruit — maybe some berries or sliced peaches. It’s also stunning with a scoop of vanilla ice cream or a drizzle of caramel sauce for dessert. I’ve even served tiny squares as cozy snacks during movie nights; it’s that comforting. If you’re extra creative, you can throw in some chopped apples or carrots into the batter — I’ve tried both, and they work beautifully. My family has a tradition of enjoying this on lazy weekend mornings, and I love how it fills the house with good cheer.
Top Tips for Perfecting Your Grandma’s Zucchini Swirl Cake
Everyone’s oven is a little different, so don’t be afraid to experiment. Here’s what I’ve learned after dozens of batches:
- Zucchini Prep: Always squeeze out as much moisture as possible after grating — it prevents sogginess. I use a clean kitchen towel and give it a good wring; it makes all the difference.
- Mixing Advice: Overmixing the batter makes the cake dense. Gently fold until just combined. Look for a slightly lumpy batter—that’s perfect.
- Swirl Techniques: A swirl too vigorous can blend the filling into the batter, losing the pretty pattern. Use a light hand — a skewer or chopstick works best for delicate marbling.
- Ingredient Swaps: Try swapping the sugar for honey or maple syrup—just reduce the liquid slightly to compensate. I’ve also used coconut oil for a richer flavor.
- Baking Tips: Always check your cake a few minutes before the timer ends. Ovens vary, and you don’t want a dry crumb. Oven racks in the center usually give the best even bake.
- Glaze Variations: For a citrus twist, add a teaspoon of lemon juice to the glaze. Or toss in a pinch of cardamom for an exotic flair. It’s fun to experiment!
This cake is forgiving, so don’t stress if it’s not perfect the first time. Every batch, I learn a little more — and honestly, each one tastes better than the last because I’ve made it my own. Plus, I always find new ways to tweak the filling or the glaze — it’s a recipe that keeps giving.
Storing and Reheating Tips
This cake keeps well for a couple of days. I usually store it loosely covered in the fridge if I want to keep it fresh longer — just remember, the zucchini can make it a little moist, so keep it wrapped. For best flavor, I let it come to room temperature before serving. To reheat, just pop a slice in the microwave for about 15-20 seconds; it warms beautifully and the glaze softens into a sweet, sticky topping. If you’d like to stash a few slices for later, wrap each piece tightly in plastic wrap and freeze — it thaws quickly and still tastes amazing. Just add a tiny drizzle of glaze after reheating for that freshly-baked feel. Trust me, leftovers are as good as fresh — maybe even better, because all those flavors have had time to settle into each other.
Frequently Asked Questions
Final Thoughts
Honestly, this zucchini swirl cake isn’t just a recipe — it’s a little slice of comfort from my kitchen to yours. It’s humble, yes, but the flavors are profound, and it has a way of making everyone feel right at home. I love how simple ingredients come together in just a few steps to create something that feels special and indulgent. Plus, knowing I can sneak some veggies into what’s essentially a treat makes it even more worthwhile. Whether you’re baking it for a lazy Sunday brunch or craving something sweet after dinner, this cake never disappoints. I encourage you to give it a try — tweak the fillings, add your favorite nuts, or experiment with the glaze. Happy baking, and I can’t wait to hear how yours turns out! Don’t forget to share your photos and favorite twists in the comments — I’d love to see your creations!
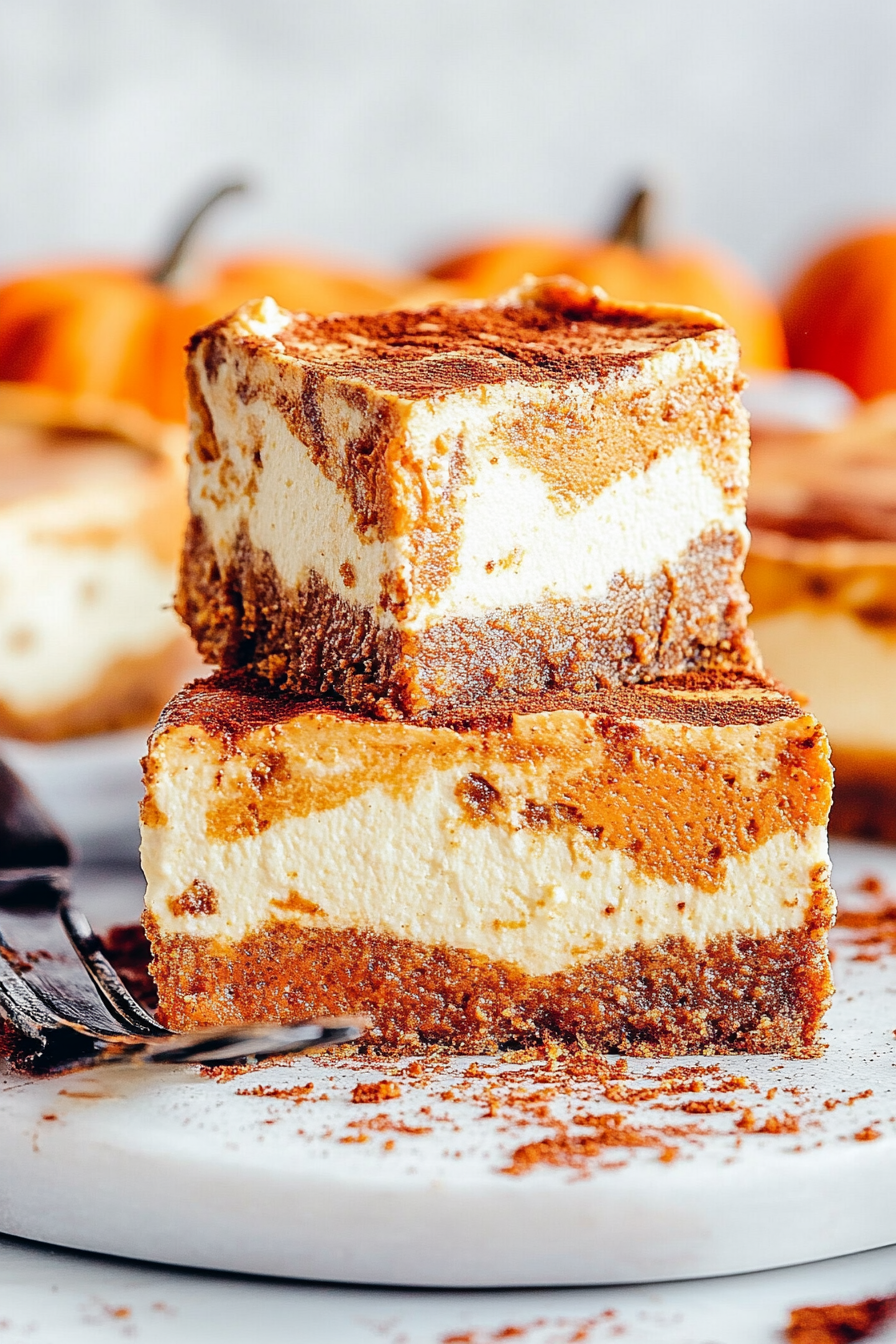
pumpkin cheesecake
Ingredients
Method
- Preheat oven to 350F. Line a 9x13-inch baking pan with parchment or foil, and spray with nonstick spray.
- Prepare the crust: add graham cracker crumbs to a food processor and pulse until fine. Mix with melted butter until crumbly. Press into the prepared baking pan to form an even crust.
- Bake the crust for 10 minutes, then set aside to cool slightly.
- Make the pumpkin mixture: whisk pumpkin puree, pumpkin pie spice, cinnamon, flour, and salt in a large bowl.
- In a separate bowl, beat cream cheese and sugar until smooth. Add sour cream and vanilla, mix well. Incorporate eggs one at a time, mixing just until combined.
- Remove 1.5 cups of cream cheese mixture; add it to the pumpkin mixture and stir until just combined.
- Drop spoonfuls of pumpkin mixture onto cream cheese batter in the crust. Alternate with spoonfuls of the remaining cream cheese mixture.
- Use a toothpick or knife to swirl the two batters together to create a marbled effect.
- Bake for 40 minutes, until set. Cool in pan for 1 hour, then chill in the fridge for at least 2 hours or overnight.
- Slice and serve chilled, topped with whipped cream or caramel if desired.