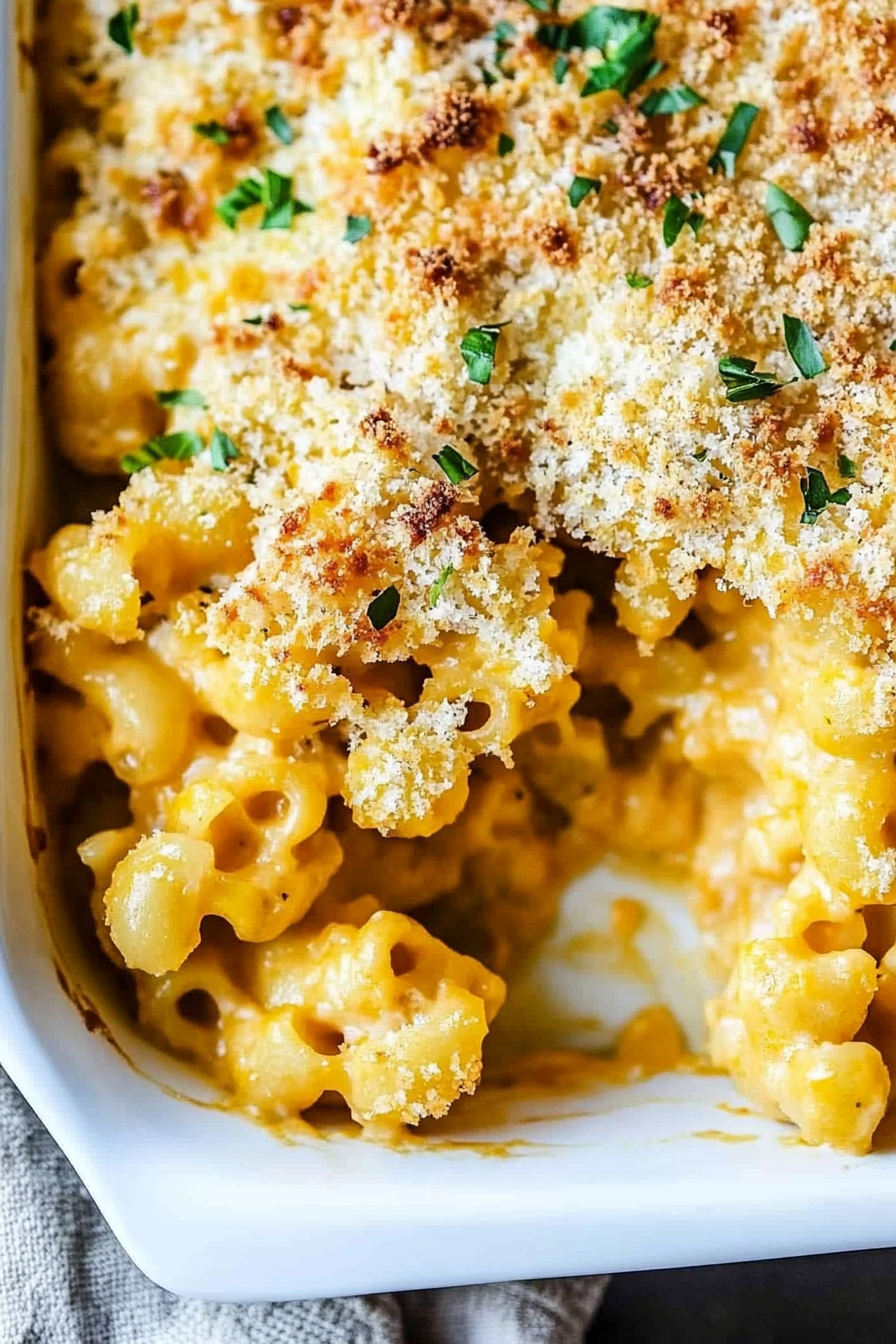
Creamy Autumn Mac and Cheese Recipe
I still remember the first time I made these delicious, gooey, and utterly divine sweet treats with my little niece. She was just two years old then, and her eyes widened with wonder as she tasted the combination of crispy outside and soft, sweet inside. It was as if the world had come alive for her, and in that moment, I knew I had created something truly special. These sweet treats have been a staple in our household ever since, and I’m excited to share them with you today!
What is [Recipe Name]?
So, what exactly are these magical sweet treats? Think of them as a sweet, indulgent treat that’s essentially a cross between a cookie and a cake. They’re perfect for when you’re craving something sweet but don’t want to bake a whole cake. My kids ask for these all the time, and I’m always happy to oblige. This one’s a lifesaver on busy nights when dinner is done and everyone’s looking for a sweet treat to cap off the evening.
Why you’ll love this recipe?
Okay, so why will you love this recipe? Well, where do I even start? First of all, the flavor is absolutely incredible – a perfect combination of sweet and savory that will leave you wanting more. And the best part? It’s incredibly easy to make, even for beginners. This recipe is perfect for a quick dessert or snack that’s sure to impress. Plus, it’s budget-friendly, so you can indulge without breaking the bank. My kids actually ask for seconds, and I’m more than happy to oblige.
How do I make [Recipe Name]?
Quick Overview
So, how do you make these amazing sweet treats? Don’t worry, it’s easier than you think! The entire process takes less than an hour from start to finish, and it’s a perfect activity to do with the kids. Simply preheat your oven to 375°F (190°C), mix together the wet and dry ingredients, and then combine them for a delicious, gooey treat. Trust me on this one – it’s a game-changer!
Ingredients
What are the ingredients for this recipe?
For the Main Batter:
– 2 1/4 cups all-purpose flour
– 1 tsp baking powder
– 1 tsp baking soda
– 1 tsp salt
– 1 cup unsalted butter, softened
– 3/4 cup granulated sugar
– 1 cup brown sugar
– 2 large eggs
– 2 tsp vanilla extract
– 1 cup milk (you can use almond milk too, and it makes it even creamier!)
– 1 cup semi-sweet chocolate chips
– 1 cup chopped walnuts (optional)
For the Filling:
– 1 cup semi-sweet chocolate chips
– 1 cup chopped walnuts (optional)
– 1 cup heavy cream
– 1 tsp vanilla extract
For the Glaze:
– 1 cup powdered sugar
– 2 tbsp milk
– 1 tsp vanilla extract
Step-by-Step Instructions
Step 1: Preheat & Prep Pan
Preheat your oven to 375°F (190°C). While the oven is heating up, prep your pan by greasing it with some butter or cooking spray. I like to use a 9×13-inch pan for this recipe, as it’s the perfect size for a dozen or so treats. Don’t worry if you don’t have one of these pans – you can use a regular baking dish or even a muffin tin!
Step 2: Mix Dry Ingredients
In a medium-sized bowl, whisk together your dry ingredients – flour, baking powder, baking soda, and salt. Don’t worry if there’s a little bit of lumps – it’s totally normal! Just make sure to get those lumps out before moving on to the next step.
Step 3: Mix Wet Ingredients
In a separate, larger bowl, whisk together your wet ingredients – softened butter, granulated sugar, and brown sugar. This mixture should be smooth and creamy, with no lumps or bumps. If you’re using a stand mixer, this is a great time to break it out and make the mixing process a breeze!
Step 4: Combine
Now it’s time to combine your wet and dry ingredients. Simply pour the dry ingredients into the wet ingredients and mix until a dough forms. Don’t overmix – you want the dough to be just combined, with a few streaks of flour remaining. If you do overmix, don’t worry – it’s an easy fix. Just stop mixing and let the dough rest for a few minutes before proceeding.
Step 5: Prepare Filling
The filling is where the magic happens! Simply melt your chocolate chips in a double boiler or in the microwave in 30-second increments, stirring between each interval until smooth. Then, stir in your chopped walnuts and heavy cream until well combined. If you’re using vanilla extract, now’s the time to add it in!
Step 6: Layer & Swirl
Now it’s time to layer and swirl your treats. Simply pour half of the dough into the prepared pan and smooth the top. Then, pour the filling over the dough and smooth the top. Finally, pour the remaining dough over the filling and smooth the top. Use a spatula or knife to create a beautiful swirly design on top – it’s totally optional, but it’s a fun way to customize your treats!
Step 7: Bake
Pop that pan into the oven and bake for 25-30 minutes, or until the edges are golden brown and the center is set. If you’re using a muffin tin, bake for 15-20 minutes, or until the edges are golden brown and the center is set.
Step 8: Cool & Glaze
Once the treats are done baking, let them cool in the pan for 10-15 minutes. Then, transfer them to a wire rack to cool completely. If you want to get fancy, top them with a glaze made from powdered sugar, milk, and vanilla extract. It’s the perfect way to add an extra layer of sweetness and flavor to these already-delicious treats!
Step 9: Slice & Serve
Finally, it’s time to slice and serve! Use a sharp knife to cut the treats into squares or rectangles, depending on your preference. Serve them warm or at room temperature, and enjoy the ooey-gooey goodness that’s sure to follow!
What to Serve It With
So, what can you serve these sweet treats with? Well, the possibilities are endless! Here are a few ideas to get you started:
For Breakfast: Serve them with a warm cup of coffee or tea for a delicious breakfast treat. Or, pair them with some fresh fruit and yogurt for a healthy and delicious breakfast combo.
For Brunch: Serve them with a side of scrambled eggs or bacon for a delicious brunch treat. Or, pair them with some fresh fruit and whipped cream for a sweet and indulgent brunch combo.
As Dessert: Serve them with a scoop of vanilla ice cream or whipped cream for a decadent and delicious dessert treat.
For Cozy Snacks: Serve them with a warm cup of hot chocolate or a glass of cold milk for a delicious and comforting snack.
Top Tips for Perfecting Your [Recipe Name]
Here are some top tips for perfecting your :
Zucchini Prep: Make sure to grate your zucchini with a box grater or a food processor to ensure it’s nice and fine. Don’t overdo it – you want it to be just combined, with a few streaks of zucchini remaining.
Mixing Advice: Don’t overmix your dough – you want it to be just combined, with a few streaks of flour remaining. If you do overmix, don’t worry – it’s an easy fix. Just stop mixing and let the dough rest for a few minutes before proceeding.
Swirl Customization: Use a spatula or knife to create a beautiful swirly design on top of your treats. It’s totally optional, but it’s a fun way to customize your treats!
Ingredient Swaps: Feel free to swap out the chocolate chips for chopped nuts or dried fruit for a different flavor combination.
Baking Tips: Make sure to keep an eye on your treats while they’re baking – they can go from perfectly done to burnt in a matter of minutes.
Glaze Variations: Experiment with different glaze flavors by using different extracts or spices. Or, try using a different type of sugar or milk for a different flavor combination.
Storing and Reheating Tips
Here are some storing and reheating tips for your :
Room Temperature: Store your treats in an airtight container at room temperature for up to 3 days.
Refrigerator Storage: Store your treats in an airtight container in the refrigerator for up to 5 days.
Freezer Instructions: Store your treats in an airtight container or freezer bag for up to 2 months. When you’re ready to eat them, simply thaw them at room temperature or reheat them in the microwave or oven.
Frequently Asked Questions
Final Thoughts & Conclusion
And there you have it – a delicious and easy-to-make recipe that’s perfect for any occasion. Whether you’re looking for a quick breakfast treat or a decadent dessert, this recipe is sure to please. So go ahead, give it a try, and let me know what you think! Happy baking!