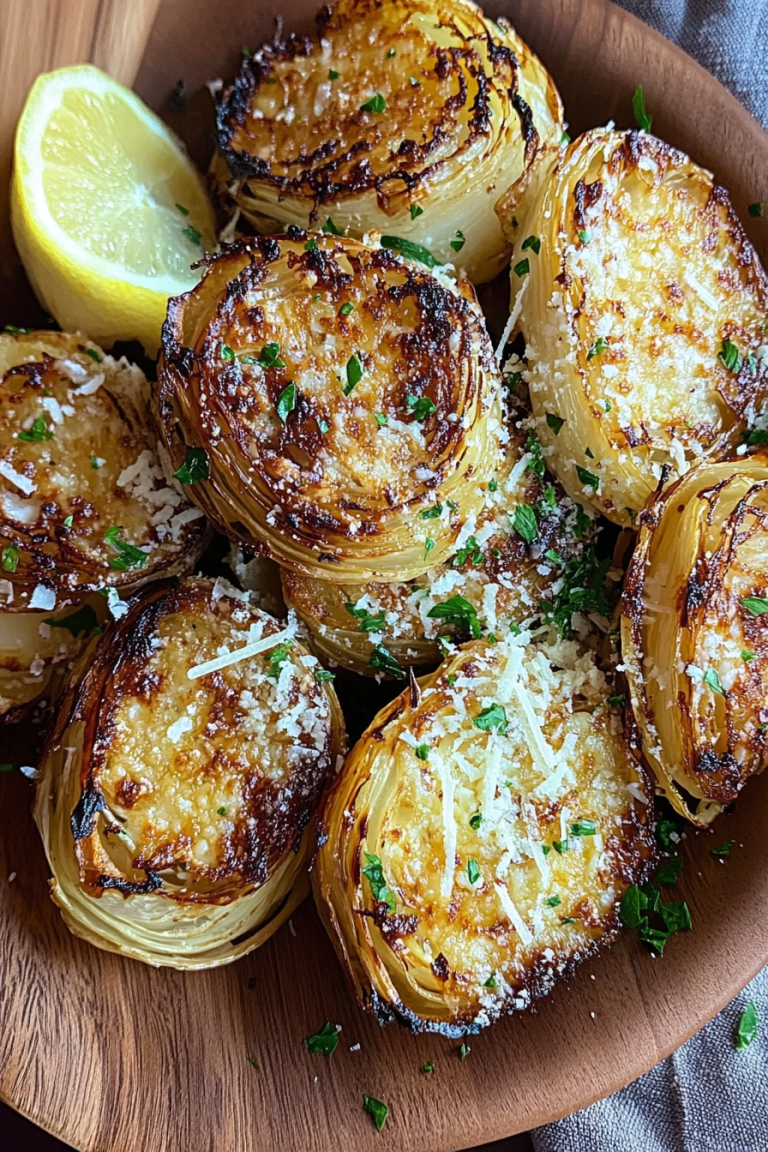
Easy Baked Rings Offer Crispy Onion Flavor
If you’re anything like me, there’s something about that warm, smell-of-home aroma that hits you the moment this zucchini swirl coffee cake starts baking. I always do this when I want to impress my family or when I need something sweet but don’t want to spend hours in the kitchen. It’s surprisingly simple—think of it as a cozy hug wrapped in layers of moist, tender cake with a luscious swirl of cinnamon-spiced zucchini filling. My kids ask for this all the time, especially on lazy Sunday mornings, and honestly, I’ve made this so many times I’ve lost count. It’s heaven on a plate, and the best part? It’s a sneaky way to get your greens in! The smell alone brings everyone to the kitchen, and I swear, it disappears in minutes—trust me on this one. And if you’re a little intimidated by the idea of zucchini in dessert, don’t worry. Once you try this, you’ll wonder why you didn’t do it sooner. So grab your favorite mug, pour a cup of coffee, and let’s get baking with my all-time favorite zucchini swirl coffee cake.
What is Zucchini Swirl Coffee Cake?
This zucchini swirl coffee cake is like a cozy playlist you keep hitting repeat on. Think of it as a tender, fluffy cake, gently flavored with vanilla and cinnamon, layered with a bright, slightly sweet zucchini filling—almost like a cinnamon roll, but in coffee cake form. It’s essentially a hybrid between a muffin and a cinnamon swirl bread, made for sharing (or not!). The name comes from that beautiful, marbled swirl of zucchini and cinnamon that runs through the center, giving it a little surprise every time you slice into it. It’s the kind of dessert or breakfast treat that’s perfect for weekend brunches, potlucks, or just when you’re craving something that’s cozy, tasty, and a little wholesome. I love how versatile it is—not too sweet, but with just enough richness to satisfy that sweet tooth. Plus, it’s a sneaky way to sneak some veggies into dessert—my kids actually ask for seconds and don’t even realize their secret ingredient!
Why you’ll love this recipe?
What I love most about this zucchini swirl coffee cake is how incredibly forgiving it is—seriously, I’ve tested this with all kinds of variations and it still comes out amazing. The flavor is just perfect; it’s a delicate balance of moist vanilla cake with warm cinnamon, complemented by a fresh zucchini filling that isn’t too heavy or watery. The swirl technique makes every slice look like a little work of art—beautiful enough to serve at a brunch but simple enough to whip up on a weekday. Plus, it’s budget-friendly with ingredients you probably already have in your pantry. I heartily recommend trying it with a splash of almond extract or swapping brown sugar for honey in the filling for extra depth. I think what really makes this recipe stand out is its versatility—it’s just as good warmed up as it is at room temperature, and it keeps well for a few days, making it perfect for breakfast, snack time, or even late-night cravings. Honestly, this is one of those recipes I always keep close—it’s a lifesaver on busy nights when I need something comforting and homemade in a flash.
How do I make Zucchini Swirl Coffee Cake?
Quick Overview
This zucchini swirl coffee cake starts with a simple, lightly sweet vanilla batter that’s basically foolproof. While the cake is baking, you prepare a quick cinnamon-zucchini filling—nothing fancy, just shredded zucchini with a touch of sugar, cinnamon, and a splash of lemon juice for brightness. Once your batter is ready, you pour half into your pan, spread the filling over it, then swirl in the remaining batter to create those gorgeous marbled layers. Pop it in the oven for about 40-45 minutes until golden brown and a toothpick comes out clean. The aroma that fills your kitchen will make everyone ask, “When can I have a piece?” Once cooled slightly, I like to drizzle a simple glaze over the top for a little extra sweetness and a glossy finish. It’s honestly one of those recipes that’s more about the joy of making than complicated techniques, and you’ll love how it turns out every single time.
Ingredients
For the Main Batter:
– 2 cups all-purpose flour (I like unbleached for a richer flavor)
– 1 ½ teaspoons baking powder
– ½ teaspoon baking soda
– ½ teaspoon salt
– 1 teaspoon ground cinnamon
– ½ cup unsalted butter, softened (or you can use coconut oil for a dairy-free twist)
– 1 cup sugar (or coconut sugar for a more caramel flavor)
– 2 large eggs
– 1 teaspoon vanilla extract
– ¾ cup buttermilk (or almond milk + 1 tsp lemon juice to mimic)
For the Filling:
– 1 ½ cups shredded zucchini (squeeze out excess moisture then measure)
– 2 tablespoons sugar
– 1 teaspoon ground cinnamon
– ½ teaspoon lemon zest (optional but adds brightness)
– 1 teaspoon lemon juice (keeps the filling fresh and vibrant)
For the Glaze:
– ½ cup powdered sugar
– 1-2 tablespoons milk or cream
– ¼ teaspoon vanilla extract
– A pinch of cinnamon or lemon zest for flavor variations
Step-by-Step Instructions
Step 1: Preheat & Prep Pan
Set your oven to 350°F (175°C). Grease a 9-inch round springform or cake pan with butter or cooking spray and line the bottom with parchment paper for easy removal. I always do this early so I’m ready when the batter is.
Step 2: Mix Dry Ingredients
In a medium bowl, whisk together the flour, baking powder, baking soda, salt, and cinnamon. This step ensures even distribution of the leavening agents, giving you a tender, evenly risen cake. Trust me, skip this part and you might end up with uneven bites or a dense texture — learnt that the hard way!
Step 3: Mix Wet Ingredients
In a large bowl, cream the softened butter and sugar until light and fluffy—about 2-3 minutes. Add the eggs one at a time, beating well after each, then stir in vanilla. This is where the magic of a moist, light cake begins. I tested this with almond milk once, and honestly, it made the cake even creamier—recommend giving it a try!
Step 4: Combine
Gradually add the dry ingredients to the wet mixture, alternating with the buttermilk. Start and end with the flour mixture, mixing just until combined—don’t overmix, or you’ll get a chewy texture. It’s okay if there are a few lumps; that’s what keeps it moist.
Step 5: Prepare Filling
In a small bowl, combine shredded zucchini, sugar, cinnamon, lemon zest, and lemon juice. I like to let the zucchini sit for 5 minutes before using, so it releases some of that extra moisture. Squeeze gently if it looks watery; the drier the better for layering without sogginess.
Step 6: Layer & Swirl
Pour half of the batter into your prepared pan. Spread the zucchini filling evenly over the batter. Then, dollop the remaining batter over the top and use a butter knife or toothpick to swirl and create that beautiful marbled effect. Don’t overdo it—just a gentle swirl is enough. It’s fun to see the pattern form!
Step 7: Bake
Bake for 40-45 minutes, or until a toothpick inserted in the center comes out clean. Keep an eye on it after 35 minutes—the top should be golden, and the filling may slightly bubble at the edges. If the top browns too quickly, tent with foil for the last 10 minutes.
Step 8: Cool & Glaze
Let the cake cool in the pan for about 15 minutes before removing it. Once slightly cooled, drizzle the glaze—just mix powdered sugar with milk and vanilla until smooth. For extra flavor, sprinkle a dash of cinnamon or lemon zest on top.
Step 9: Slice & Serve
Slice it while it’s just slightly warm or at room temperature. For picture-perfect slices, use a serrated knife and wipe it clean after each cut. I like serving this with a cup of black coffee or a glass of cold milk—perfection! It’s just as good the next day, too, if you store it properly.
What to Serve It With
This cake is pretty flexible. For a breakfast treat, pair it with a strong black coffee or a frothy cappuccino—my husband swears it’s the best way to start the day. If you’re brunching, serve slices dusted with powdered sugar or a dollop of whipped cream with fresh berries on the side. As a quick dessert, it’s lovely with vanilla ice cream or a drizzle of caramel sauce. When I crave something cozy in the evening, I just warm up a slice, add a splash of cream, and a sprinkle of cinnamon. It’s also a big hit at family picnics or potlucks—trust me, it always gets compliments. My grandma’s family-style tip? Keep a few slices wrapped in parchment in the fridge; they’re surprisingly delicious even after a couple of days, and the flavors just deepen.
Top Tips for Perfecting Your Zucchini Swirl Coffee Cake
Over the years, I’ve learned a few tricks that help make this cake perfect every time. First, when shredding zucchini, I highly recommend squeezing out as much moisture as you can. I used to skip this step and ended up with a soggy filling—lesson learned! Using a clean kitchen towel or cheesecloth makes it easy, and you can even toss the zucchini with a little salt beforehand to draw out additional liquid.
When mixing the batter, be gentle. Overmixing is the enemy of tender baked goods. I like to fold ingredients just until combined, especially after adding the flour. That keeps the cake fluffy. For the swirl, a light touch is key—don’t overmix or you lose the marbled effect.
Want to customize it? Ginger or nutmeg in the filling gives it a warm kick. You can swap out traditional sugar for honey or maple syrup for a healthier twist. And if you’re dairy-free, coconut oil and almond milk work beautifully—just watch the baking time as they can differ slightly.
As for baking, I always check at around 35 minutes for doneness—the oven can vary. If the top is golden but the center’s not done, lower the heat to 325°F and cover with foil to finish baking. The key is patience and careful monitoring.
Finally, don’t skip the glaze—it elevates the dessert and makes it look fancy even if you’re in a rush. I love adding a splash of lemon zest or vanilla to the glaze for extra flavor. My favorite trick? Wait until the cake has cooled just a bit before drizzling—it sets perfectly and doesn’t run off the sides.
Storing and Reheating Tips
This zucchini swirl coffee cake keeps surprisingly well. If you’re lucky enough to have leftovers, store slices in an airtight container at room temperature for up to 2 days—cover loosely with foil to keep it from drying out. For longer storage, place slices in a resealable bag or airtight container in the fridge for up to 4 days. I like to warm up a slice in the microwave for about 20 seconds if I want that just-baked feel—it’s so comforting. If you want to freeze it, wrap slices tightly with plastic wrap and then foil, and it’ll last up to 3 months. Thaw overnight in the fridge or leave it at room temp for an hour—either way, it’s just as delicious. Just remember, if you add the glaze after reheating, it’ll look glossy and fresh again.
Frequently Asked Questions
Final Thoughts
This zucchini swirl coffee cake isn’t just a treat—it’s a little slice of comfort that I keep coming back to. It’s easy enough for a quick weekday breakfast, but special enough to serve at weekend brunch or a casual gathering. The fact that it’s moist, buttery, with that lovely cinnamon swirl, and sneaks in some zucchini—that’s a win-win in my book. Over the years, I’ve tweaked and perfected this recipe, and I can honestly say it never fails to impress. Whether you’re baking it for yourself or sharing with loved ones, I promise the warm aroma and soft, flavorful slices will make everyone smile. So go ahead, give it a try—I’d love to hear how it turns out! Happy baking, friends, and don’t forget to leave a comment or snap a picture of your masterpiece. Cheers to good food and sweet moments together!
baked onion rings
Ingredients
Method
- Place slices of onion in a shallow dish.
- Pour the buttermilk over the top and let them soak for about 1 - 2 hours, refrigerated.
- Preheat oven to 450 degrees Fahrenheit.
- Line baking sheet with parchment paper or foil.
- Combine panko, bread crumbs, and corn flakes and place half of the mixture in a large dish; season with salt. Reserve the rest for after coating.
- Dip each soaked onion ring into the crumb mixture; coat well.
- Place rings onto two cookie sheets.
- Lightly spray with olive oil spray.
- Bake about 12 minutes or until golden brown.
- Serve immediately.