Easy Salsa Chicken Bake – A Flavorful Dinner
Okay, so imagine this: it’s a lazy Sunday morning, the sun is just starting to peek through the kitchen window, and the aroma of something warm, sweet, and utterly comforting is filling the air. That, my friends, is the magic of this zucchini bread. It’s not just *any* zucchini bread; it’s the one that makes my whole family stop whatever they’re doing and gather around the counter. It’s the recipe I pull out when I need a guaranteed win, whether it’s for a bake sale, a potluck, or just because the kids are craving something special. I’ve tried so many zucchini bread recipes over the years, looking for that perfect balance of moistness, sweetness, and just the right hint of spice. Some were too dry, some too cakey, and some just… blah. But this one? This one’s a game-changer. It’s like the ultimate comfort food hug in loaf form, and honestly, it’s way simpler to whip up than you might think. It rivals my grandma’s famous apple pie in terms of pure crowd-pleasing power, and that’s saying something!
What is Zucchini bread?
So, what exactly is this glorious thing we call zucchini bread? At its heart, it’s a quick bread, meaning it doesn’t rely on yeast for leavening. Think of it as a muffin’s more sophisticated, loaf-shaped cousin. The star ingredient, zucchini, might sound a little unusual in a sweet bread, but trust me on this, it’s a culinary superhero! When grated and baked into batter, zucchini practically disappears, lending an incredible, almost unbelievable moisture to the final product without imparting any strong vegetable flavor. It’s like a secret weapon for achieving that perfect tender crumb. The name itself is pretty straightforward – it’s a bread, and zucchini is a key player. But the “bread” part is a little loose; it’s really more of a dessert loaf, perfect for that mid-afternoon treat or even a sweet breakfast. It’s essentially a delicious, moist cake baked in a loaf pan, and it’s become a staple in my kitchen for good reason.
Why you’ll love this recipe?
There are so many reasons why this zucchini bread has earned a permanent spot in my recipe binder, and I’m so excited to share them with you! First off, the flavor is just out of this world. It’s perfectly sweet, not overwhelmingly so, with a warm hug of cinnamon and a subtle richness that comes from the oil and eggs. The texture is where it truly shines – it’s unbelievably moist and tender, thanks to that secret ingredient, zucchini. Seriously, you’d never guess there’s a vegetable in here! And speaking of secret ingredients, this recipe is surprisingly forgiving and incredibly simple. I’ve made it on hectic weeknights when I only had about 15 minutes to get something in the oven, and it always turns out beautifully. It’s also incredibly budget-friendly. Most of the ingredients are pantry staples, and zucchini itself is usually pretty affordable, especially in the summer. What I love most about this recipe, though, is its versatility. You can absolutely enjoy it plain, which is divine, but it’s also a fantastic base for add-ins. Chocolate chips? A must for my kids! Walnuts or pecans for a bit of crunch? Absolutely. A swirl of cinnamon-sugar? Pure heaven. It’s a recipe that feels both special and everyday, making it perfect for any occasion. It’s definitely my go-to when I’m craving something sweet but don’t want the fuss of a complex cake, and it’s far superior to those store-bought loaves that often taste like cardboard.
How do you make Zucchini bread?
Quick Overview
Here’s the magic of this recipe: it’s all about simply combining wet and dry ingredients, then folding in your zucchini and any tasty add-ins, before baking it to golden perfection. It’s truly a dump-and-stir kind of process, which is a lifesaver on busy days. The beauty of this method is that it ensures the zucchini is evenly distributed, leading to that signature moist crumb without any fuss. You’ll be amazed at how quickly this comes together, leaving you with plenty of time to enjoy that incredible aroma wafting from your oven.
Ingredients
For the Main Batter:
You’ll need about 2 cups of all-purpose flour. Make sure it’s the regular kind, not self-rising. I always measure my flour by spooning it into the cup and leveling it off with a knife – it prevents you from packing too much in. We’ll also need 1 teaspoon of baking soda and 1 teaspoon of baking powder. These are our leavening agents, working together to give the bread its lift. Don’t skip the salt! Just half a teaspoon is perfect for balancing the sweetness. And for that lovely warmth, we’ll add 1 teaspoon of ground cinnamon. If you’re feeling adventurous, a pinch of nutmeg or allspice is lovely too. For sweetness, we’re going with 1 and 1/2 cups of granulated sugar. Some people prefer less, but this amount gives it that perfect sweet treat balance without being cloying. And of course, the star: 2 cups of finely grated zucchini. Make sure to squeeze out some of the excess moisture – I’ll explain how later! I always use zucchini that’s about medium-sized. Anything too small might not yield enough moisture, and anything too huge can sometimes be a bit watery.
For the Filling:
This is where you can really personalize it! I usually start with 1 cup of chocolate chips – semi-sweet are my favorite, but milk chocolate works too. If you’re a nut lover, 1 cup of chopped walnuts or pecans is fantastic. For an extra layer of flavor and that beautiful swirled look, I often make a simple cinnamon-sugar swirl. You’ll need about 2 tablespoons of brown sugar and 1 teaspoon of cinnamon, mixed together. This adds a delightful texture and a burst of spice throughout. Some people also like to add a touch of vanilla extract directly to the batter – about 1 teaspoon – for an extra layer of aroma and flavor.
For the Glaze:
This is totally optional, but oh-so-worth it! For a simple vanilla glaze, I use about 1 cup of powdered sugar. Make sure it’s finely sifted so you don’t end up with lumps. Then, we add a tablespoon or two of milk (any kind works, dairy or non-dairy!). You can also use a splash of vanilla extract here for extra flavor. The trick to a perfect glaze is getting the consistency just right – thick enough to coat, but thin enough to drizzle. I always start with less liquid and add more slowly until it’s perfect.
Step-by-Step Instructions
Step 1: Preheat & Prep Pan
First things first, preheat your oven to 350 degrees Fahrenheit (175 degrees Celsius). This is super important for even baking. While the oven heats up, grab a standard 9×5 inch loaf pan. I like to grease it really well with butter or cooking spray, and then lightly flour it. This ensures your beautiful zucchini bread doesn’t stick. You can also line it with parchment paper, leaving an overhang on the sides – it makes lifting the finished loaf out a breeze. I learned this trick after a few close calls with stubborn loaves!
Step 2: Mix Dry Ingredients
In a large bowl, whisk together your flour, baking soda, baking powder, salt, and cinnamon. Give it a good whisking until everything is nicely combined. This step ensures that your leavening agents and spices are evenly distributed, which is key to a consistent rise and flavor throughout the bread. You don’t want pockets of salt or baking soda!
Step 3: Mix Wet Ingredients
In a separate, medium-sized bowl, whisk together your granulated sugar, eggs, and vegetable oil (or whatever oil you’re using). Add the vanilla extract if you’re using it. Whisk it until it’s smooth and well combined. You’re looking for a lovely, emulsified mixture. I usually use a neutral oil like canola or vegetable oil, but melted butter works too, though it can make it a bit denser. I tested this with almond milk once when I ran out of regular milk for the glaze and it was surprisingly creamy!
Step 4: Combine
Now, pour the wet ingredients into the bowl with the dry ingredients. Using a spatula or wooden spoon, gently mix everything together until *just* combined. It’s really important not to overmix here! A few streaks of flour are okay. Overmixing develops the gluten too much, which can lead to a tough bread. We want it tender and moist, remember?
Step 5: Prepare Filling
If you’re using add-ins like chocolate chips or nuts, gently fold them into the batter now. If you’re doing a cinnamon-sugar swirl, prepare that mixture separately in a small bowl. Then, dollop about two-thirds of the batter into your prepared loaf pan and spread it evenly. Sprinkle about half of your cinnamon-sugar mixture over the batter, then repeat with the remaining batter and sprinkle the rest of the cinnamon-sugar on top. You can then use a knife or skewer to gently swirl the cinnamon-sugar into the batter for that beautiful marbled effect. Don’t over-swirl, though – we want distinct layers!
Step 6: Layer & Swirl
Okay, so this step is more about the cinnamon-sugar swirl if you’re doing that. You’ll want to dollop about two-thirds of the batter into your prepared loaf pan and spread it out. Then, sprinkle about half of your cinnamon-sugar mixture over this layer. Add the rest of the batter on top, smoothing it out. Finally, sprinkle the remaining cinnamon-sugar mixture over the top layer. You can then use a knife or a skewer to gently swirl the cinnamon-sugar mixture into the batter, creating those beautiful marbled patterns. Don’t go crazy with the swirling; we want visible layers for that extra flavor pop!
Step 7: Bake
Pop that pan into your preheated oven. Bake for about 50 to 65 minutes. The baking time can vary depending on your oven, so start checking around the 50-minute mark. You’ll know it’s done when a wooden skewer or toothpick inserted into the center comes out clean, or with just a few moist crumbs attached. If the top starts to get too brown before the inside is cooked, you can loosely tent it with aluminum foil.
Step 8: Cool & Glaze
Once it’s baked to perfection, take the loaf out of the oven and let it cool in the pan on a wire rack for about 10-15 minutes. This allows it to set up properly. Then, carefully invert the loaf onto the wire rack to cool completely. This is crucial! If you try to glaze a warm loaf, the glaze will melt right off. Once it’s completely cool, you can whip up your glaze. Whisk together the powdered sugar and milk (and vanilla, if using) until smooth. Drizzle it over the top of the cooled loaf. For that perfectly swirled look, I like to use a spoon to create a nice pattern.
Step 9: Slice & Serve
Once the glaze has set a little, it’s time to slice and enjoy! I find a serrated knife works best for a clean cut. Serve it at room temperature for the best flavor and texture. This bread is just as good on day one as it is on day two (if it lasts that long!).
What to Serve It With
This zucchini bread is so versatile, it fits into almost any meal or craving! For a cozy breakfast, it’s absolutely divine with a hot cup of coffee or a nice strong cup of tea. I love to toast a slice and spread a little butter on it – pure simple bliss. For a more elegant brunch spread, I’ll serve it alongside fresh fruit salad, a quiche, or some smoked salmon. A little bit of whipped cream or crème fraîche on the side can elevate it to dessert-like status. Speaking of dessert, this bread is a fantastic after-dinner treat. It’s perfect with a scoop of vanilla bean ice cream, a drizzle of chocolate sauce, or even just a dollop of Greek yogurt. And for those times when you just need a little something sweet to get you through the afternoon slump or a late-night craving, it’s the ultimate cozy snack. I’ve even seen my kids sneak a slice after school before homework – it’s that irresistible! My family’s favorite combination is a thick slice with a glass of cold milk; it’s a tradition that always brings smiles.
Top Tips for Perfecting Your Zucchini Bread
Over the years, I’ve learned a few tricks that make this zucchini bread consistently amazing. Let’s talk zucchini prep first. The biggest key to moist, not soggy, zucchini bread is getting rid of excess moisture. After you grate your zucchini (I use the large holes of a box grater), place it in a fine-mesh sieve and press down with a spoon or your hands to squeeze out as much liquid as you can. You’ll be surprised how much comes out! Don’t skip this, or your bread can end up gummy. When it comes to mixing, remember my mantra: don’t overmix! As soon as the flour is incorporated, stop. A few small lumps are perfectly fine. Overworking the batter develops gluten, which makes baked goods tough, and we definitely don’t want that. For that beautiful swirled effect with cinnamon-sugar, less is more when it comes to swirling. You want distinct streaks, not a muddy mess. A few gentle passes with a knife or skewer is all you need. Ingredient swaps are fun too! If you’re out of oil, melted butter can be substituted 1:1, but it might change the texture slightly. For a dairy-free version, use your favorite non-dairy milk in the glaze. Some people also swap out some of the granulated sugar for brown sugar for a deeper molasses flavor, which is delicious! Baking is always an adventure, but here’s what I’ve found: always trust your oven’s temperature, and don’t be afraid to do the toothpick test. If the top is browning too quickly, just tent it loosely with foil. As for the glaze, consistency is key. If it’s too thick, add milk a teaspoon at a time. If it’s too thin, add more powdered sugar. You want it to drizzle nicely without running off the sides too quickly.
Storing and Reheating Tips
Proper storage is crucial for keeping this zucchini bread delicious. At room temperature, it’s best to keep it in an airtight container or well-wrapped in plastic wrap. It will stay fresh and moist for about 2 to 3 days. Any longer, and you might notice it start to dry out a bit. If you know you won’t finish it within a few days, or if your kitchen is particularly warm, popping it in the refrigerator is a great option. Wrapped tightly, it can last for about a week in the fridge. The texture might firm up a bit, but it’s still wonderfully moist. For longer storage, freezing is your best friend! I like to wrap the entire loaf tightly in plastic wrap, then in a layer of aluminum foil, or place it in a freezer-safe bag. It can keep in the freezer for up to 3 months. When you’re ready to enjoy it, you can either thaw it at room temperature overnight, or for a quicker fix, you can slice it and gently toast the slices in a toaster oven or under the broiler. If you’ve glazed your bread, it’s best to add the glaze *after* it’s been thawed and is ready to be served, especially if you froze the whole loaf. If you freeze individual slices, you can glaze them once they’ve thawed.
Frequently Asked Questions
Final Thoughts
There you have it – my absolute favorite zucchini bread recipe. It’s more than just a recipe to me; it’s a little bit of happiness that I love to share. The way it bakes up so perfectly moist and tender, with just the right amount of sweetness and spice, is truly something special. It’s the kind of recipe that makes people say, “Wow, what’s in this?” and then beam when you tell them it’s zucchini! If you love this recipe and are looking for other comforting bakes, you might also enjoy my Double Chocolate Chip Cookies or my Classic Banana Bread. They’re all from the same heart of simple, delicious, homemade goodness. I really hope you give this zucchini bread a try. I’m confident it will become a favorite in your kitchen too. Don’t forget to let me know how yours turns out in the comments below! I love hearing about your baking adventures and seeing your creations. Happy baking, and may your loaves always be perfectly moist and wonderfully delicious!
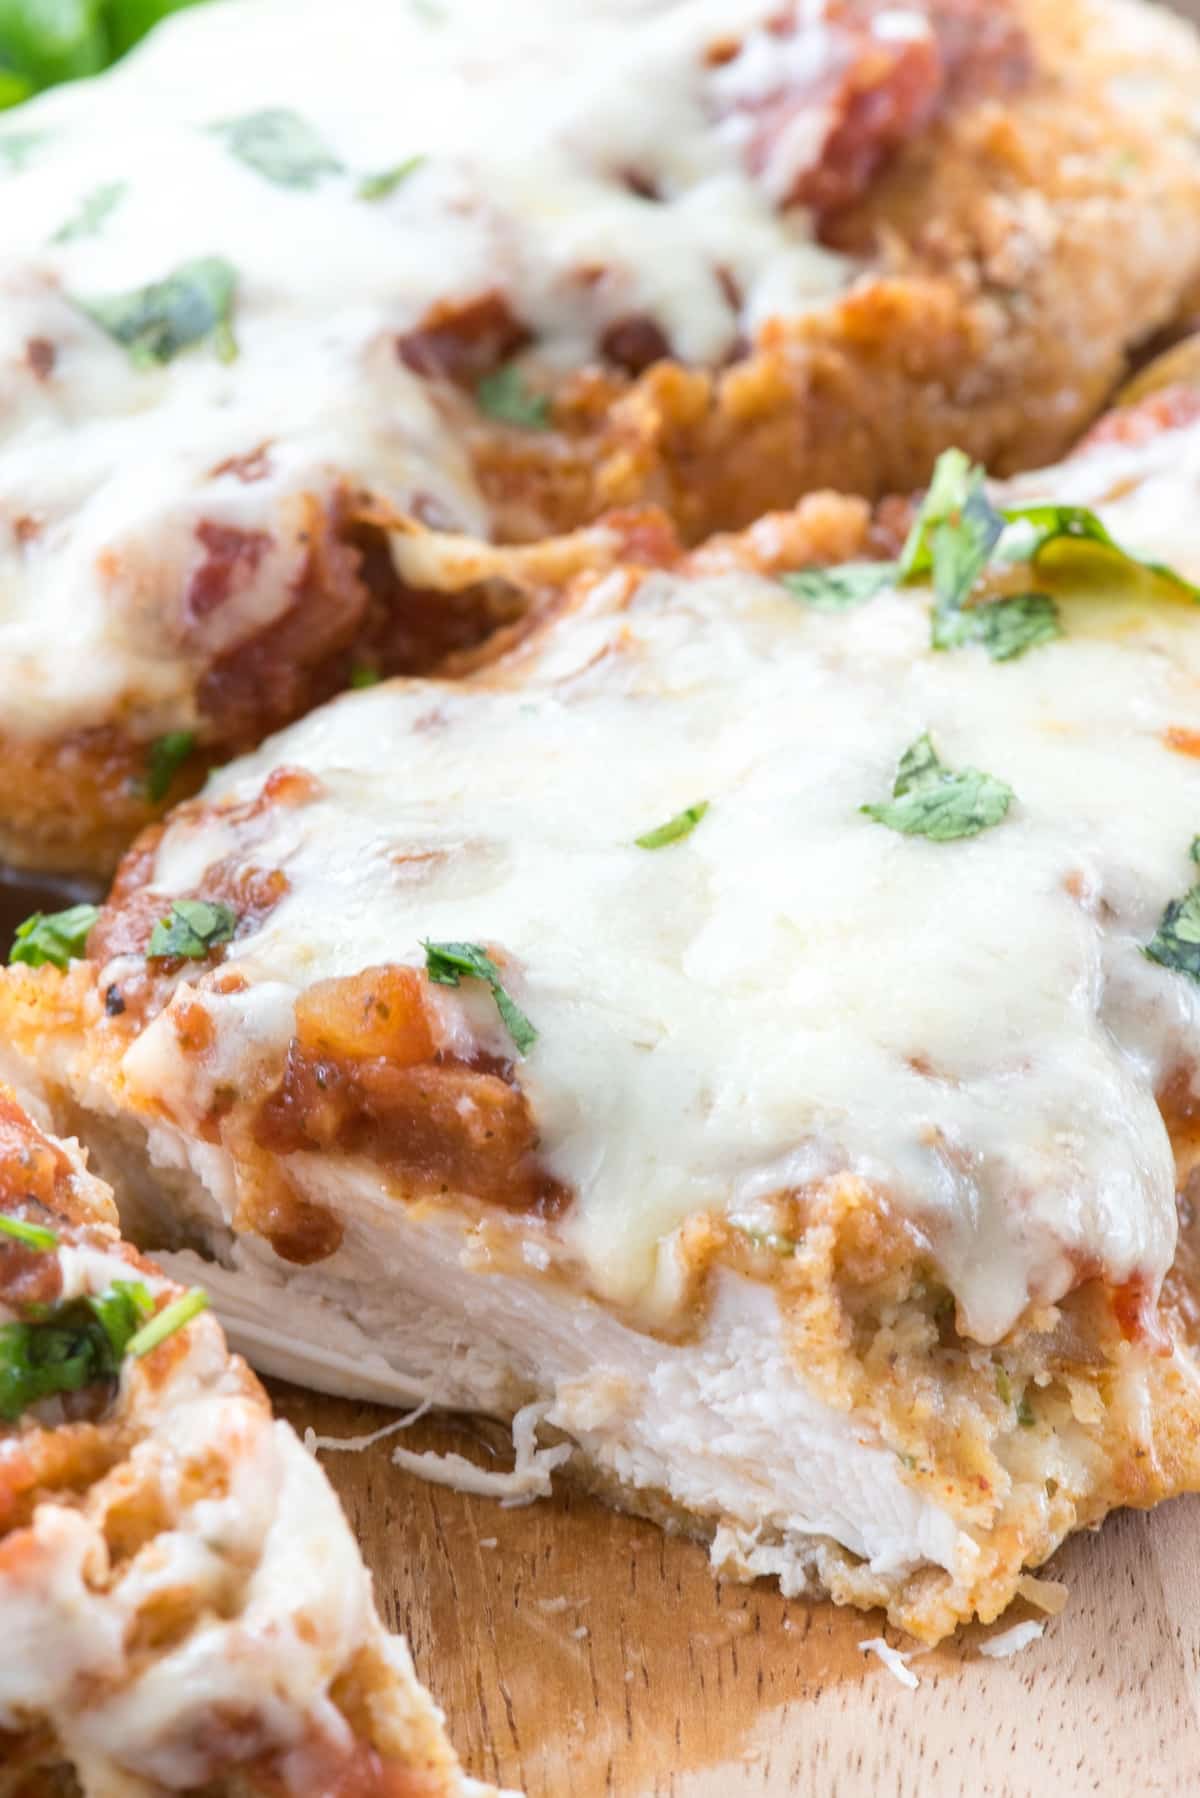
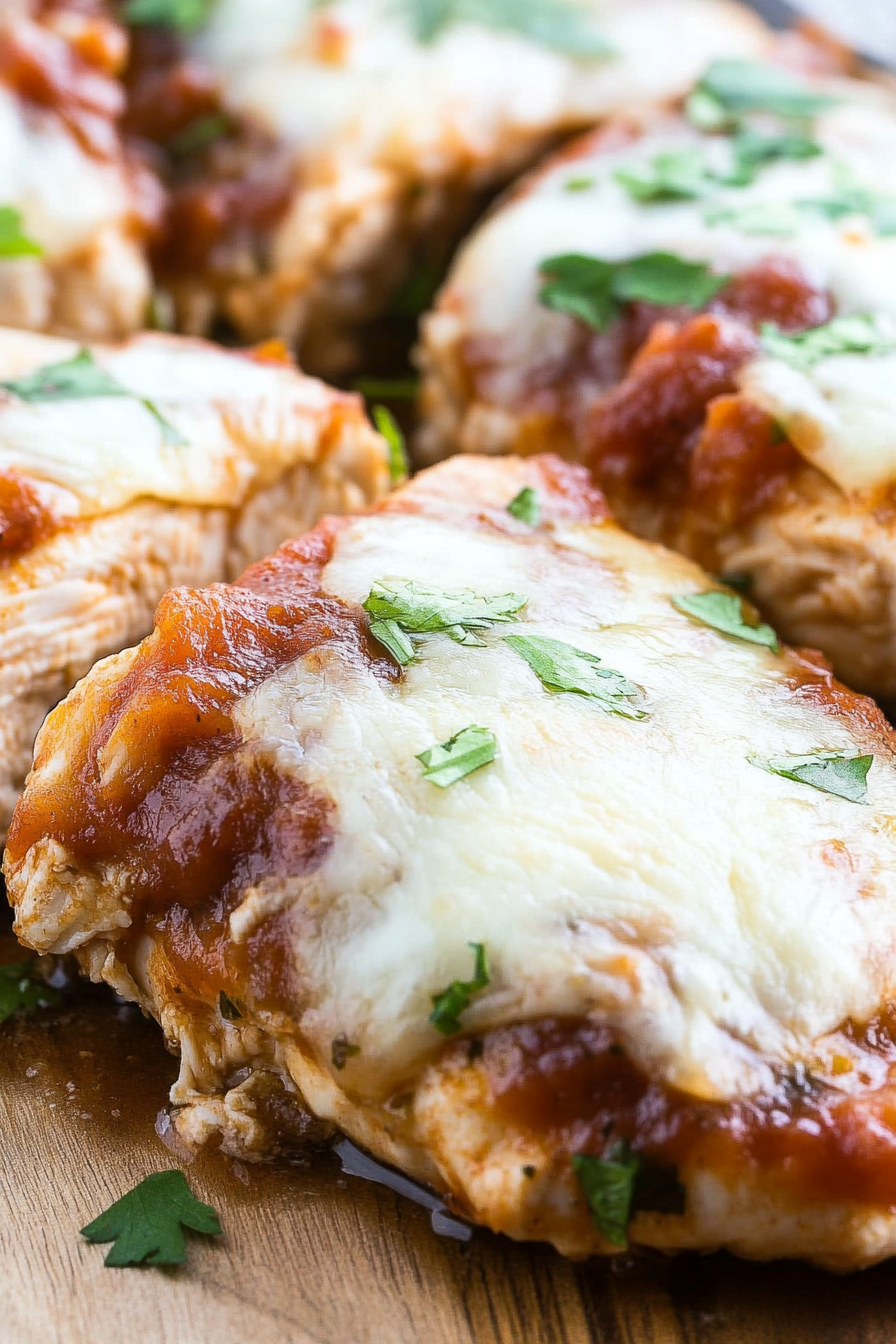
baked salsa chicken
Ingredients
Method
- Preheat oven to 450°F. Spray a baking dish with nonstick cooking spray.
- If your chicken breasts are not even thickness, pound them even.
- Place beaten egg in a shallow dish.
- Place breadcrumbs and taco seasoning in another shallow dish; stir to combine.
- Dip each chicken breast in the egg then in the breadcrumbs, coating both sides with the crumbs. Place in an even layer in the baking dish.
- Bake for 15-20 minutes, or until the chicken looks golden and crisp. Do not turn.
- Pour the salsa evenly over the chicken and top with cheese. Continue baking for 5-10 minutes or until sauce is bubbly and chicken is cooked through.