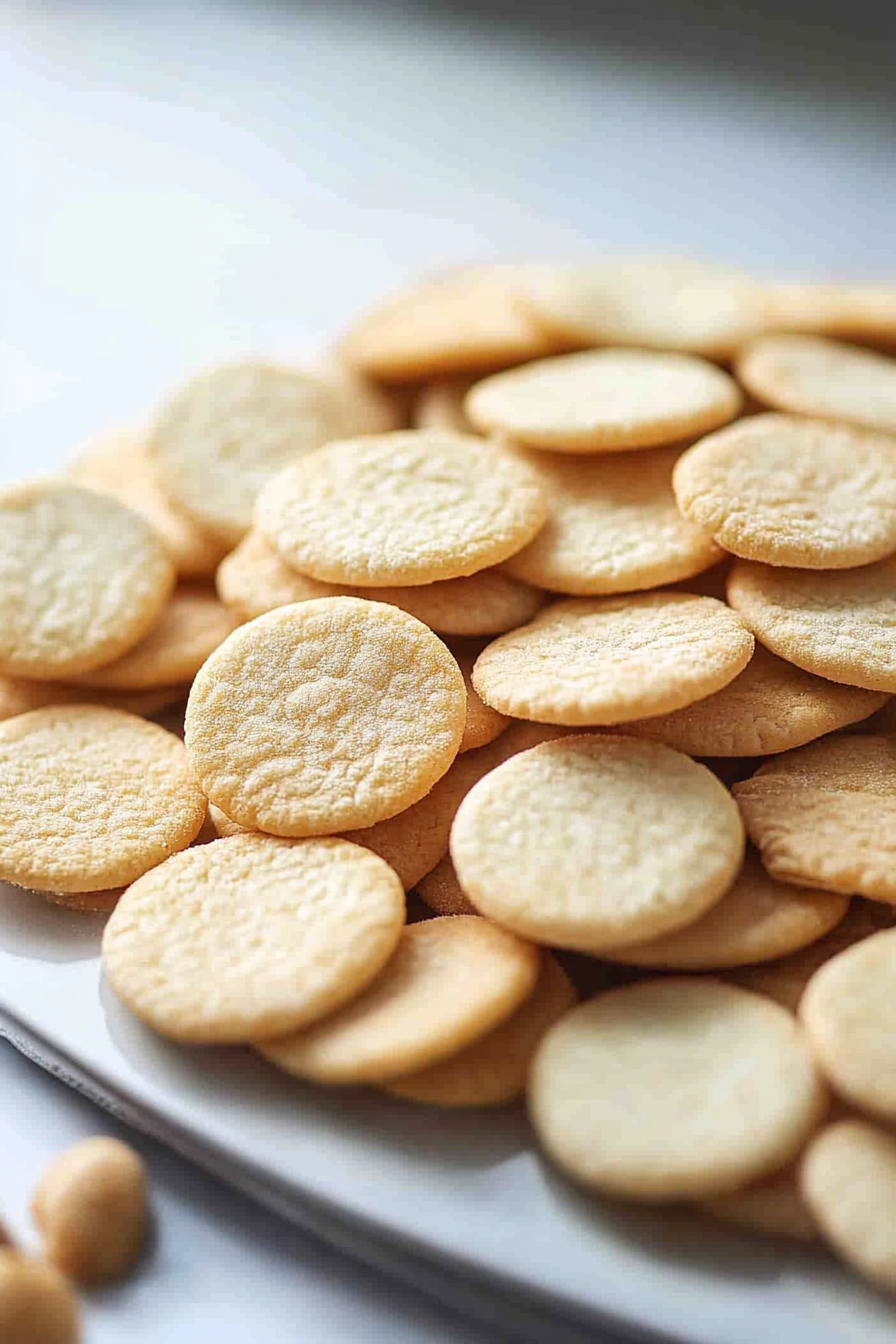
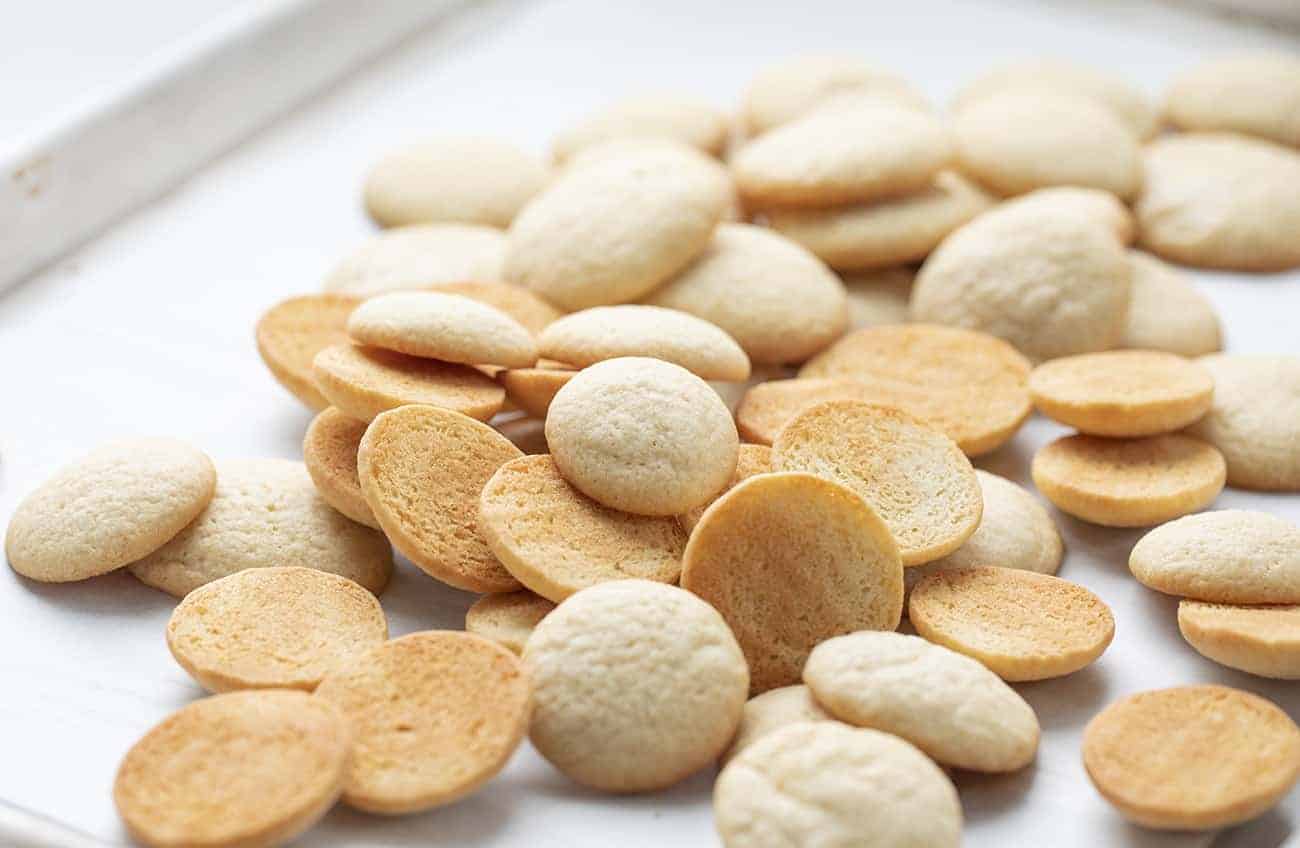
Easy Vanilla Wafers Recipe
There’s something truly nostalgic about a warm slice of coffee cake, especially when it’s bursting with the flavors of summer zucchini and cinnamon. I remember my grandma making a wonderfully fragrant zucchini bread, but I always thought it needed a little something extra — like that sweet swirl of cinnamon and a drizzle of rich glaze. This zucchini coffee cake is kind of like that, but elevated — it’s incredibly moist, with a tender crumb, and that beautiful cinnamon swirl that looks almost too pretty to cut into. Plus, it’s a sneaky way to get kids to eat more veggies without realizing it!
Honestly, I’ve made this recipe probably a dozen times, and I swear, it gets better each time. It’s perfect for a lazy weekend brunch, a cozy breakfast on a chilly morning, or even a quick dessert when the sweet tooth strikes after dinner. And I love that it’s pretty forgiving — you can swap out ingredients, adjust the sweetness, or even add a handful of nuts if you’re feeling fancy. It’s just one of those recipes that feels like a warm hug, don’t you think? Trust me, the smell alone when it’s baking will have everyone rushing to the kitchen — it’s the ultimate comfort food.
What is Zucchini Coffee Cake?
This zucchini coffee cake is basically a tender, moist cake layered with a swirl of cinnamon-spiced sugar and topped with a glossy, creamy glaze. Think of it as a cross between your favorite cinnamon roll and a classic coffee cake — but with the added surprise of grated zucchini, which keeps everything super moist and sneaky healthy (well, almost!). The name comes from the idea that it’s perfect to serve with coffee, tea, or a glass of milk on Sunday mornings. It’s essentially a rustic, homey baked good that feels special in every bite, yet so simple to throw together. The best part? You don’t have to be a professional baker to nail it — I swear, it’s foolproof!
Why you’ll love this recipe?
What I love most about this zucchini coffee cake is how versatile and forgiving it is—trust me, I’ve tested it with different kinds of flour, zucchinis of varying sizes, and even a splash of almond milk when I was out of regular. The flavor of cinnamon coupled with the mild sweetness of zucchini creates a perfectly balanced taste profile that everyone loves. Plus, the smell in my kitchen when this is baking — oh, it’s just irresistible. The combination of warm cinnamon, buttery cake, and that glossy glaze? Pure happiness in every slice.
It’s also incredibly easy to put together. The batter comes together in just a few minutes, and the swirl and glaze make it look fancy without any fuss. My kids ask for this all the time, especially when they want something sweet as a treat but I don’t want to cheat with a store-bought snack. This one’s a lifesaver on busy nights, and it’s great for making ahead. You can even double the recipe and freeze some for later — it reheats beautifully! And did I mention it’s budget-friendly? Most of the ingredients are pantry staples, so you’re not breaking the bank to indulge a craving.
How do I make Zucchini Coffee Cake?
Quick Overview
This zucchini coffee cake is a straightforward bake: grate your zucchini, mix up a simple batter, swirl in cinnamon sugar, and bake until golden. The magic lies in the cinnamon swirl, which adds a cozy, spicy note that pairs perfectly with the mild zucchini flavor. The best part? You only need one bowl for the batter, and once it’s in the oven, you get to sit back and enjoy that wonderful aroma filling your home. It’s a no-fuss recipe that feels like a treat but comes together with minimal effort — perfect for weekend mornings or when you just need a little baking therapy.
Ingredients
For the Main Batter:
– 2 cups all-purpose flour (or a mix of whole wheat for a healthier spin)
– 1 cup granulated sugar
– 1 teaspoon baking powder
– 1/2 teaspoon baking soda
– 1/2 teaspoon salt
– 1 teaspoon cinnamon
– 1/2 teaspoon nutmeg (optional but adds a nice warmth)
– 1/2 cup vegetable oil or melted butter
– 3 large eggs
– 1 teaspoon vanilla extract
– 1 1/2 cups grated zucchini (squeeze out excess moisture so it’s not watery)
For the Cinnamon Swirl:
– 1/4 cup packed brown sugar
– 1 tablespoon cinnamon
– 1 tablespoon butter (melted)
For the Glaze:
– 1 cup powdered sugar
– 2-3 tablespoons milk or cream
– 1/2 teaspoon vanilla extract
– Optional: a pinch of salt or lemon zest for flavor depth
Step-by-Step Instructions
Step 1: Preheat & Prep Pan
Start by preheating your oven to 350°F (175°C). Grease a 9-inch round or square baking pan, or line it with parchment paper for easy removal. I always do this early, so I don’t forget — trust me, burnt sticky cake is no fun!
Step 2: Mix Dry Ingredients
In a large mixing bowl, whisk together the flour, sugar, baking powder, baking soda, salt, cinnamon, and nutmeg. This step ensures everything is evenly distributed, so your cake bakes uniformly. I’ve learned that sifting helps prevent clumps, especially if your flour is a bit chunky — just a tip for extra smooth batter.
Step 3: Mix Wet Ingredients
In a separate bowl, beat together the eggs, oil (or melted butter), vanilla, and grated zucchini. I always do this with a fork first, then lightly whisk — it’s a quick way to get everything combined. If you want a dairy-free version, almond or coconut milk works just as well here, and I’ve even tested with almond milk in a pinch — it made the cake slightly creamier, and my family loved it!
Step 4: Combine
Pour the wet mixture into the dry ingredients and gently fold everything together. Be careful not to overmix — a few lumps are okay; overmixing can make the cake dense. I just use a spatula and stir until it’s mostly combined, then stop. That’s when the magic happens — an airy, moist batter ready for the swirl.
Step 5: Prepare Filling
Mix together the brown sugar, cinnamon, and melted butter to create your cinnamon swirl filling. I like to prepare this in a small bowl while the batter rests — makes assembly so much faster. If you want to get fancy, chopped nuts or a splash of bourbon vanilla are lovely in here.
Step 6: Layer & Swirl
Pour half the batter into your prepared pan, then spread evenly. Drop spoonfuls of the cinnamon sugar mixture on top, then cover with the remaining batter. Using a knife or skewer, swirl through the batter to create a beautiful marbled effect. Don’t overdo it — a few gentle swirls are enough to get that lovely cinnamon pattern.
Step 7: Bake
Pop it in the oven and bake for about 40-45 minutes. Check for doneness with a toothpick — it should come out clean but moist. Ovens vary, so I always start checking around the 38-minute mark. When it’s perfectly baked, it smells like heaven and feels firm but tender when you tap the top.
Step 8: Cool & Glaze
Let the cake cool in the pan for at least 15 minutes before transferring to a wire rack. Drizzle your glaze over while the cake is still warm to let it soak in a little. If you prefer a thicker glaze, add more powdered sugar; for a thinner drip, add a touch more milk. The glaze should be glossy and just pourable.
Step 9: Slice & Serve
Use a serrated knife for clean slices, especially if it’s still slightly warm. Serve with a dollop of whipped cream or a bit of extra glaze on top for extra decadence. I love this with a cup of coffee or tea — it’s one of those recipes that tastes even better the next day, once the flavors have melded.
What to Serve It With
This cake hits all the marks—sweet, moist, and cozy. I often serve it for breakfast with a steaming mug of coffee or a glass of cold milk. My kids love it sliced thick and enjoyed with a smear of butter and a drizzle of honey. For brunch, I like to pair it with fresh fruit, like strawberries or blueberries, and maybe even a dollop of Greek yogurt for a tangy contrast.
As an afternoon snack, it’s perfect with a cup of chamomile tea, and honestly, it makes a fantastic dessert too. Sometimes I warm a slice gently and swirl on a little extra glaze or a scoop of vanilla ice cream. This recipe is one of those comfort foods that makes your home smell incredible and your heart happy. It’s especially great for feeding a crowd or making ahead for weekend guests — trust me, everyone will be asking for seconds!
Top Tips for Perfecting Your Zucchini Coffee Cake
Over the years, I’ve learned a few tricks to make this cake absolutely fail-proof. First, always squeeze out excess moisture from your zucchini — too much water will make the batter runny, and nobody wants a soggy cake. A handful of paper towels or a clean dish towel works wonders here. If your zucchini is particularly watery, try grating it, placing it in a fine-mesh sieve, and pressing out the liquid with the back of a spoon.
When mixing the wet ingredients, be gentle — overmixing can produce a dense crumb, which I learned after baking a few too many dense cakes early on. Folding is the way to go! As for the cinnamon swirl, I love adding a pinch of ground ginger or even a splash of bourbon vanilla to make it more special.
Regarding baking, try positioning the rack in the middle of your oven and rotate the cake halfway through baking if your oven has hot spots. I find that checking for doneness with a toothpick is key—when it comes out with moist crumbs, it’s perfect. If your glaze is too runny, let it sit for a few minutes to thicken, or add a touch more powdered sugar. For a more tangy glaze, squeeze in a bit of lemon juice—yum!
Storing and Reheating Tips
This zucchini coffee cake keeps beautifully for a few days. Cover it tightly with plastic wrap or store in an airtight container at room temperature for up to two days. After that, I pop leftovers into the fridge — just make sure to cover it well or wrap it in foil. Reheating is easy: warm slices in the microwave for about 20 seconds or in a low oven at 300°F until just heated through. I always add fresh glaze after reheating, as it soaks in better that way and keeps everything moist and fresh.
If you want to freeze slices, wrap each slice tightly in plastic wrap, then in foil. It’ll stay good in the freezer for up to three months. When ready to eat, let it thaw at room temperature for about 30 minutes, then reheat if you like. The flavor and texture hold up surprisingly well, making this a great make-ahead treat for busy mornings.
Frequently Asked Questions
Final Thoughts
This zucchini coffee cake is one of those recipes that feels like a warm hug from my kitchen to yours. It’s simple, forgiving, and packed with cozy flavors that remind me of lazy weekend mornings at home. The best part? Once you get the hang of it, you’ll find endless ways to customize—adding nuts, swapping spices, or even making it dairy-free. Whether you’re baking for family, friends, or just yourself on a quiet Sunday, this cake never fails to bring smiles and happy memories. So go ahead, grab that zucchini from the fridge, and let’s get baking — I can’t wait to hear how yours turns out! Don’t forget to leave a comment below, share your variations, or just say hi. Happy baking!
vanilla wafers
Ingredients
Method
- Preheat oven to 350°F.
- In a medium bowl, sift together the flour, baking powder, and salt. Set aside.
- In the bowl of a stand mixer, cream together butter, confectioners' sugar, and granulated sugar on medium speed for at least 2 minutes, scraping down the sides as needed.
- Add the egg, vanilla, and milk and blend until smooth and fluffy (about 30 seconds).
- Add the flour mixture and mix on low until fully incorporated.
- Chill the batter for 10-15 minutes.
- Scoop 1/2 teaspoon-sized dollops of the batter (about 1 inch apart) onto a baking sheet lined with parchment.
- Bake 12-15 minutes, rotating pan halfway through baking. Cookies will be golden brown.
- Allow to cool completely before serving.