How to Make a Dreamy Banana Split Dessert
There’s something magical about pulling a warm, moist slice of zucchini bread from the oven—especially when it’s got a luscious chocolate swirl running through it. I remember the first time I made this recipe—my kids were hovering in the kitchen, noses in the air, sniffing that incredible smell of warm chocolate and fresh zucchini. It’s one of those recipes that tastes way more decadent than it actually is, and I always do this when I want a cozy treat but don’t want to fuss too much in the kitchen. Trust me, it’s my go-to “secret weapon” on busy weeknights or lazy Sunday mornings. Honestly, I’ve tested this with a few different tweaks—substituting almond milk for some extra creaminess or adding a handful of chopped walnuts—but the classic version is still my favorite. It’s super forgiving, endlessly customizable, and my kids ask for it all the time. Plus, the smell alone brings everyone to the kitchen like a magnet. So, come closer—I’m about to share the recipe that’s become a family favorite, and I think it’ll become yours too!
What is Zucchini Chocolate Swirl Bread?
This delightful treat is essentially a moist, tender bread that hides a secret ingredient: grated zucchini! Think of it as a sophisticated twist on your regular loaf—still sweet, but with a wholesome, veggie boost. The name says it all: zucchini acts as the secret ingredient that keeps the bread incredibly moist, while the chocolate swirl adds a touch of indulgence. It’s like a cozy hug you can eat—perfect for breakfast, brunch, or an afternoon pick-me-up. The idea is simple: grate fresh zucchini, mix it into a fluffy batter, then layer in rich, melted chocolate before swirling it through like a marbled masterpiece. I love that it’s a sneaky way to get my kids to eat more greens without any fuss. Plus, it’s the kind of recipe that tastes even better the next day—think of it like a homemade cake with a better haircut, thanks to the zucchini. Think of it as a grown-up version of a kid’s chocolate chip muffin but with a lovely, sophisticated texture. It’s essentially a bread that’s both healthy and indulgent—a perfect combo, if you ask me.
Why you’ll love this recipe?
There are so many reasons this zucchini chocolate swirl bread quickly became a household staple. First, the flavor—oh my goodness, the chocolate and zucchini meld into a moist, rich, and subtly sweet bread that’s just irresistible. I always do this when I need a dessert that feels a little nutritious, but honestly, it’s dessert enough on its own. What I love most about this is how ridiculously simple it is to make. No fancy equipment, just a bowl and a spoon, and you’re in business. Plus, it’s cost-effective—most of the ingredients are pantry staples you already have on hand, like flour, sugar, and cocoa powder. And if you’re like me, you’ll appreciate the versatility; you can dress it up or down, add nuts, or skip the glaze—whatever mood strikes. This bread is also pretty forgiving—overmixing is a common mistake I’ve learned from, but honestly, it’s hard to mess up. What sets it apart from other quick breads? The swirl of melted chocolate in every bite, creating lovely marbling that’s totally Instagram-worthy. My kids ask for this all the time, and I love that I can sneak a vegetable into their dessert. It’s a total win in my book!
How do you make Zucchini Chocolate Swirl Bread?
Quick Overview
This bread comes together in about an hour, with minimal fuss. You start by grating fresh zucchini—no need to peel, just give it a good rinse first. Then, you mix the dry ingredients in one bowl and the wet ingredients in another, combining them gently to keep the batter light and fluffy. While the batter is coming together, I melt some good-quality chocolate—dark, semi-sweet, or even milk chocolate if that’s your jam. After pouring the batter into a loaf pan, you spread the melted chocolate on top and swirl it through with a skewer or a knife, creating a marbled pattern. Then into the oven it goes—baking at 350°F (175°C) until a toothpick comes out clean, about 45-50 minutes. Once baked, I like to let it cool just slightly before glazing with a simple chocolate drizzle or honey, but it’s delicious even without. The end result? A gorgeous, moist loaf that’s perfect sliced thick with a hot cup of tea or coffee. This bread’s what I call a “hug in loaf form”—trust me, it never disappoints.
Ingredients
For the Main Batter:
- 2 cups all-purpose flour (I always use unbleached for a richer flavor)
- 1 cup granulated sugar (feel free to reduce if you’re watching sugar)
- 1 teaspoon baking powder
- 1/2 teaspoon baking soda
- 1/2 teaspoon salt
- 1 teaspoon ground cinnamon (because everything’s better with a hint of spice)
- 1/2 cup vegetable oil or melted coconut oil
- 2 large eggs (at room temperature for the best rise)
- 1 teaspoon vanilla extract
- 1 1/2 cups grated zucchini (about 1 medium zucchini, moisture squeezed out slightly)
For the Filling:
- 100g good-quality dark chocolate (or semi-sweet), chopped into small pieces
- 1 tablespoon butter or coconut oil (to melt with chocolate)
For the Glaze:
- 1/2 cup powdered sugar (optional, for a light drizzle)
- 2 teaspoons milk or cream (to loosen the glaze)
- Extra melted chocolate (for a more decadent drizzle)
Step-by-Step Instructions
Step 1: Preheat & Prep Pan
Preheat your oven to 350°F (175°C). Grease your loaf pan generously with butter or non-stick spray, and sprinkle a little flour inside—this keeps the bread from sticking and makes for a beautiful, clean slice later. If you don’t have a loaf pan, a silicone mold works too! I always do this first to be ready once the batter is mixed because it helps keep things stress-free.
Step 2: Mix Dry Ingredients
In a large bowl, whisk together the flour, sugar, baking powder, baking soda, salt, and cinnamon. This step ensures everything is evenly distributed—nothing worse than biting into a bland patch or uneven spots, right? I do this by hand to keep the dry ingredients light and aerated. It also reminds me of baking with my grandmother—those little rituals make the process so cozy.
Step 3: Mix Wet Ingredients
In another bowl, whisk the eggs until slightly frothy, then add the oil and vanilla. Mix well until everything looks combined. I like to do this step with a balloon whisk—it’s quick, and you really get good aeration. Then, fold in the grated zucchini. I try to squeeze out some of the moisture—this helps prevent the batter from becoming too wet, which can make the bread dense. I’ve made that mistake early on—lesson learned!
Step 4: Combine
Pour the wet mixture into the dry ingredients and gently fold everything together. Do not overmix! A few lumps are perfectly fine. Overmixing can turn your bread dense or rubbery, which is the worst. I always do this just until I see no streaks of flour—watching the batter come together is such a calming part of the process.
Step 5: Prepare Filling
While the batter rests for a couple of minutes, melt the chocolate and butter together in the microwave—about 30 seconds, checking often so it doesn’t burn. Stir until smooth. You want a glossy, pourable consistency. If it’s too thick, pop it back in for 5 seconds. Adding the chocolate in this way ensures it spreads evenly without lumps, creating a beautiful swirl.
Step 6: Layer & Swirl
Pour half of the batter into your prepared loaf pan. Then, spread the melted chocolate evenly over the top, and pour the remaining batter on top. Using a skewer or a butter knife, gently swirl through the layers—go slow so you don’t break the marbling pattern. The beauty of this step is that each slice reveals a stunning marbled effect, and it makes every piece feel special.
Step 7: Bake
Pop it into the oven and bake for 45-50 minutes. Check for doneness by inserting a toothpick into the center—if it comes out clean, you’re good. Keep an eye at the 45-minute mark; ovens vary and I’ve learned to trust my finger tests more than the clock. If the top gets too dark before the center is baked, loosely cover it with foil for the remaining minutes.
Step 8: Cool & Glaze
Let the bread cool in the pan for about 15 minutes, then transfer it to a wire rack. This helps it set up nicely and makes slicing easier. Once cooled for about 10 more minutes, drizzle with a simple glaze or melted chocolate for extra flair. If you’re feeling fancy, sprinkle a little flaky sea salt on the glaze—trust me, it balances the sweetness beautifully.
Step 9: Slice & Serve
Use a serrated knife for neat slices. My favorite way? Serve it warm with a smear of butter or a dollop of Greek yogurt. It’s equally delicious at room temperature—you probably won’t want to wait that long! I love to refrigerate leftovers for a couple of days, then gently reheat slices in the microwave for that just-baked feel. This bread disappears in minutes at my house, I swear. It’s a true crowd-pleaser, whether for breakfast or a cozy treat after dinner.
What to Serve It With
This bread tastes fabulous on its own, but I have a few personal favorites for serving. For breakfast, I like to cut thick slices and top with a pat of butter and a drizzle of honey or a smear of cream cheese. The sweetness pairs beautifully with a strong cup of black coffee or a frothy cappuccino. On lazy weekends, I serve it as part of a brunch spread with fresh fruit, whipped cream, or even a dollop of mascarpone—my kids love it as a special treat. For dessert, I scoop vanilla ice cream beside warm slices—oh wow, talk about heaven. It’s also fantastic as an afternoon snack with a glass of cold milk or a hot cup of tea. Basically, this bread is the gift that keeps on giving—rich enough for dessert but simple enough for everyday enjoyment.
Top Tips for Perfecting Your Zucchini Chocolate Swirl Bread
There are a few little tricks I’ve learned over the years to elevate this recipe from good to *amazing*. First, always grate fresh zucchini—you want the best moisture content and flavor. I’ve tested with frozen zucchini and it’s fine, but fresh is just unbeatable for texture and taste. After grating, I squeeze out excess moisture using a clean towel or cheesecloth—that step makes a big difference in preventing your bread from becoming too dense. When mixing, stir gently and don’t overdo it; overmixing can make the bread gummy. For the swirl pattern, I find that spreading the chocolate evenly and swirling it in a figure-eight pattern creates a lovely marbled effect—trust me, it’s all about presentation! You can also experiment with different chocolates—bittersweet, milk, even white chocolate for a fun twist. Ingredient swaps —I’ve replaced half the sugar with honey or maple syrup, and it turns out great, just watch the liquid ratios. When baking, I rotate the loaf halfway through for even browning—this has become my secret to a perfectly baked bread. Lastly, don’t forget to keep some chocolate handy for drizzling or decorating—the visual impact is worth it and makes every bite extra indulgent.
From my experience, the key is patience and tasting as you go—adjust sweetness or add a pinch of sea salt on top, whatever makes it feel like YOUR signature. This recipe is forgiving, so don’t be afraid to play around a little. Baking is all about doing what feels right, and I promise, the smile on everyone’s face when they take that first bite is worth every minute.
Storing and Reheating Tips
Leftover bread? No problem! Wrap it tightly in plastic wrap or store in an airtight container at room temperature for up to 2 days. I find that storing it in the fridge extends the freshness for about 4-5 days—just be sure it’s well wrapped to prevent it from drying out. If you want to keep it even longer, pop slices into an airtight freezer bag or container and freeze for up to 3 months. Thaw at room temperature or gently reheat in the microwave for about 15 seconds—perfect for that freshly baked feel. A quick reheat makes the chocolate swirl extra gooey and delightful. For best results, wait to add the glaze or drizzle until just before serving—this keeps the topping looking glossy and fresh. Honestly, I love having a slice in the freezer for those days when I need a little sweetness unexpectedly—a warm, comforting piece of bread, straight from the freezer, is pure magic.
Frequently Asked Questions
Final Thoughts
This zucchini chocolate swirl bread has become one of those recipes I whip up whenever I want a little comfort—trust me, the combination of moist zucchini and melty chocolate is seriously addictive. It’s a sneaky way to add a vegetable to a sweet treat, and I promise, no one will ever guess what’s hiding inside! Over the years, I’ve played around with different chocolates, added nuts, and even tried incorporating some fruit, but the classic version remains my favorite. It’s one of those recipes that tastes like a warm hug, and the best part? It’s easy enough to make on a busy weeknight but fancy enough to serve to guests. I hope you give this a try and fall in love with it as much as my family has. And hey, please come back and tell me how yours turned out—comments and photos are always welcome! Happy baking!
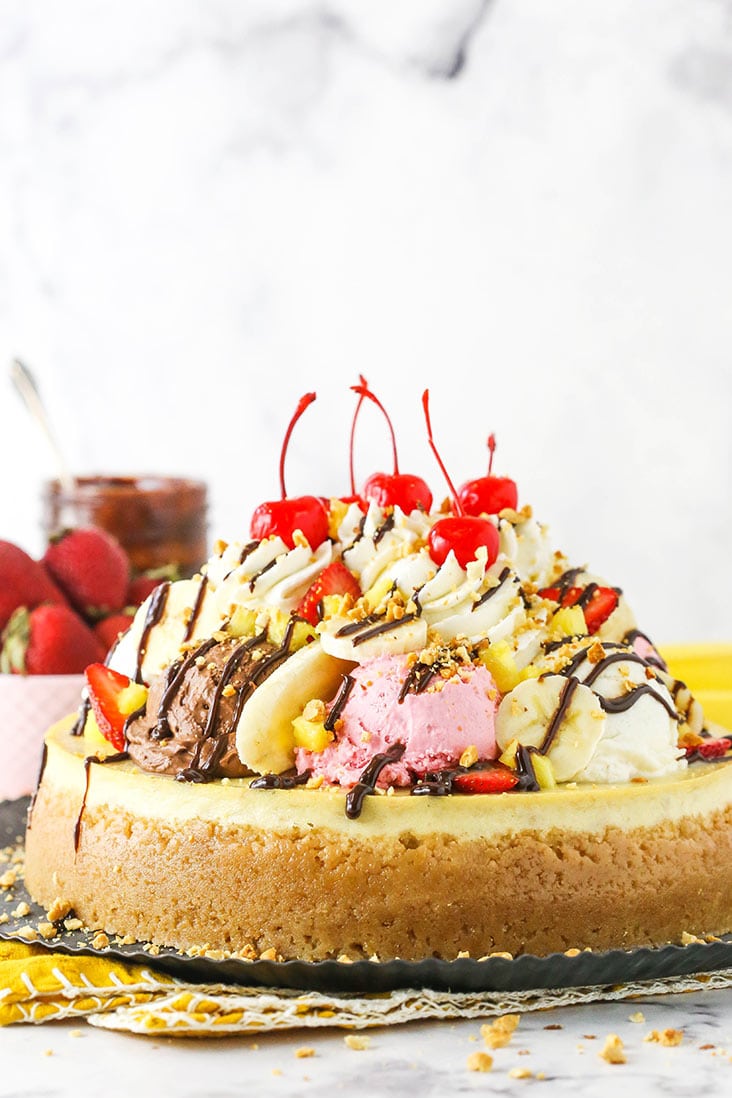
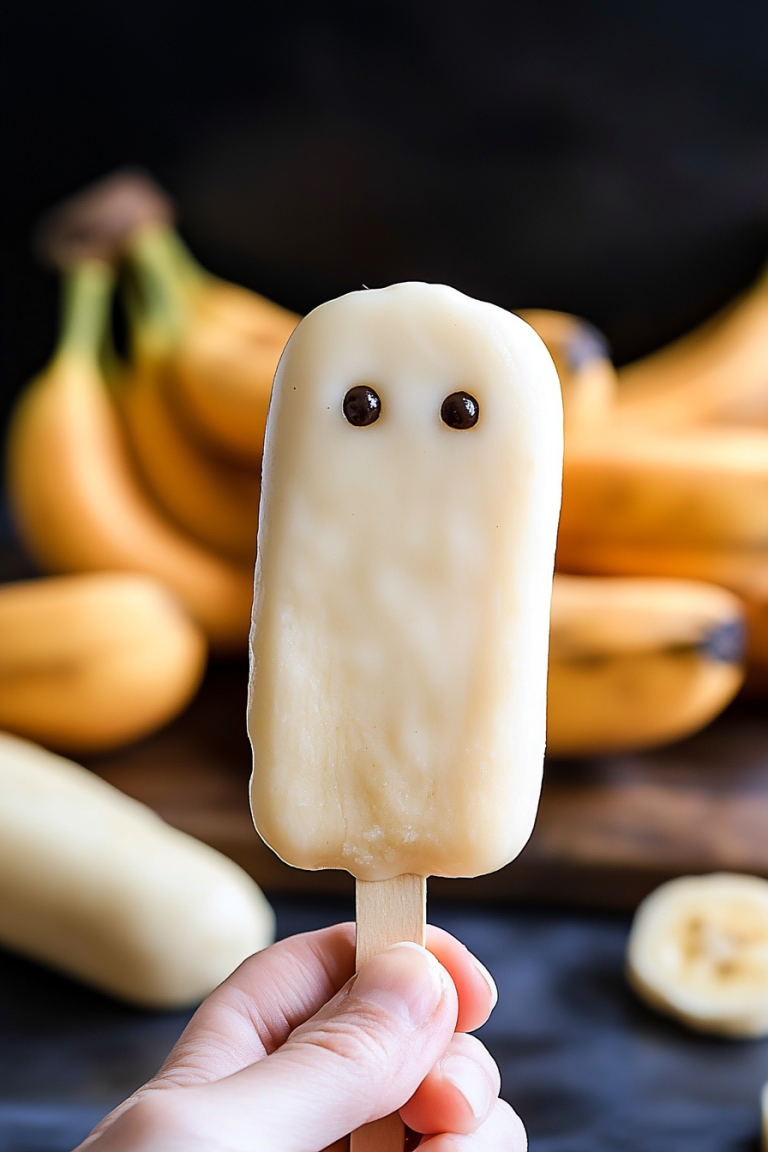
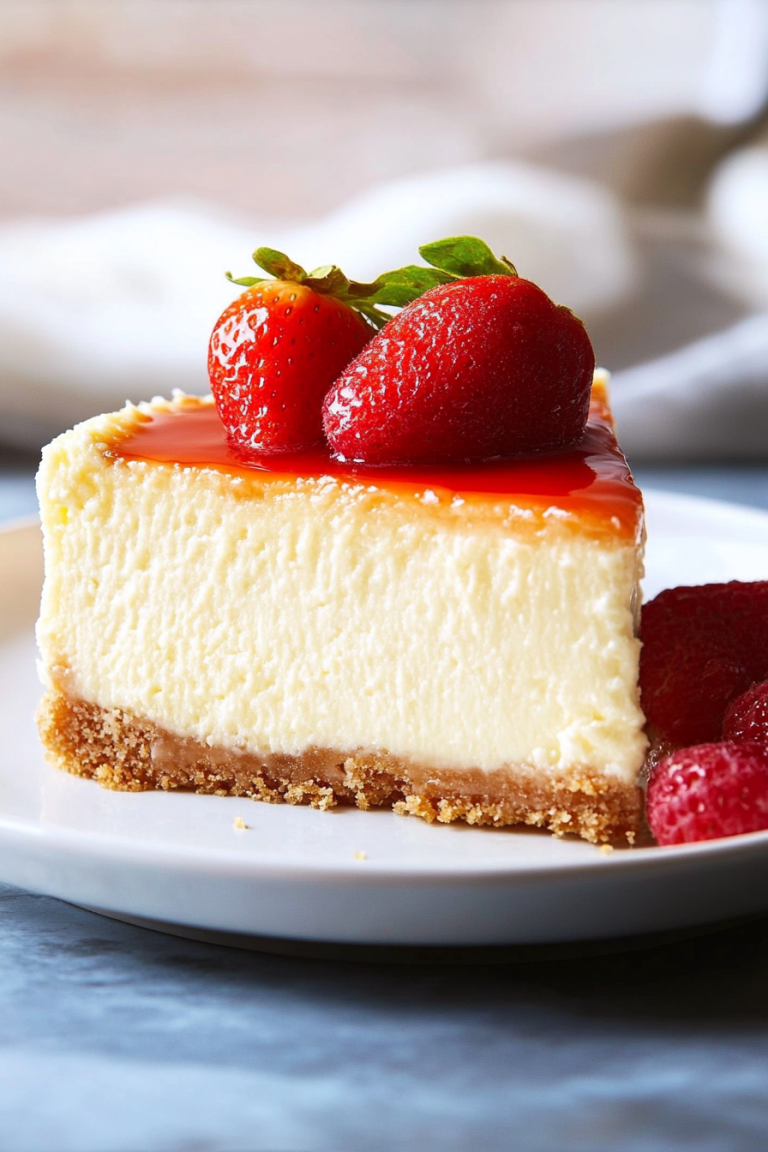
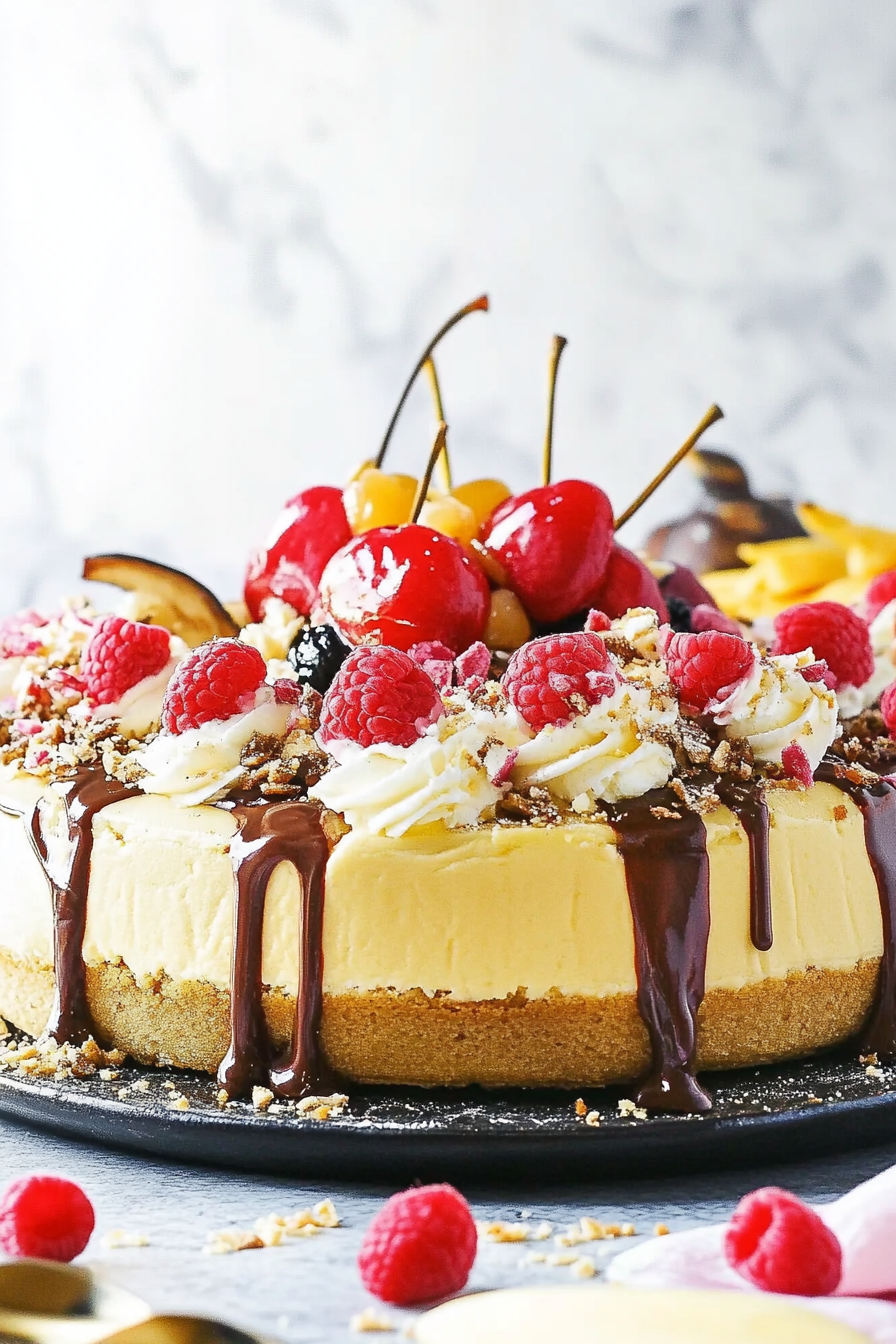
banana split
Ingredients
Method
- Preheat oven to 325°F. Line a 9-inch springform pan with parchment paper and grease the sides.
- Combine crushed vanilla wafers, melted butter, and sugar; press into the bottom and up sides of the pan.
- Bake crust for 10 minutes and let cool.
- Reduce oven temperature to 300°F. Beat cream cheese, sugar, and flour until smooth.
- Add sour cream and banana extract; mix well.
- Mix in mashed bananas. Add eggs one at a time, mixing after each.
- Pour batter into crust. Bake in water bath for 1 hour 10 minutes. Cool and refrigerate.
- Prepare whipped creams by whipping heavy cream with powdered sugar; freeze flavors.
- Spread scoops of whipped cream on cheesecake, add toppings, pipe vanilla whipped cream on top.
- Serve immediately or refrigerate, add final toppings before serving.