How to Make Delightful Pastry Rings
There’s something incredibly nostalgic about a warm slice of bread fresh from the oven, isn’t there? I remember the first time I made this zucchini cinnamon swirl bread—it was a rainy Sunday, the sort where the clouds hang low, and all I wanted was something cozy and comforting. I had a mountain of zucchini from my garden that I didn’t want to waste, and I thought, “What if I turned it into something sweet and slightly spicy?” This recipe turned out to be a game-changer for me. It’s not just delicious; it’s surprisingly easy to make, and the smell alone will fill your home with memories of fall and winter moments. Honestly, my kids ask for this all the time, especially when I make it on lazy weekend mornings. And the best part? It’s basically a one-bowl wonder—perfect when you want a treat without pulling out every pan in the kitchen. Trust me on this one, once you taste it, you’ll be hooked, too.
What is Zucchini cinnamon swirl bread?
Think of this zucchini cinnamon swirl bread as a cozy, textured loaf that combines the moistness of grated zucchini with warm spices and a sweet cinnamon swirl. It’s essentially like a muffin transformed into a loaf—rich, tender, and packed with tiny bits of zucchini that melt into every bite. The name might sound fancy, but this recipe is downright homey. It’s a lot like banana bread, but with zucchini instead of bananas, making it a sneaky way to get some greens into your family’s diet without sacrificing flavor. The swirl of cinnamon sugar running through the middle looks pretty but tastes even better, creating those beautiful, marbled layers that make slicing so satisfying. People often ask if it’s too healthy for dessert. Honestly, I think it’s perfect at breakfast, brunch, or even as a sneaky snack when you’re craving something sweet but don’t want to bake a whole cake. This one’s a lifesaver on busy nights or when I need to use up leftover zucchini before it goes bad.
Why you’ll love this recipe?
What I love most about this zucchini cinnamon swirl bread is how versatile it is. You can have it warm with butter for breakfast, toast it up for a quick snack, or serve it as an afternoon treat with tea. The flavor is honestly just incredible—a perfect balance of sweet and spicy with that comforting cinnamon aroma. Plus, it’s super simple to throw together. I always do this when I want something homemade but don’t want to get bogged down in complicated baking; it’s all mixed in one bowl, then layered and baked. The ingredients are budget-friendly, so it’s great for family dinners or last-minute bake-offs. I even tested this with almond milk, and it made the bread even slightly creamier—definitely worth a try if you’re dairy-free. What makes this recipe stand out for me is how it hits that nostalgic spot, reminding me of those warm, cozy mornings at my grandmother’s house, laughing and munching on fresh-from-the-oven goodies. And honestly, it’s a hit with kids—my little ones ask for seconds, which is the highest compliment I can get!
How do you make Zucchini Swirl Bread?
Quick Overview
This bread comes together quickly, mainly because it’s a one-bowl deal—no need for fancy gadgets or mixer fuss. You start by grating your zucchini, mixing all the moist ingredients, then adding the dry ones last. After pouring half of the batter into your prepared loaf pan, you sprinkle cinnamon sugar mixture, then layer the rest of the batter on top. A quick swirl with a toothpick or knife creates those gorgeous marbled layers. A short bake, a little cooling, and you’re rewarded with fragrant, moist bread that’s perfect for slicing and savoring. It’s foolproof, so don’t worry if you’re a baking newbie; I promise, this one’s simple enough to make even on a busy school morning.
Ingredients
For the Main Batter:
- 2 cups grated zucchini (about 2 medium zucchinis, shredded and drained)—I always do this when zucchini’s in season; it’s so easy with a box grater
- 1 1/2 cups all-purpose flour—trust me, I’ve tested with almond flour, too, and it’s delicious, just a tad denser
- 1/2 cup granulated sugar—feel free to reduce if you like it less sweet
- 1/2 teaspoon baking soda
- 1 teaspoon baking powder
- 1 teaspoon ground cinnamon (more if you love the spice!)
- 1/2 teaspoon salt
- 1/2 cup vegetable oil or melted coconut oil
- 2 large eggs—room temperature helps with even mixing
- 1 teaspoon vanilla extract—best quality for that rich flavor
For the Filling:
- 1/4 cup brown sugar
- 2 teaspoons ground cinnamon
- 2 tablespoons butter, melted (or coconut oil for dairy-free)
For the Glaze:
- 1 cup powdered sugar
- 2-3 teaspoons milk (almond, soy, or dairy)—add more for thinner glaze or less for thicker
- Sprinkle of cinnamon or vanilla for extra flavor (optional)
Step-by-Step Instructions
Step 1: Preheat & Prep Pan
Set your oven to 350°F (175°C) and line a standard 9×5-inch loaf pan with parchment paper or lightly grease it—trust me, this saves a lot of pain when you’re slicing after! I always do this first so I can focus on mixing everything else without hopping around.
Step 2: Mix Dry Ingredients
In a large bowl, whisk together the flour, sugar, baking soda, baking powder, cinnamon, and salt. Make sure everything’s evenly distributed—that way, your bread bakes consistently and you won’t end up with pockets of baking powder or cinnamon. This step is important for a tender crumb.
Step 3: Mix Wet Ingredients
In a separate bowl, combine the oil, eggs, vanilla, and grated zucchini. I like to give this a good stir until everything’s combined and the mixture looks a little shiny. If your zucchini is super moist, I sometimes squeeze out excess water with my hands. It prevents the batter from getting too soggy and helps the bread hold its shape.
Step 4: Combine
Pour the wet mixture into the dry ingredients and fold gently — don’t overmix, or the bread might turn out dense. Just stir until everything is just combined—that’s the secret to a light, airy loaf. If you see a few lumps, that’s okay; minimal mixing is better.
Step 5: Prepare Filling
Mix brown sugar and cinnamon in a small bowl. Melt the butter and set aside. This sweet-spicy mixture will be layered inside, giving the swirl its signature look and flavor.
Step 6: Layer & Swirl
Pour half of the batter into your prepared pan. Sprinkle half of the cinnamon sugar mixture on top, then add the remaining batter. Use a knife or a skewer to gently swirl through the batter, creating a marbled look. Be careful not to over-mix—you want those beautiful ribbons of cinnamon to show through!
Step 7: Bake
Pop your loaf into the oven and bake for about 50-60 minutes, or until a toothpick inserted in the center comes out clean. I usually start checking around 50 minutes because oven temps can vary. If the top gets too dark but the inside isn’t done, you can tent it with foil for the last 10 minutes.
Step 8: Cool & Glaze
Let the bread cool in the pan for about 10 minutes, then transfer to a wire rack. While it’s still warm, drizzle with the glaze. If you prefer a thicker glaze, mix in less milk. I love a little cinnamon swirl added to the glaze for extra flavor—it’s all about personal touches!
Step 9: Slice & Serve
Once cooled completely, slice with a serrated knife for clean edges. Serve warm or at room temperature—either way, it’s irresistible. I find that slices taste even better the next day, once the flavors have melded.
What to Serve It With
This bread is as versatile as it is delicious. For breakfast, pair it with a mug of coffee or tea—trust me, the aroma alone will make everyone jump out of bed. A dollop of mascarpone or cream cheese on a warm slice turns it into a decadent treat. On brunch days, I love serving it alongside scrambled eggs or a fresh fruit salad. It also doubles as a wonderful dessert—warm slices topped with a scoop of vanilla ice cream or a drizzle of caramel make it feel extra special.
And, of course, this bread is fantastic with a cup of afternoon tea or even as a quick snack when the kids come home hungry. I’ve made it for impromptu gatherings, and it always disappears in minutes. My family’s gone wild for it, and I’ve even wrapped slices as homemade gifts to friends! The cinnamon swirl makes it look classy enough for brunch parties, but it’s truly simple enough for a weekday treat.
Top Tips for Perfecting Your Zucchini Cinnamon Swirl Bread
After making this countless times, I’ve picked up a few tricks to make it even better. First, when grating zucchini, I always do it on the finer side because coarser shreds can make the bread a bit soggy. I’ve learned to squeeze out excess moisture—don’t skip this step! Otherwise, the texture can get a little gummy. For the swirl, I recommend sprinkling the cinnamon sugar just before layering on the second batter; it helps the pattern stay defined.
If you want to customize, try adding chopped walnuts or chocolate chips—they’re fabulous surprises in every bite. I’ve also experimented with coconut sugar instead of white or brown sugar, and it gives a lovely caramel note. One mistake I made early on: overmixing the batter. It’s tempting to give it a good stir, but overworking the gluten can make it dense. Gentle folding is your friend here.
For baking, I always position the rack in the center of the oven to ensure even heat. If you notice the top browning too quickly, just tent it with foil. And when glazing, pour slowly and gently so it doesn’t pool too much—just enough to add that glossy finish and a little extra sweetness. Trust me, these small tweaks make a big difference.
Storing and Reheating Tips
This bread keeps beautifully on the counter wrapped tightly in plastic or stored in an airtight container. It’s best enjoyed within 2 days at room temperature; after that, it can start to dry out. If you want to keep it longer, pop it in the fridge—just bring slices to room temp or warm them up slightly in the microwave. To freeze, wrap individual slices or the whole loaf tightly with plastic wrap and then foil. It’s good for up to 3 months. When thawing, leave at room temp or heat for 10-15 seconds in the microwave until just warm. As for the glaze, if you’re storing the bread, wait to glaze until right before serving—this keeps it shiny and fresh-looking.
Frequently Asked Questions
Final Thoughts
This zucchini cinnamon swirl bread is one of those recipes I keep coming back to because it’s just so comforting and versatile. It’s hard to beat the smell of cinnamon mingling with freshly grated zucchini—reminds me of cozy weekends and family mornings. Every time I make it, I feel like I’m infusing a little bit of home into each slice. It’s not overly sweet, so it feels like a treat without being guilty, and it’s a sneaky way to get some greens into the kids’ lunchboxes or breakfast plates. Plus, it’s forgiving—you don’t need to be a master baker to get it right, which is such a relief! I love experimenting with add-ins or swapping ingredients, so don’t hesitate to make it your own. I genuinely hope this becomes a part of your family favorites. Happy baking, my friend—can’t wait to hear how yours turns out!
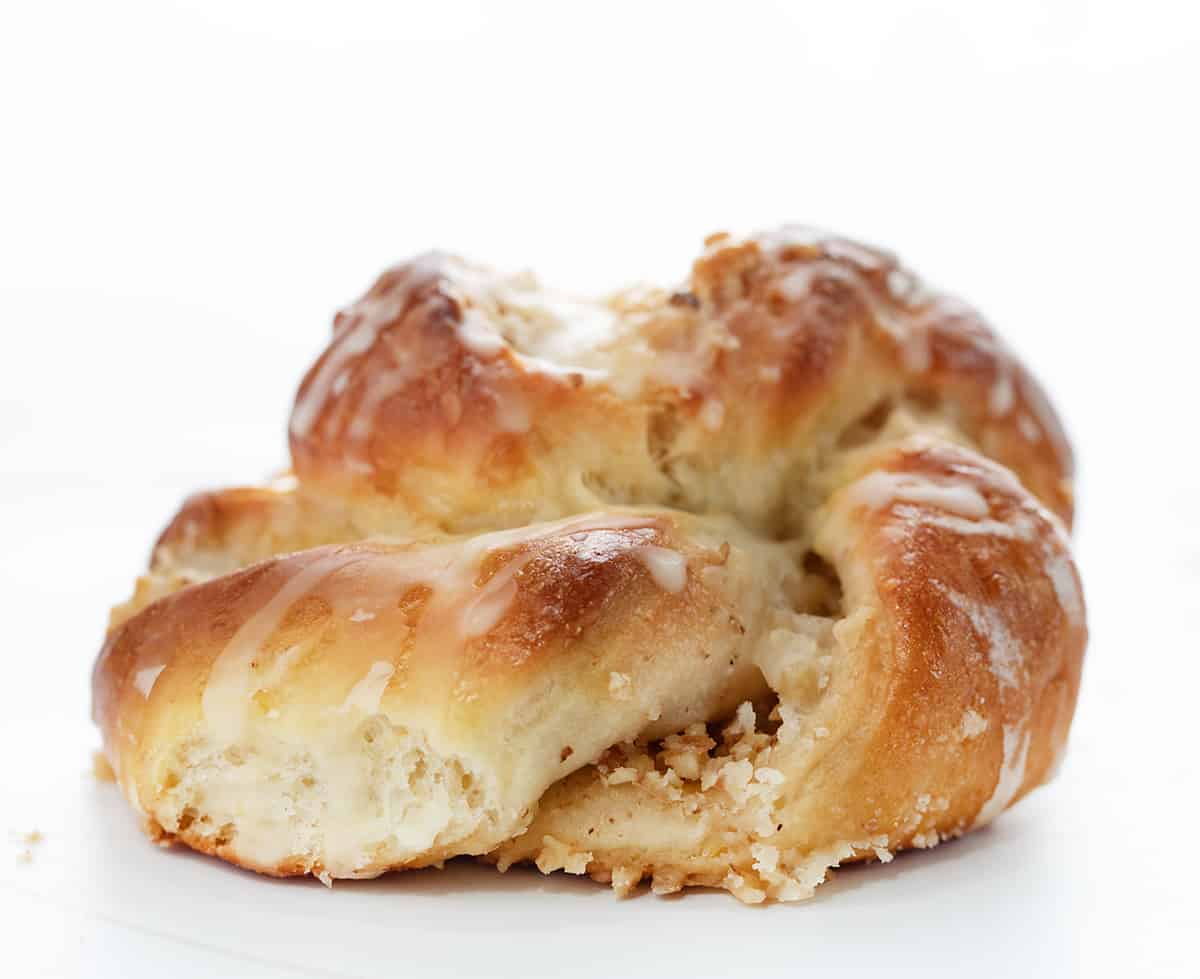
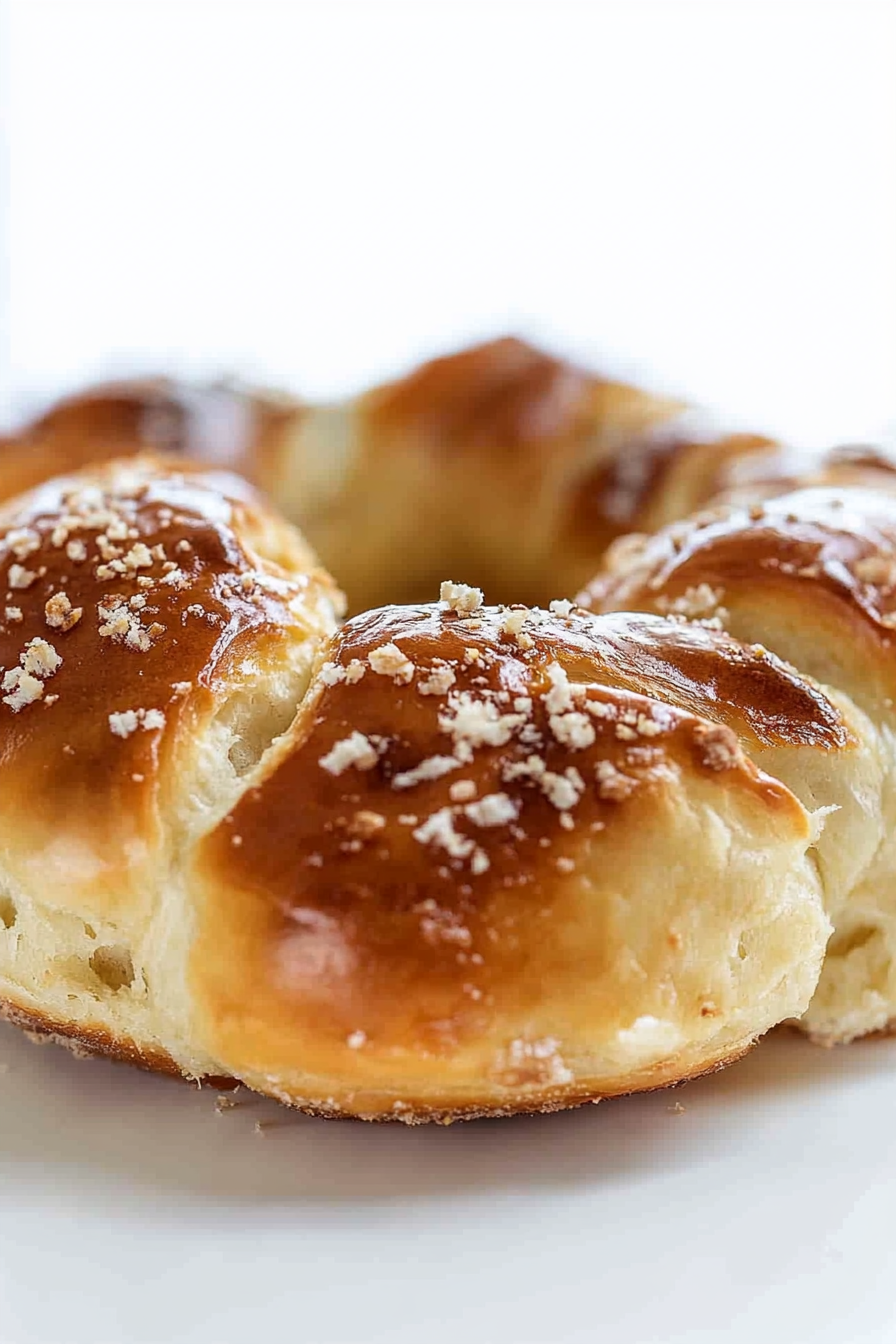
pastry rings
Ingredients
Method
- In the bowl of a stand mixer with paddle attachment, combine 2 cups of flour, sugar, salt, orange zest, and yeast. Mix well.
- Heat milk and butter in a small saucepan until reaches 120°F-130°F.
- Pour the warm milk mixture into the flour mixture, mix on low until moistened, then increase to medium and mix for 3 minutes.
- Remove the bowl from the mixer and stir in remaining flour to form a stiff dough.
- Place dough in a greased bowl, cover with plastic wrap and a towel, and let rise until doubled, about 35-50 minutes.
- Mix confectioners' sugar, butter, and walnuts until combined for the filling.
- Preheat oven to 375°F. Line baking sheets with parchment paper.
- Punch down the dough and roll into a rectangle about 14x20 inches.
- Spread filling over half of the rectangle, fold over, and cut into 16 strips.
- Twist each strip 4-5 times, coil around center, and tuck ends under. Place on prepared baking sheet.
- Cover rolls and let rise until doubled, about 45-50 minutes.
- Brush with beaten egg and bake for 18-20 minutes.
- Mix confectioners' sugar and orange juice to make glaze. Drizzle over warm pastries.