Rich Chocolate Cupcakes A Southern Delight
If I had to pick one dessert that feels like hugging your favorite blanket after a long day, it’s this zucchini swirl loaf. Honestly, I almost hesitate to call it just a “cake” — it’s more like a warm, tangled hug wrapped in a soft slice. I remember how my grandma used to make her zucchini bread with just a dash of cinnamon and a sprinkle of love; it’s that kind of comfort. The smell alone—baked sweet zucchini with hints of vanilla and spice—can turn any dull afternoon into a little celebration. It’s not overly fancy or complicated, and yet, it tastes like it’s been passed down through generations. My kids ask for this all the time, especially when zucchini is in season, and I swear, it’s the best way to sneak those veggies into their day. Plus, this is perfect when you’re craving something sweet at 10 p.m. but don’t want to turn on the oven for a whole cake. Trust me — this zucchini swirl loaf has become a family favorite, and I can’t wait to share my secrets with you!
What is Zucchini Swirl Loaf?
Think of it as a lovely marriage between a quick bread and a tender cake, with a beautiful swirl of cinnamon-spiced zucchini running throughout. It’s essentially a moist, fluffy loaf that’s somehow both satisfying and healthy — well, healthy-ish, at least! The “swirl” part comes from swirling cinnamon sugar into the batter, creating a stunning marbled look that’s as delightful to the eyes as it is to the taste buds. The name says it all: it’s zucchini, but it’s not just for savory dishes or salads anymore. Here, zucchini becomes the star of the show — soft, tender, and subtly sweet. The beauty of this recipe is that it’s simple enough for a weeknight treat but impressive enough to serve at brunch or a family gathering. It’s one of those dishes that makes leftovers disappear quickly because everyone keeps going back for one more slice—and I always do this when I need a little bit of cozy comfort in a loaf.
Why you’ll love this recipe?
Honestly, what I love most about this zucchini swirl loaf is how adaptable and forgiving it is. I’ve made this countless times, tinkering with the ingredients, and it never fails to turn out moist, flavorful, and just the right amount of indulgent. The flavor profile? Oh, it’s got that warm cinnamon-spiced punch complemented by the subtle sweetness of zucchini — but don’t worry, it’s not like biting into a vegetable! Instead, it’s a wonderfully tender cake that makes you forget you’re eating something healthy.
What makes this recipe a keeper in my book?
- Flavor:What makes zucchini smell like a bakery?
- Ease: I’ve tested this with just basic pantry staples — no tricky ingredients or fancy equipment needed. It’s honestly so quick to whip up, my kids even pitch in.
- Cost-efficiency: Zucchini is usually pretty cheap, especially when in season, and this recipe stretches those ingredients into something very special.
- Versatility: Add nuts, chocolate chips, or swap the cinnamon for pumpkin spice — this loaf adapts to whatever mood strikes. I’ve even tested it with almond milk, and trust me, it turned out even creamier!
Another reason I love this is because it’s a great way to use up those overgrown zucchinis from the garden or the store’s bulk section. Plus, it’s a hit with my friends when I bring slices to weekend brunch. Honestly, it’s one of those recipes that makes me feel like I’ve got a little magic in my kitchen — simple, nourishing, and just a little luxurious.
How to Make Zucchini Swirl Loaf
Quick Overview
This recipe is all about blending a few easy ingredients into a batter, swirling in cinnamon sugar, and baking until golden and moist. It’s actually quite foolproof — I always do this when I want something sweet but don’t want to fuss in the kitchen for hours. The key is not overmixing after adding the flour, and letting the loaf cool just enough before slicing to keep it tidy. The swirl is what gives it that pretty marbled look, and it’s surprisingly simple to execute. Plus, I promise, the smell alone will have everyone gathering in the kitchen before it’s even done baking. It’s one of those recipes that’s comforting but also filling — perfect for a snack or dessert, and my kids love to help with the swirl part!
Ingredients
For the Main Batter:
- 2 cups grated zucchini (squeeze out excess moisture; don’t skip this step, or it’ll be too wet!)
- 1 ½ cups all-purpose flour (or whole wheat for a healthier twist)
- 1 teaspoon baking powder
- ½ teaspoon baking soda
- ½ teaspoon salt
- 1 teaspoon ground cinnamon (or more if you love a strong spice)
- ¾ cup granulated sugar (I’ve tested with half, and it’s still delicious!)
- ½ cup vegetable oil or melted butter
- 2 large eggs
- 1 teaspoon vanilla extract
For the Filling:
- ¼ cup brown sugar
- 1 teaspoon cinnamon
- Optional: ½ cup chopped nuts or chocolate chips for extra flair
For the Glaze:
- ½ cup powdered sugar
- 1-2 teaspoons milk (or almond milk)
- 1 teaspoon vanilla (or lemon zest for a brighten-up)
Step-by-Step Instructions
Step 1: Preheat & Prep Pan
Set your oven to 350°F (180°C). Grease a standard loaf pan with butter or non-stick spray, and line it with parchment paper if you like, for easy removal. I like to gently dust it with flour — just a sprinkle, then tap out the excess. This step makes sure your loaf comes out in one piece and looks pretty on the plate.
Step 2: Mix Dry Ingredients
In a large bowl, whisk together the flour, baking powder, baking soda, salt, and cinnamon. This helps distribute the leavening agents evenly so your loaf rises uniformly. Trust me, don’t skip this step — it makes all the difference for a light, fluffy texture.
Step 3: Mix Wet Ingredients
In a separate bowl, combine the sugar, eggs, oil, vanilla, and grated zucchini. I always do this with a hand whisk — it whisks the eggs and oil together so the zucchini is evenly coated. The zucchini should look glossy and well-dressed, ready to mingle with the dry stuff.
Step 4: Combine
Pour the wet mixture into the dry ingredients and fold gently until just combined. Be careful not to overmix; otherwise, the loaf could turn dense. A few lumps are fine — this keeps it nice and tender. If you see streaks of flour, fold just a little more, but silence those perfectionist urges!
Step 5: Prepare Filling
Mix the brown sugar and cinnamon in a small bowl. If you’re adding nuts or chocolate chips, stir them into the sugar mixture or sprinkle on top later. This filling adds that irresistible cinnamon swirl — my secret weapon for appealing look and flavor.
Step 6: Layer & Swirl
Pour half of the batter into your prepared pan. Sprinkle half of the cinnamon sugar mixture over it, then add the rest of the batter on top. Using a skewer or knife, gently swirl through the batter to create marbled waves. Don’t overdo it — just a few gentle swirls will do. It’s mesmerizing to see it come together!
Step 7: Bake
Pop it in the oven for about 50-60 minutes. The top should be golden, and a toothpick inserted in the center should come out clean. It’s okay if the edges slightly pull away from the pan — I like my loaves with a little rustic charm. Keep an eye on it after 45 minutes; every oven is different. If it browns too fast, tent loosely with foil.
Step 8: Cool & Glaze
Once out of the oven, let the loaf cool in the pan for about 10 minutes before transferring it to a wire rack. This keeps it moist and prevents it from breaking. While it cools, mix up your glaze — a simple powdered sugar and vanilla combo works miracles. Drizzle it over the loaf while it’s still warm for that shiny, irresistible look.
Step 9: Slice & Serve
Use a serrated knife to cut the loaf into thick slices. It’s soft but holds its shape beautifully. Serve warm with a pat of butter or a dollop of Greek yogurt. My family loves this as a quick breakfast, an afternoon snack, or even a cozy dessert with a scoop of vanilla ice cream on the side. Honestly, it’s the kind of recipe that makes the house smell like happiness — trust me, I’ve made this with a toddler helping, and it still turns out perfect.
What to Serve It With
Well, this zucchini swirl loaf is pretty versatile. For breakfast, I love to pair it with a robust coffee or a latte — the cinnamon hits just right with a warm mug. A dollop of whipped cream and fresh berries turn it into a show-stopping brunch treat, especially when served alongside orange juice or a mimosa.
If I’m baking for dessert, I’ll slice it thick and serve it warm with a scoop of vanilla ice cream or a drizzle of caramel sauce. It’s just fancy enough to wow guests without needing any fuss — I’ve brought this to potlucks, picnics, and casual weekend dinners, and it’s always a hit. Even at coffee mornings, this loaf disappears faster than I can say “more, please.” And for cozy nights in, slices with a bit of jam or honey are pure comfort. Trust me, it’s a hit at my house, and I bet it will be at yours, too.
Top Tips for Perfecting Your Zucchini Swirl Loaf
There’s a little art to making sure this loaf turns out just perfect — but don’t worry, it’s mostly common sense and a touch of patience. Here are my best tips:
- Zucchini Prep: Always squeeze out excess moisture! I use a clean kitchen towel or cheesecloth for this — moist zucchini can make the batter too runny, and that’s no fun.
- Mixing Advice: Be gentle when folding the wet into the dry ingredients. Overmixing is the enemy of fluffy baked goods, so fold until just combined and don’t worry about a few lumps.
- Swirl Customization: Make your swirl pattern fun! Using a skewer or even a chopstick helps create interesting marbling. You can also sprinkle a handful of chopped nuts or chocolate chips in the layers for extra texture.
- Ingredient Swaps: I like swapping whole wheat flour sometimes or adding a pinch of nutmeg for a more complex flavor. Tested substitutions work well, but just keep the ratios consistent to avoid dense results.
- Baking Tips: Keep an eye on your loaf after about 45 minutes. Every oven is different — my grandma’s oven runs hot, so I always check early. Use a toothpick; if it comes out clean, it’s ready.
- Glaze Variations: For extra pizzazz, add a splash of lemon juice or orange zest to your glaze. It brightens up the flavor beautifully. Or swap the powdered sugar for maple glaze if you’re feeling indulgent.
Over the years, I’ve learned that patience makes all the difference. A loaf that’s slightly underbaked and cooled properly will slice beautifully, and the swirl pattern will look picture-perfect. My biggest lesson? Don’t rush cooling — the loaf needs to settle so it slices easily without crumbling. Small tweaks and a bit of love in the kitchen really pay off with this recipe. It’s become a staple because I can adapt it, and it always reminds me of home.
Storing and Reheating Tips
This loaf stays nice and fresh for a couple of days if stored properly. I usually wrap it tightly with plastic wrap or pop slices into an airtight container. Room temperature storage works well for about 2 days, but after that, it’s best to refrigerate — the zucchini keeps it moist and prevents mold. Don’t forget to let the loaf come to room temp before slicing if it’s been refrigerated; it makes a big difference for the texture.
If you want to save some for later, wrap individual slices in plastic, then freeze. Thaw at room temp or quick reheat in the microwave for about 15-20 seconds. The flavor stays fresh, and the texture is almost like new. I also recommend holding off on adding the glaze until just before serving if you’re freezing or refrigerating — it’s the finishing touch that makes this loaf so irresistible.
Frequently Asked Questions
Final Thoughts
This zucchini swirl loaf is honestly one of those recipes that makes me feel cozy every single time I bake it. It’s not just about the taste — it’s about the memories, the smell wafting through the house, and that feeling of comfort knowing I’ve made something nourishing and delicious with my own two hands. Whether I need a quick treat, a breakfast, or a sweet end to a family dinner, this loaf is always my go-to. Over the years, I’ve shared it with friends, brought it to potlucks, and hidden slices in the freezer for those “I need a moment” days. It’s versatile, forgiving, and — most importantly — it just tastes really good. If you try it, I’d love to hear how yours turns out, or any fun twists you come up with. Happy baking, my friend! Remember, the best recipes are the ones you put love into—so don’t be shy about making it your own.
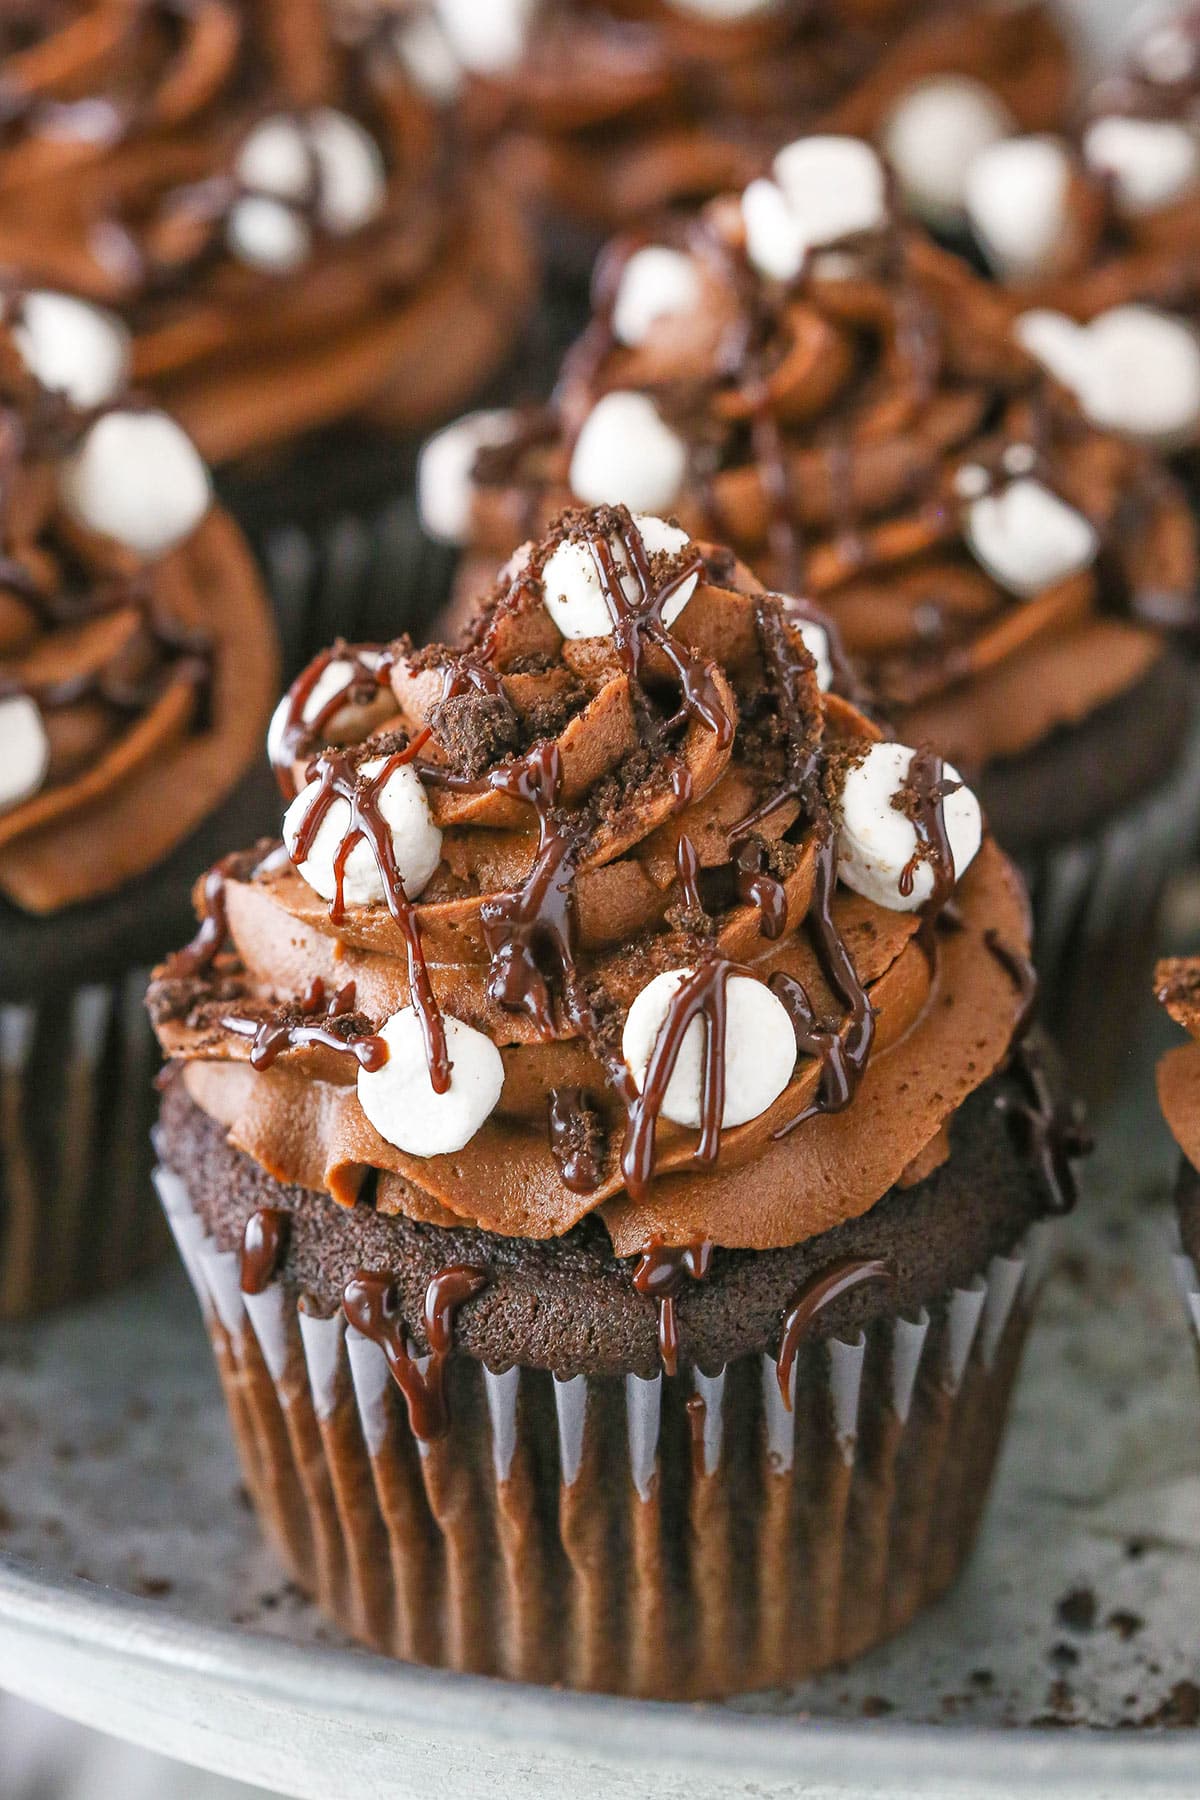
Mississippi Mud
Ingredients
Method
- Preheat oven to 350°F and line cupcake pans with liners.
- Combine flour, cocoa powder, baking soda, and salt in a medium bowl.
- Cream together butter, sugar, oil, and vanilla in a large bowl until light and fluffy, about 3-4 minutes.
- Add eggs one at a time, mixing well after each addition. Scrape down sides as needed.
- Mix in half of the dry ingredients until combined.
- Gradually add milk, mixing until incorporated. Batter may look curdled—that's okay.
- Add remaining dry ingredients and mix until smooth. Do not overmix.
- Fill cupcake liners about three-quarters full. Bake for 16-18 minutes, or until a toothpick comes out with a few crumbs.
- Cool cupcakes for 2-3 minutes, then transfer to a wire rack to cool completely.
- Core the cooled cupcakes to create space for filling.
- Fill centers with marshmallow fluff using about 1.5 to 2 tablespoons per cupcake.
- Prepare frosting: Beat butter until smooth, add melted chocolate and cocoa, then alternate adding powdered sugar and heavy cream until desired consistency.
- Pipe frosting onto cupcakes and top with chocolate ganache and cookie crumbles. Serve and enjoy!