Snickers Peanut Butter Brownie Ice Cream Cake
Snickers Peanut Butter Brownie Ice Cream Cake
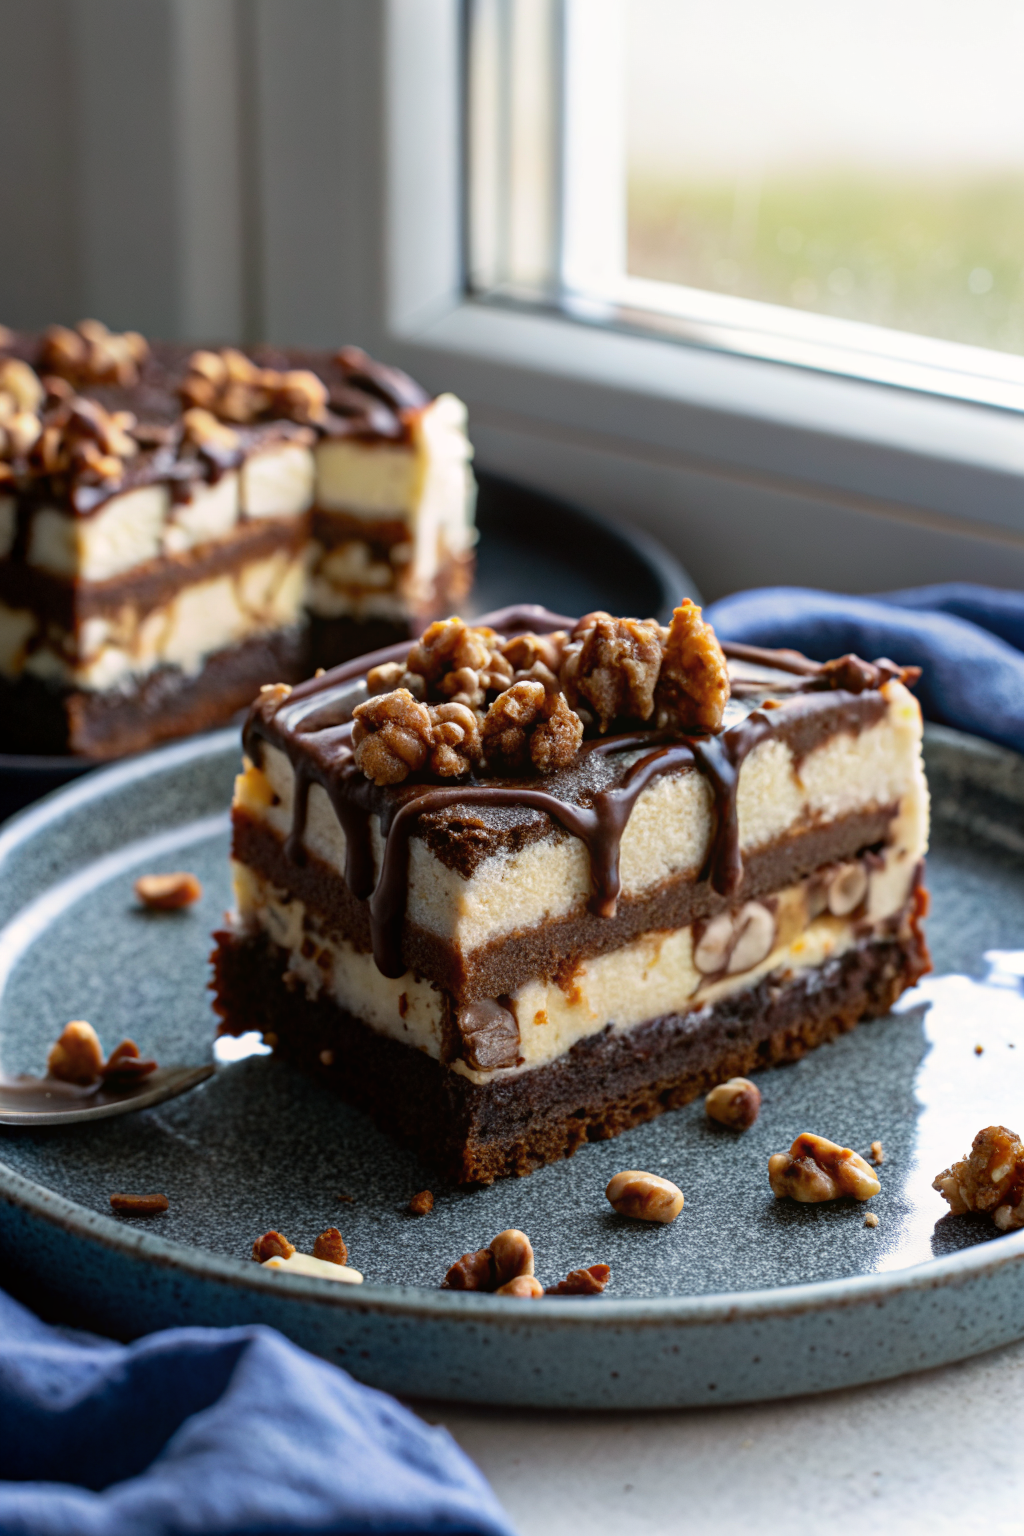
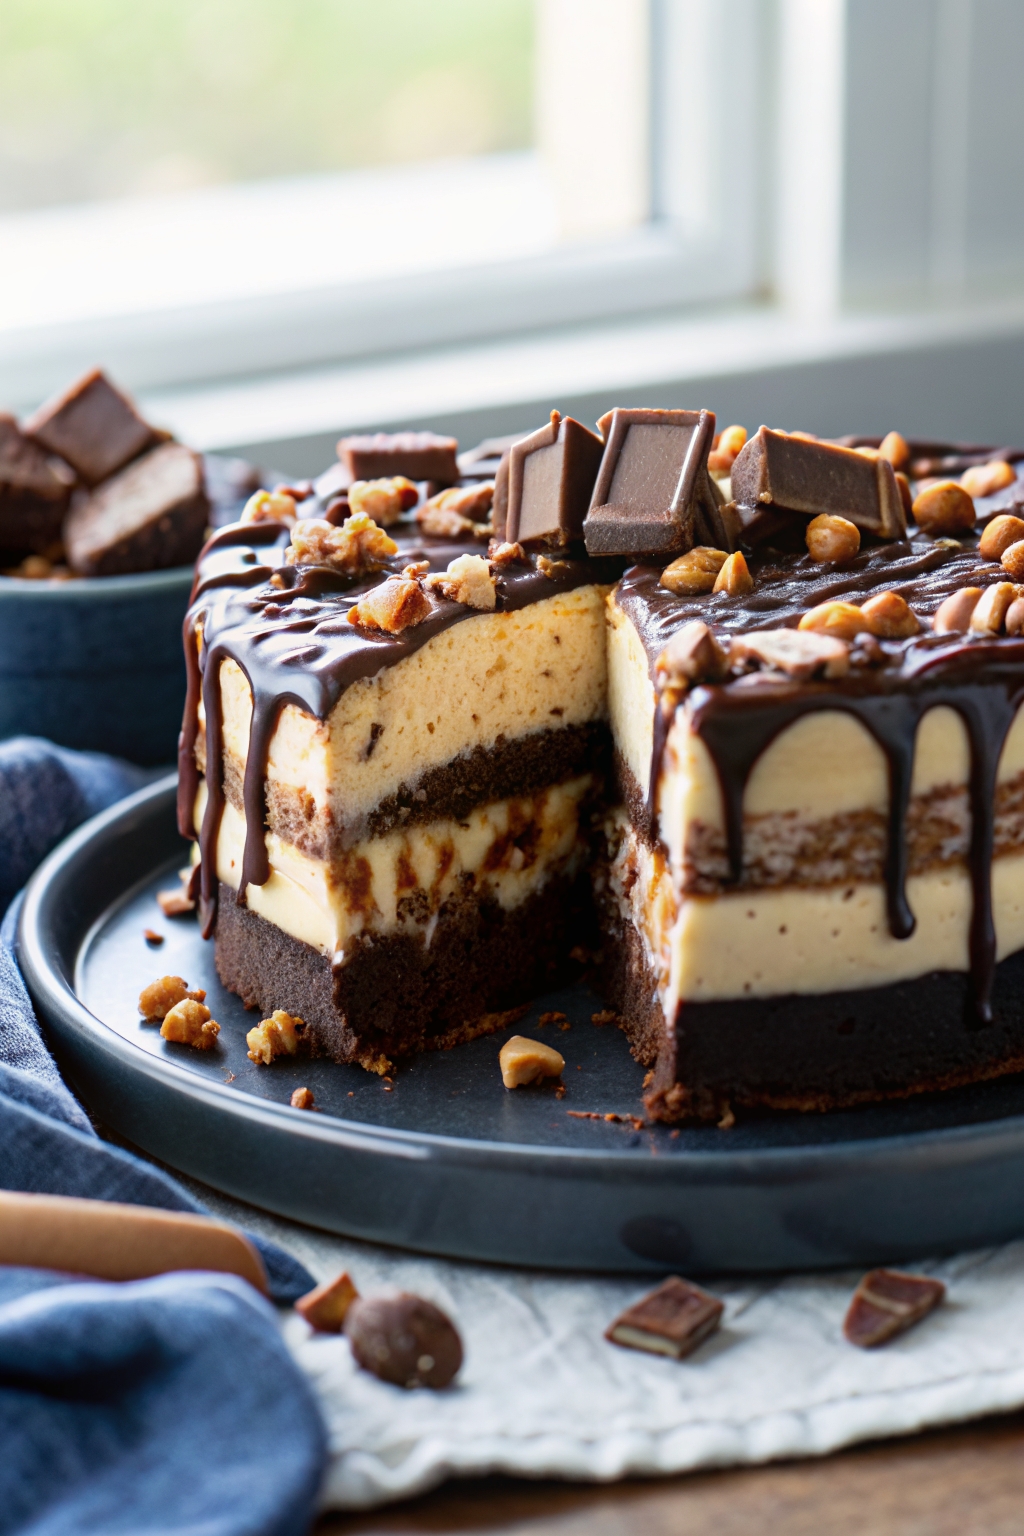
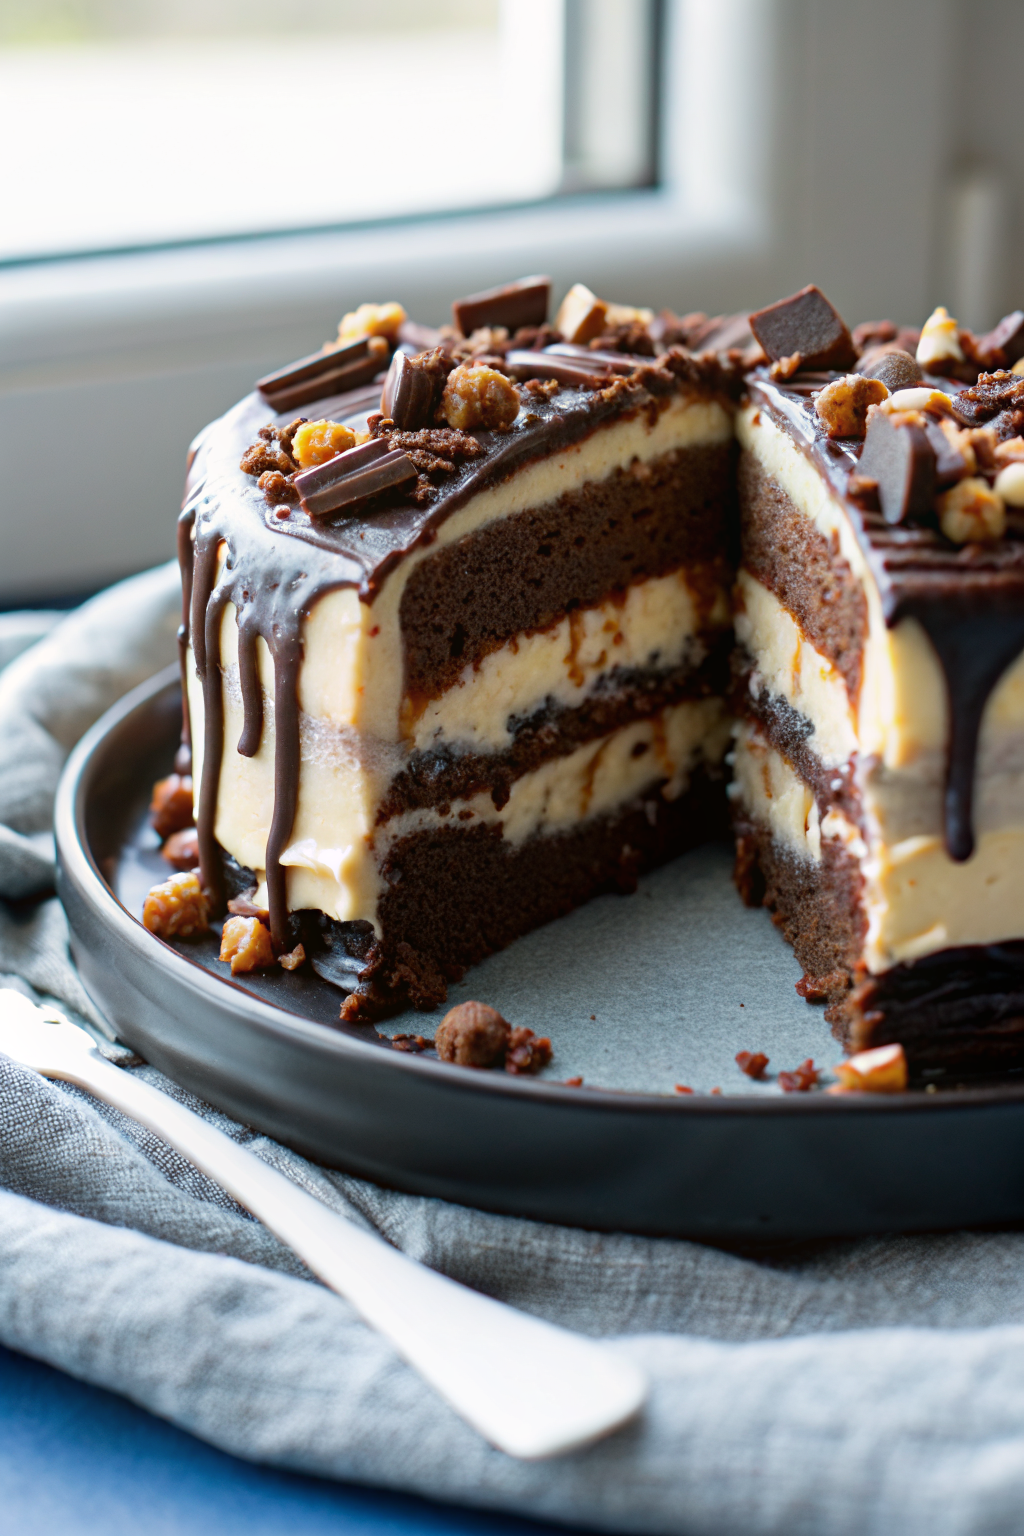
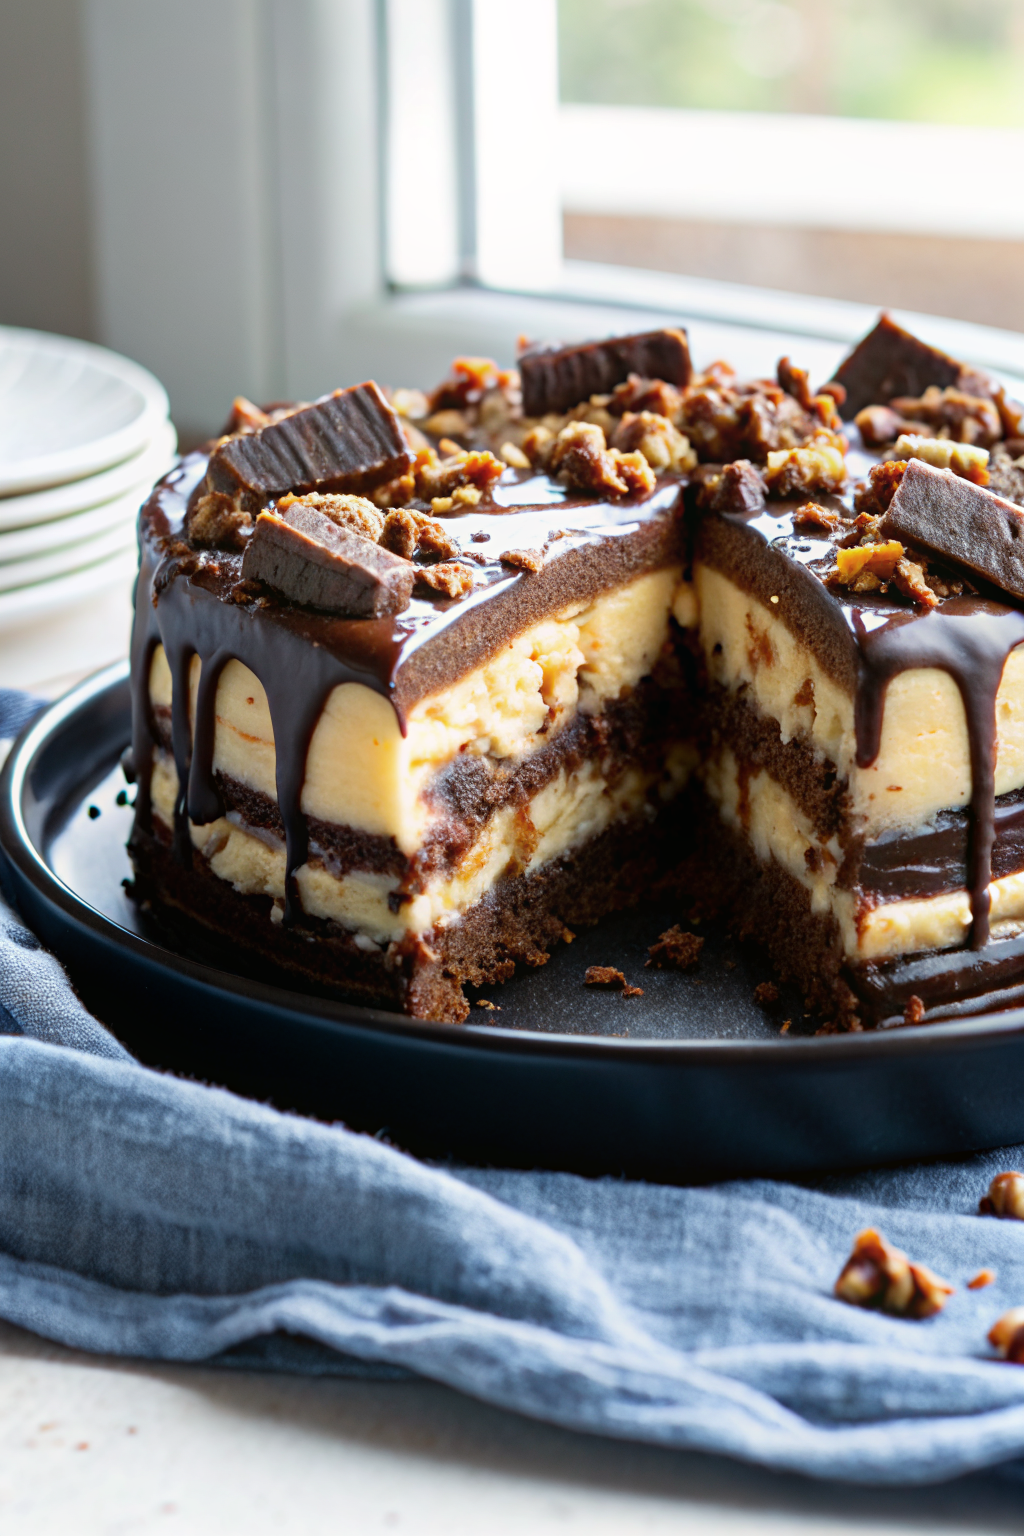
Oh my gosh, have you ever had one of those moments where you just *know* something is going to be absolutely incredible before you’ve even taken a single bite? That was me the second I laid eyes on this decadent creation. Picture layers of fudgy brownie, gooey caramel and chocolate sauce, crunchy chopped Snickers bars, and creamy peanut butter ice cream all frozen together into one glorious slice of heaven. It’s basically your favorite candy bar—but in cake form, served cold, and somehow even better. I made this for a little birthday celebration last week, and let me tell you, it stole the show faster than you can say “face in the cake.” (Not an ingredient, but honestly tempting.) The best part? No ice cream machine needed. Just a few simple ingredients, some patience while it freezes, and a whole lot of joy. This isn’t just dessert—it’s an experience.
What Is Snickers Peanut Butter Brownie Ice Cream Cake?
This ultra-rich frozen dessert is exactly what it sounds like: a no-bake ice cream cake built around a base of homemade or boxed brownies, layered with peanut butter ice cream, caramel and chocolate sauces, and studded throughout with chopped Snickers bars. Think of it as a grown-up version of a candy bar—packed with peanut butter, nougat, caramel, and chocolate—but transformed into a celebratory cake that stays firm when sliced and melts gloriously on your tongue. It’s perfect for birthdays, potlucks, or anytime you want to treat yourself to something truly special. Because honestly, who doesn’t need more reasons to celebrate with sugar?
Why You’ll Love This Recipe
If you’re a fan of peanut butter and chocolate (and if you’re reading this, chances are you are), then this cake is calling your name. The peanut butter ice cream alone will make you weak in the knees—it’s smooth, slightly sweet, and packed with that classic salty-sweet peanut butter flavor we all love. Layered between tender brownies and drizzled with both caramel and chocolate sauces, every bite is a flavor explosion. And don’t even get me started on the texture: crispy from the Snickers bits, creamy from the ice cream, and rich from the brownie foundation. Plus, it’s shockingly easy to assemble! Most people assume I used an ice cream maker, but nope—this recipe skips that step entirely thanks to store-bought Cool Whip and premade sauces. Whether you’re hosting guests or treating yourself, this cake delivers major wow factor without requiring hours in the kitchen. Seriously, it’s the kind of dessert people rave about long after the party’s over.
How to Make Snickers Peanut Butter Brownie Ice Cream Cake
Quick Overview
Bake two 8-inch brownies (or use a pre-made mix), chill them completely. While they cool, whip up a luscious peanut butter ice cream filling using cream cheese, peanut butter, sugar, milk, and Cool Whip. Assemble everything in a springform pan: brownie, sauces, Snickers chunks, ice cream, repeat! Freeze overnight until firm, then drizzle extra sauces on top before slicing. In under 30 minutes of active prep time, you’ll have a showstopper ready to impress.
Ingredients
- 1 box brownie mix (plus ingredients listed on the box)
- 1/4 cup milk
- 8 oz cream cheese, softened
- 1/2 cup sugar
- 1 1/2 cups peanut butter
- 8 oz Cool Whip, thawed (or homemade whipped cream)
- 1 20 oz bottle chocolate sundae syrup
- 1 20 oz bottle caramel sundae syrup
- 1 11.5 oz bag mini Snickers, chopped into three groups
Step-by-Step Instructions
- Prepare the brownies: Follow your box instructions to make the dough. Grease two 8-inch pans (preferably springform) and line the bottoms with parchment paper. Bake at the temperature on the box, but reduce time to about 20 minutes. Let cool completely.
- Make the ice cream layer: In a mixer (or by hand), combine milk, softened cream cheese, sugar, and peanut butter until smooth. Gently fold in the thawed Cool Whip.
- Assemble the cake: Line the sides of your same 8-inch springform pan with parchment paper, letting it hang over the edges. Place the first cooled brownie in the bottom. Spread 1/2 cup caramel and 1/2 cup chocolate sauce evenly over it. Top with half of the chopped Snickers. Add half of the peanut butter ice cream mixture.
- Add the second layer: Carefully place the second brownie on top. Drizzle again with 1/2 cup each of caramel and chocolate sauce, then add another third of the Snickers. Finish with the remaining peanut butter ice cream.
- Freeze and serve: Cover and freeze the cake completely (at least 6–8 hours or overnight). When ready to serve, remove from the pan using the parchment handles, peel off the paper, and top with extra sauces and Snickers. Slice and enjoy!
What to Serve It With
This cake is bold enough to stand alone, but if you want to elevate the presentation, consider serving slices with a dollop of vanilla bean ice cream or a sprinkle of sea salt. It pairs beautifully with coffee or cold milk—especially if you’re feeling nostalgic for childhood treats. For special occasions, dust the plate with cocoa powder or add a few fresh berries nearby (though trust me, the Snickers flavor speaks for itself!).
Top Tips for Perfecting Your Snickers Peanut Butter Brownie Ice Cream Cake
First off, always use a springform pan—it makes removing the cake so much easier once it’s frozen solid. Don’t skip chilling the brownies completely; warm brownies will melt the ice cream and ruin the structure. If you’re short on time, bake one large brownie and cut it in half. Also, measure your sauces carefully—too much liquid can make the cake soggy. Finally, freeze it flat side down so the layers stay intact. Oh, and don’t forget to save a little extra Snickers for garnish right before serving—it adds that perfect crunch and visual appeal.
Storing and Reheating Tips
This cake is best enjoyed within 2–3 days of making it. Store the assembled cake tightly wrapped in plastic wrap directly in the freezer. When transporting, place it in a styrofoam cooler with an ice pack if possible. Never microwave it—the sudden heat will turn the entire thing into a sad, runny mess. Instead, let it sit at room temperature for 5–10 minutes before slicing. That way, you get clean cuts and that dreamy softness without melting too fast.
Frequently Asked Questions
Final Thoughts
This Snickers Peanut Butter Brownie Ice Cream Cake isn’t just delicious—it’s a memory in the making. Every time I serve it, I see smiles light up, compliments fly, and someone inevitably asks for the recipe. It’s rich, indulgent, and surprisingly simple to pull off. Whether you’re celebrating a birthday or just craving pure dessert bliss, this cake delivers on every level. So go ahead—grab a spoon, invite some friends over, and treat yourself to something unforgettable. Trust me, your taste buds will thank you… and maybe even ask for seconds.
Snickers Peanut Butter Brownie Ice Cream Cake
Ingredients
Method
- NOTE: An 8-inch springform pan is best for this recipe so that you can easily remove the cake once it’s been assembled. If you do not have a springform pan, line your pan with clear wrap before adding your parchment paper and cake board. You can use the clear warp to lift your cake out of the pan once it’s assembled and frozen.
- Make brownie dough according to instructions on back of box.
- Grease two 8-inch pans (preferable springform pans) and line the bottoms with parchment paper. Bake at temperature on box, reducing baking time to about 20 minutes.
- When brownies are done baking, allow to completely cool.
- Combine milk, cream cheese, sugar and peanut butter together in the bowl of a stand mixer or with a hand mixer. Mix until completely combined.
- Fold in the cool whip.
- Line the sides of an 8-inch springform pan with parchment paper, allowing it to stick up above the top edge.
- Put the first brownie layer in the bottom of your pan.
- Spread 1/2 cup caramel sauce and 1/2 cup chocolate sauce over the brownie. Top with first group of chopped snickers.
- Top with half of the peanut butter ice cream.
- Add second brownie to the pan, on top of the ice cream.
- Again cover with 1/2 cup caramel sauce and 1/2 cup chocolate sauce. Top with second group of chopped snickers.
- Top with remaining peanut butter ice cream.
- Allow ice cream cake to freeze completely.
- When frozen, remove from springform pan and remove parchment paper from sides.
- Top with additional caramel sauce and chocolate sauce, allowing it to drizzle down the sides.
- Cover with remaining chopped snickers and a little more caramel and chocolate sauce.