Spicy Egg Pasta Salad How To
There’s something about a warm slice of bread still faintly steaming from the oven that just makes my heart feel cozy. I remember sneaking into the kitchen as a kid, mom’s apron tied around her, and the smell of baked goods filling the house on lazy weekends. This zucchini raspberry swirl loaf is a recipe I’ve perfected over the years, and honestly, it’s become one of those every-weekend favorites that my entire family asks for. It’s surprisingly effortless, packed with bright berry flavor, and the zucchini keeps it moist and tender in a way that’s almost addictive. Plus, it’s perfect when I want something sweet but don’t want to turn on the oven for a big cake. My kids especially love watching the vibrant raspberry ribbons swirl through the batter—like a little edible piece of art—and they’re always surprised when I tell them it’s good for them too! I’ve tested this with different berries and even a splash of almond milk, and it always turns out amazing. Trust me, once you make this, it’s going to become your go-to treat too!
What is Zucchini Raspberry Swirl Loaf?
This zucchini raspberry swirl loaf is essentially a loaf cake that combines the light, subtly vegetable sweetness of zucchini with the tart, bursting flavor of fresh raspberries, all enveloped in a tender, slightly crumbly bread. Think of it as a cross between a quick bread and a muffin, but sliceable and perfect for sharing. The name might sound fancy, but it’s really just a way to describe how the berries swirl through the batter—creating beautiful pockets of color and flavor in every bite. It’s inspired by traditional zucchini bread, which I always do when I need to sneak a vegetable into my kids’ snacks, but adding the raspberries gives it an extra little punch of brightness and freshness. This loaf is versatile enough to serve at breakfast, brunch, or even as a wholesome dessert paired with a dollop of cream or a dusting of powdered sugar. Think of it as a recipe that’s cozy, a little indulgent, but still feels good—your taste buds and your conscience will thank you!
Why you’ll love this recipe?
What I love most about this zucchini raspberry swirl loaf is how effortlessly it elevates simple ingredients into something special. The flavor profile is just delightful—earthy zucchini combined with tangy, juicy raspberries that practically burst on your tongue. The smell alone when it’s baking—oh, the aroma of fresh berries mingling with warm vanilla and a hint of citrus zest—is enough to make everyone come rushing into the kitchen. This one’s a lifesaver on busy nights because it comes together quickly and doesn’t require complicated techniques; I usually whip it up in one bowl and pop it in the oven. Budget-wise, zucchini and raspberries are usually affordable, especially when berries are on sale, making this recipe friendly to any household. I also love how versatile it is—my kids ask for this all the time, and I’ve served it as breakfast, a snack with tea, or even dessert on a casual weekend. Plus, the swirl of berries isn’t just beautiful—it’s packed with antioxidants and vitamins, so I feel good feeding it to my family. What makes this stand out from the usual zucchini bread or berry loaf is how the swirl creates a little surprise in each slice—the little pockets of jammy, berry goodness that elevate every bite. Honestly, once you’ve tried it, I bet it’ll become a regular in your baking rotation!
How do I make Zucchini Raspberry Swirl Loaf?
Quick Overview
This zucchini raspberry swirl loaf is as simple as mixing up a moist batter, layering in fresh raspberries, and gently swirling everything together before baking. The trick is not overmixing—it keeps the bread tender, and the swirl should be visible but not overpowering. As it bakes, the berries release their juices, creating beautiful streaks of pink throughout. It’s a straightforward process, perfect for both beginner bakers and those who want a cozy, satisfying treat without fuss. Plus, I often prepare this in under an hour, from start to finish, making it ideal for spontaneous baking days or when guests drop by. The best part? No fancy equipment needed—just one bowl, a spatula, and your oven. Once out of the oven, you get that lovely aroma, and the wait to slice it up is nearly impossible—trust me, it’s that good!
Ingredients
For the Main Batter:
- 2 cups grated zucchini (about 2 medium zucchinis, excess moisture squeezed out)
- 1 ½ cups all-purpose flour (or whole wheat for a healthier twist)
- 1 teaspoon baking powder
- ½ teaspoon baking soda
- ¼ teaspoon salt
- 1 teaspoon vanilla extract
- ½ cup granulated sugar (or coconut sugar for a more caramel depth)
- ½ cup vegetable or melted coconut oil
- 3 large eggs
For the Filling:
- 1 cup fresh raspberries (or frozen berries, thawed and drained)
- 2 tablespoons cornstarch or arrowroot starch (to prevent bleed, optional)
For the Glaze (optional):
- ½ cup powdered sugar
- 1-2 teaspoons milk or lemon juice
- Fresh raspberry or lemon zest (for extra flavor)
Step-by-Step Instructions
Step 1: Preheat & Prep Pan
Set your oven to 350°F (175°C). Grease a standard loaf pan with butter or non-stick spray, then dust with a little flour or line it with parchment paper. While the oven heats, grate your zucchini and squeeze out as much moisture as possible—this ensures your bread stays moist without becoming soggy. I always do this step first; it’s the key to a tender crumb.
Step 2: Mix Dry Ingredients
In a large bowl, whisk together the flour, baking powder, baking soda, salt, and sugar. Combine thoroughly so each ingredient is evenly distributed—this helps the batter rise evenly and keeps the sugar from sinking to the bottom.
Step 3: Mix Wet Ingredients
In a separate bowl, whisk the eggs, vanilla, and oil until well combined. Then stir in the grated zucchini. This is where I’ve experimented a bit—using almond milk instead of oil can make it lighter, and I tested this out, and honestly, it made it even creamier! Just make sure everything’s at room temperature to avoid curdling.
Step 4: Combine
Pour the wet mix into the dry ingredients and gently fold with a spatula until just combined—you’ll see a few lumps, and that’s okay. Don’t overmix; the batter should be thick but wet. Overmixing can make the loaf dense, and trust me, nobody wants that!
Step 5: Prepare Filling
In a small bowl, toss the raspberries with the cornstarch to coat them lightly. This helps prevent the juices from bleeding too much into the batter, preserving that lovely swirl effect when you layer everything.
Step 6: Layer & Swirl
Pour half of the batter into the loaf pan. Sprinkle half of the raspberries across the surface, then add the remaining batter and top with the rest of the berries. Using a butter knife or skewer, gently swirl the berries into the batter—don’t overdo it, just enough to create beautiful streaks. I love watching the color spread in the batter—it’s like painting with food!
Step 7: Bake
Pop the loaf into the oven and bake for about 50-60 minutes, or until a toothpick inserted in the center comes out clean. Every oven varies, so start checking around 50 minutes. The top should be golden, and the house will smell like a berry patch—heavenly!
Step 8: Cool & Glaze
Allow the loaf to cool in the pan for about 15 minutes, then transfer it to a wire rack. If you want to add the glaze, mix powdered sugar with a little milk or lemon juice until smooth, then drizzle over the cooled bread. I usually wait until it’s just warm so the glaze melts slightly into the surface—something about that makes it even more irresistible.
Step 9: Slice & Serve
Use a serrated knife to carefully cut thick slices—this loaf is dense enough to hold its shape well. Serve it warm or at room temperature, maybe topped with a dollop of whipped cream, fresh berries, or a little butter. It’s fantastic either way.
What to Serve It With
Honestly, this loaf is so versatile, I’ve served it in all sorts of ways. For breakfast, I like pairing a warm slice with a good cup of coffee or a glass of almond milk. My kids prefer it slightly toasted, with a smear of butter or a drizzle of honey for extra sweetness. When I have friends over for brunch, I plate slices with a scattering of extra raspberries and a dollop of mascarpone or Greek yogurt—makes it feel fancy but still totally easy. As a dessert, I love serving it with a scoop of vanilla ice cream or a dusting of powdered sugar, especially if I’ve added a splash of lemon in the glaze to brighten it up. For lazy weekends, it’s my go-to comfort snack, perfect alongside a cup of tea or just on its own with a glass of milk. I’ve even frozen slices for those busy mornings—just toast directly from frozen, and it’s like a little piece of sunshine on a hectic day.
Top Tips for Perfecting Your Zucchini Raspberry Swirl Loaf
Over the years, I’ve picked up a few tricks that make this recipe turn out even better every time:
- Zucchini Prep: Make sure to squeeze out as much moisture as possible after grating—I use a clean dish towel for this. Moisture is the enemy of fluffy bread, and too much will make your loaf dense instead of light and tender.
- Mixing Advice: Gently fold the wet and dry ingredients; avoid overmixing. I used to rush this step, leading to a dense crumb, but now I take my time, and the texture is so much better.
- Swirl Patterns: For a truly beautiful pattern, layer the batter and berries in stages and swirl with a light touch. I like making figure eights or spirals—simple but pretty.
- Ingredient Swaps: Tried swapping out some of the sugar for honey or maple syrup—be careful with the liquid amounts, though, or the batter gets too runny. Also, I tested this with coconut oil, which worked beautifully and added a subtle coconut aroma.
- Baking Tips: Keep an eye on the loaf after 50 minutes—ovens vary, and overbaking can dry it out. Check for doneness with a toothpick; it should come out clean but not crumbly.
- Glaze Variations: For a citrus twist, add a splash of lemon or orange juice to the glaze. Or top with a sprinkle of chopped nuts for some crunch. I’ve even experimented with a drizzle of dark chocolate—it’s surprisingly good!
With a little practice, you’ll find your perfect swirl pattern and baking rhythm. My biggest lesson? Don’t rush the cooling—let it sit on the rack to finish setting, or the slices might fall apart. A sprinkle of fresh lemon zest in the batter adds a zing that really elevates the flavors, so don’t shy away from trying it. Adjusting the sweetness level is simple, just cut back on the sugar if you prefer less sugary treats—though, honestly, I think the berries give it enough natural sweetness. And remember, the best loaf is the one that makes you smile every time you slice into it. I’ve learned that a little patience and love go into making this perfectly memorable!
Storing and Reheating Tips
This loaf is surprisingly resilient. To keep it fresh, I store leftovers in an airtight container at room temperature for about two days—cover tightly with foil or plastic wrap to keep it from drying out. If I want to stretch it longer, I pop slices into the refrigerator and enjoy within a week. Just keep it well-wrapped to avoid it absorbing fridge odors. For longer storage, the freezer is your friend—wrap slices individually in plastic wrap, then aluminum foil, and they’ll last for up to three months. Thaw at room temperature or pop slices straight into the toaster—trust me, it’s almost as good as fresh. If you’re planning to add the glaze later, wait until the bread is fully cooled to prevent melting or sogginess. I’ve found that glazing freshly baked bread gives the best glossy finish and flavor punch. Reheating in a low oven (about 300°F or 150°C) for 10 minutes also revitalizes it, making it almost like new.
Frequently Asked Questions
Final Thoughts
Every time I bake this zucchini raspberry swirl loaf, I feel a little burst of joy—that comforting,nostalgic scent of berries baking mixed with the earthiness of zucchini. It’s a reminder that simple ingredients, when combined with a bit of love, can turn into something truly delightful. I’ve shared this with friends, my neighbors, and family, and each time, they ask for seconds—and often, the recipe! It’s one of those baked goods that makes you feel like you’ve accomplished something beautiful without spending hours in the kitchen. I really hope you give it a try and tweak it to make it your own. Whether you add a handful of chopped nuts, swap in different berries, or drizzle it with lemon glaze, this loaf is all about celebrating the humble beauty of good, honest baking. Happy baking! And don’t forget to share your results—I can’t wait to see your swirl patterns and hear your variations!
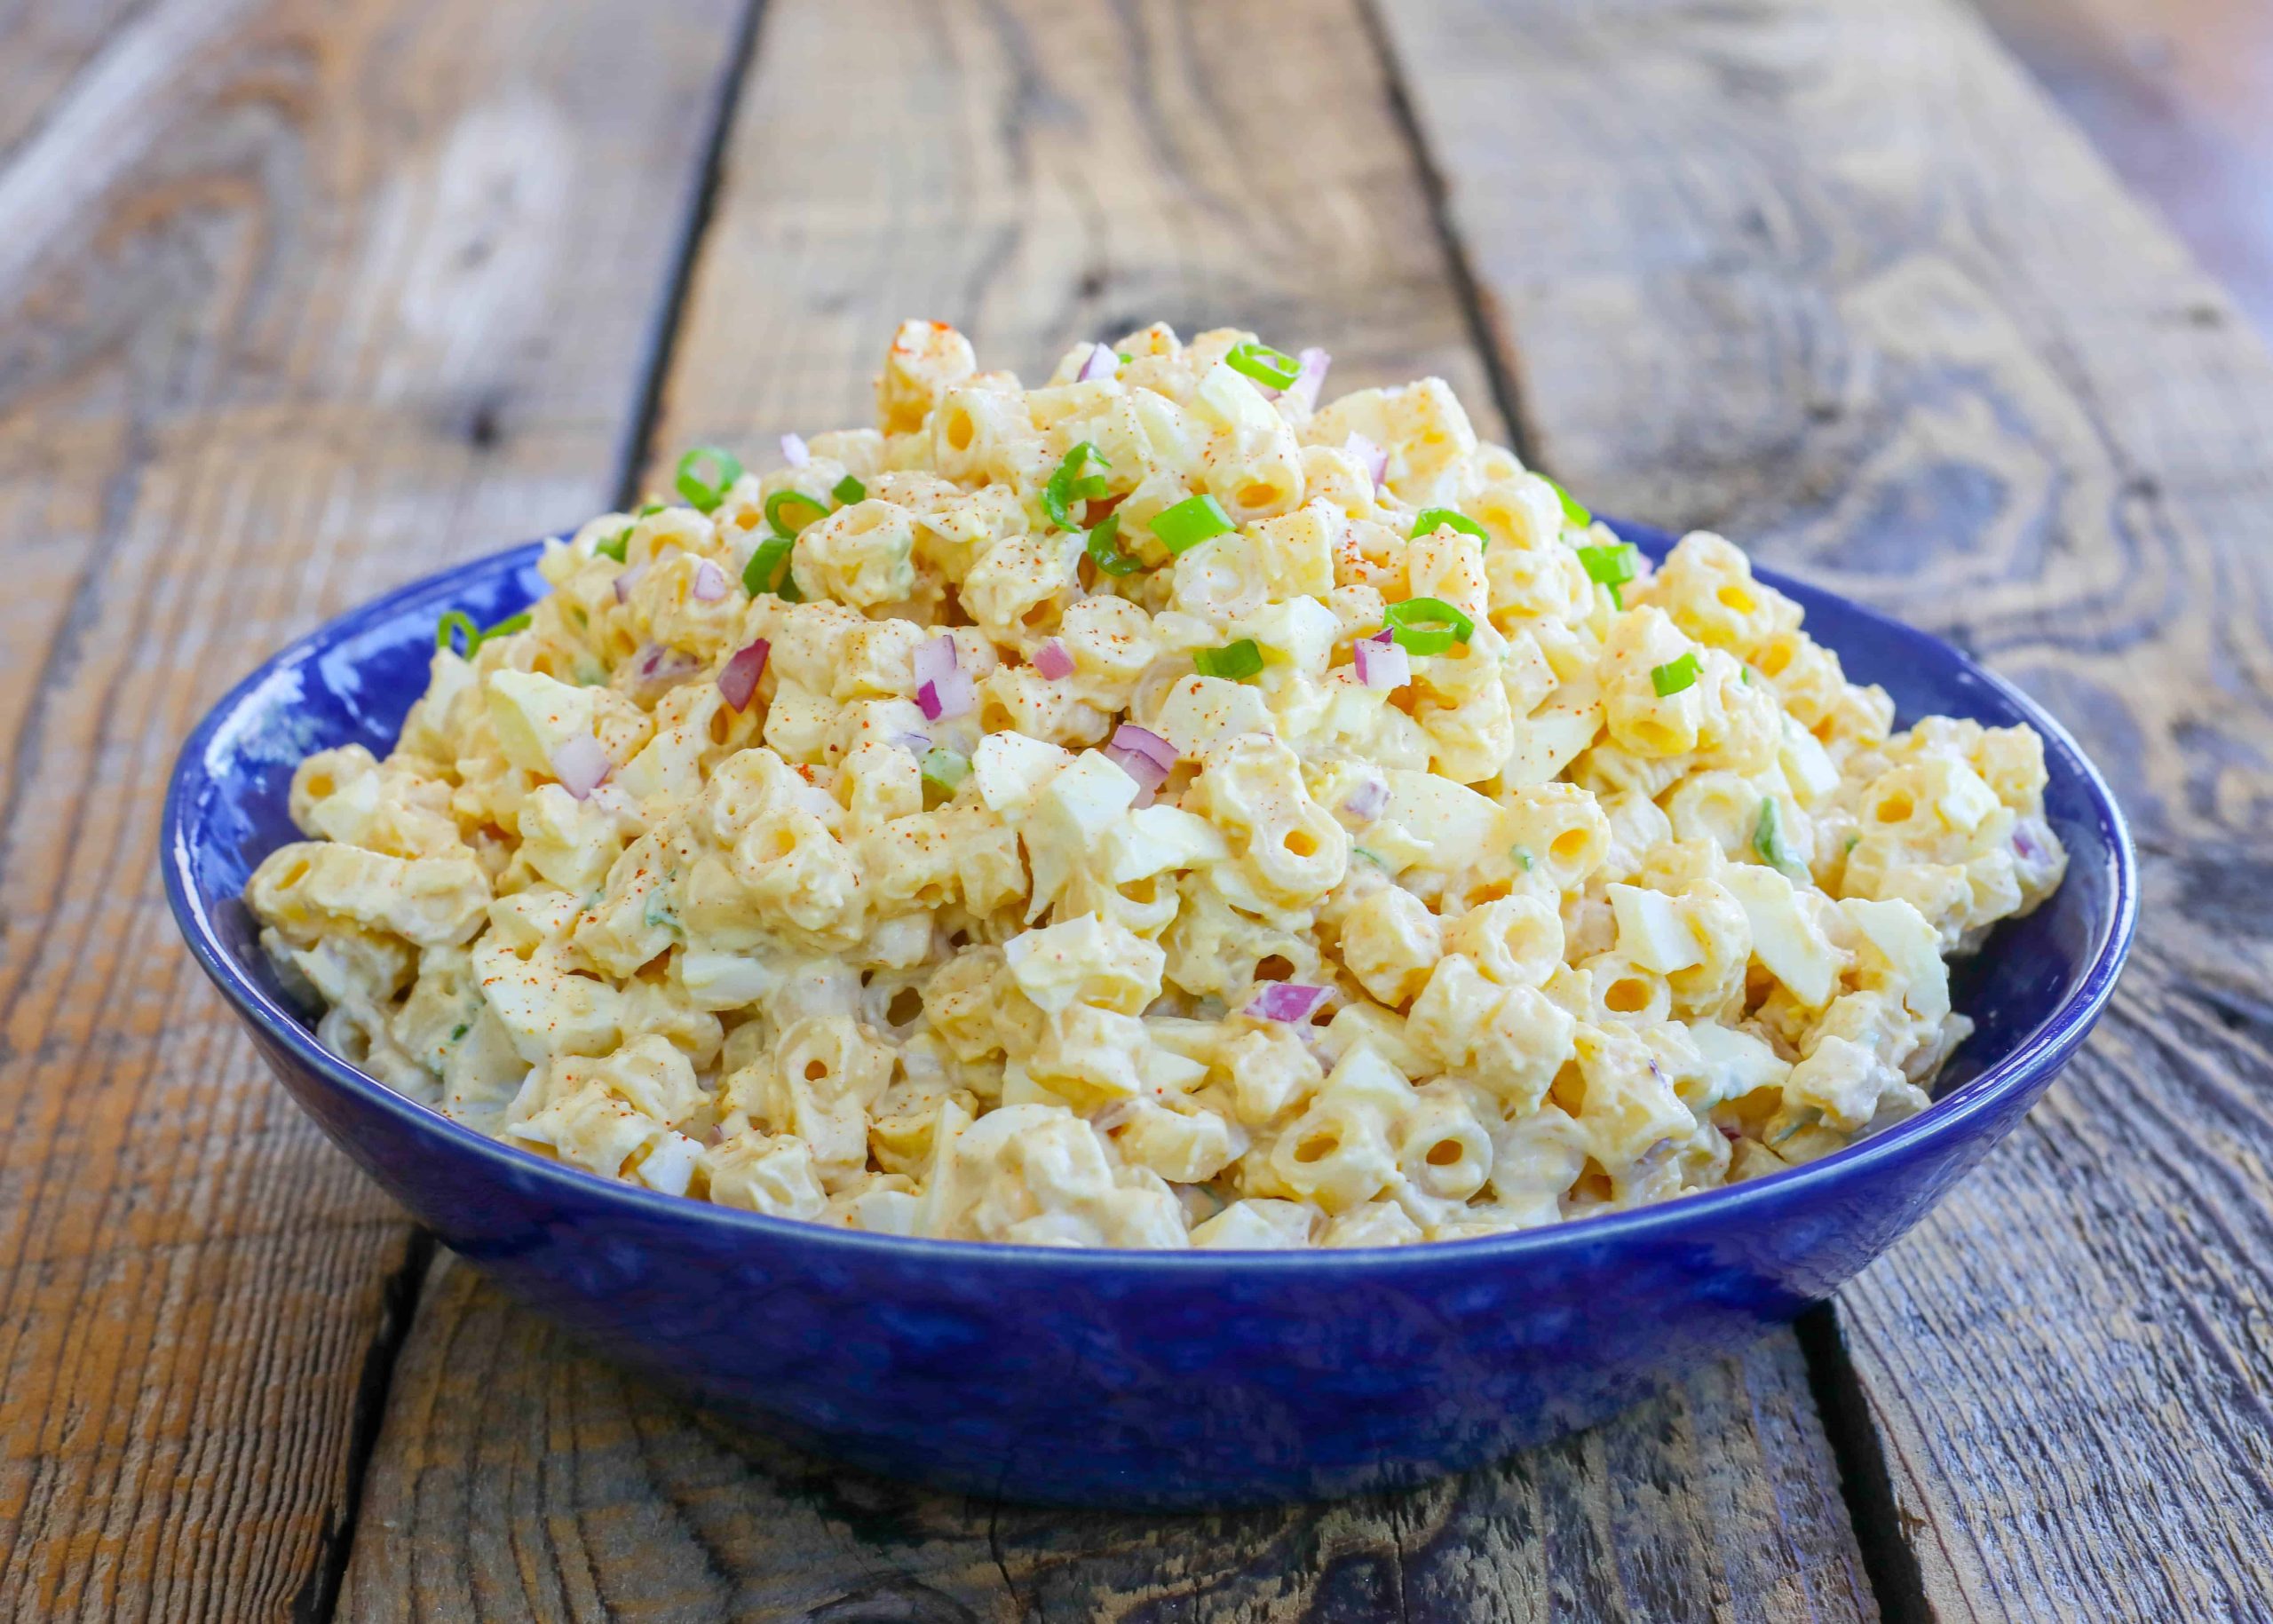
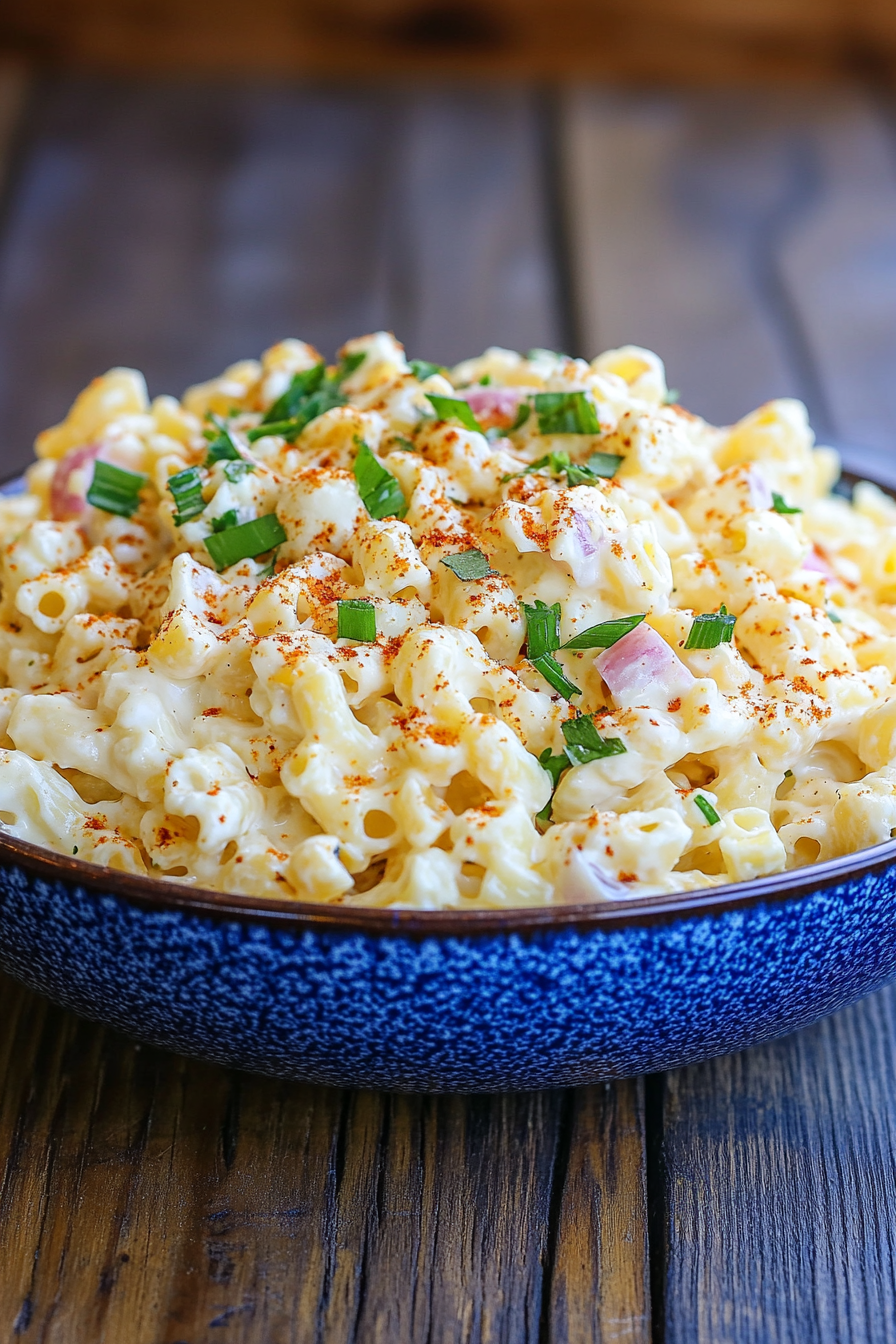
deviled egg pasta salad
Ingredients
Method
- Cook the pasta according to package instructions, adding salt to the water. Drain and rinse until cool. Peel the eggs and separate the yolks from the whites.
- Chop the egg whites and set aside. Mash the yolks into a fine powder or press through a sieve. In a bowl, combine yolks, mayonnaise, mustard, vinegar, garlic, salt, paprika, and cayenne pepper. Whisk until smooth.
- Add cooked pasta to the dressing and toss to coat. Mix in red onion, green onions, and egg whites. Garnish with additional green onions and paprika if desired. Serve immediately or refrigerate.