Summer’s Best Corn Tomato Avocado Salad
You know that feeling when you stumble upon a recipe that just *works*? Like, it’s so good, so easy, and so ridiculously delicious that you want to shout it from the rooftops? Well, that’s exactly how I feel about this zucchini bread. Seriously, it’s a game-changer. I’ve made countless versions of zucchini bread over the years, and some were… fine. A bit dry, maybe a little bland, nothing to write home about. But this one? This is the one. It’s the one that makes my kids clamor for seconds (and sometimes thirds!), the one I bring to potlucks and get asked for the recipe *every single time*, and the one that’s a lifesaver on busy weeknights when I need a sweet treat without a ton of fuss. If you’ve ever thought zucchini bread was just okay, prepare to have your mind changed. This isn’t just *good* zucchini bread; it’s heavenly, moist, perfectly spiced zucchini bread that tastes like pure comfort. Forget those crumbly, dry loaves; this is the real deal, and I can’t wait to share it with you.
What is Zucchini bread?
So, what exactly *is* this magical zucchini bread? Well, it’s essentially a quick bread, which means it’s leavened with baking soda or baking powder, not yeast, so you don’t have to wait for dough to rise. Think of it as a super easy cake you can enjoy for breakfast, snack, or dessert. The “zucchini” part might sound a little… healthy, right? But trust me, you won’t taste the zucchini! It’s our little secret ingredient that makes the bread incredibly moist and tender. The flavor comes from warm spices like cinnamon and nutmeg, a touch of sweetness, and sometimes, if I’m feeling fancy, a handful of chocolate chips or chopped nuts. The “bread” in the name implies it’s for breakfast, but honestly, this is so good, it could easily pass for a decadent dessert. It’s that perfect balance of homey and a little bit special. It’s the kind of recipe that makes your kitchen smell absolutely divine while it bakes, filling your home with warmth and coziness.
Why you’ll love this recipe?
Okay, let’s get down to the nitty-gritty. Why should you make *this* zucchini bread recipe? Oh, where do I even begin! First off, the flavor. It’s incredible. It’s perfectly spiced with cinnamon and nutmeg that just sing together, creating a warm, comforting taste that’s not too sweet. It’s got that lovely tender crumb that melts in your mouth, thanks to the secret weapon: zucchini. It sounds weird, but it’s true! The zucchini adds so much moisture you wouldn’t believe it. It’s surprisingly simple to make, too. I’m talking about a dump-and-mix kind of situation for the batter, which is an absolute lifesaver on busy mornings or when you’ve had a long day. No fancy techniques, no creaming butter and sugar for ages. You just whisk, fold, and bake. And talk about cost-effective! Zucchini is usually pretty budget-friendly, and the other ingredients are standard pantry staples. You probably have most of them already. What I love most about this recipe is its versatility. You can easily jazz it up by adding chocolate chips (my personal favorite!), walnuts, or pecans. It’s also fantastic plain, especially with a drizzle of my simple vanilla glaze. It’s a recipe that’s incredibly forgiving. I’ve honestly forgotten about it in the oven a time or two (don’t tell anyone!) and it still came out perfectly. It’s a bit like my What is the best banana bread recipe?, in that it’s always a crowd-pleaser and practically foolproof. But the moisture factor in this zucchini bread? It truly takes it to another level. It’s that perfect slice of comfort that you can feel *slightly* better about because, hey, there’s zucchini in it!
How do I make Zucchini bread?
Quick Overview
The magic of this zucchini bread lies in its simplicity. You’ll basically combine your wet and dry ingredients separately, then gently fold them together. The grated zucchini gets mixed into the wet ingredients, and it does all the heavy lifting for creating that amazing, tender texture. Then, you’ll pour it into your prepared pan, bake until golden and a toothpick comes out clean, and finish it off with a dreamy glaze. It’s genuinely that easy. No fuss, no mess, just pure deliciousness waiting to happen. This recipe is designed to be foolproof, even if you’re new to baking!
Ingredients
For the Main Batter:
This is where the magic starts. I always try to use fresh, medium-sized zucchinis for the best moisture content. You can grate them by hand using the medium holes on a box grater, or if you have a food processor with a grating attachment, even better! Just make sure you don’t get too much liquid when you grate – a gentle squeeze is all you need. About 2 cups of grated zucchini is perfect for one standard loaf.
1 ½ cups all-purpose flour (I sometimes use a mix of all-purpose and whole wheat for a nuttier flavor, but stick to all-purpose if you want the classic texture)
1 teaspoon baking soda
½ teaspoon salt
1 teaspoon ground cinnamon
½ teaspoon ground nutmeg
¼ teaspoon ground cloves (optional, but it really adds a nice warmth!)
2 large eggs, at room temperature (this really helps them incorporate better)
¾ cup granulated sugar (you can adjust this slightly based on your preference)
½ cup vegetable oil (or melted coconut oil for a subtle flavor)
¼ cup unsweetened applesauce (this is another little trick for extra moisture!)
1 teaspoon vanilla extract
2 cups grated zucchini (about 2 medium zucchinis, squeezed gently to remove excess water)
For the Filling (Optional, but highly recommended!):
This is where you can really customize your bread. My absolute favorite is chocolate chips. About ¾ cup of semi-sweet or dark chocolate chips is perfect. If you like nuts, try ¾ cup of chopped walnuts or pecans. You could even do a mix of both! For a double-chocolate version, fold in ½ cup of unsweetened cocoa powder into the dry ingredients and use mini chocolate chips.
¾ cup chocolate chips (semi-sweet or dark)
¾ cup chopped walnuts or pecans (optional)
For the Glaze:
This glaze is so simple but it elevates the whole bread. You want it to be pourable but not too thin. I like to let the bread cool for at least 15-20 minutes before glazing so it doesn’t all just soak in.
1 cup powdered sugar
2-3 tablespoons milk (dairy or non-dairy works just fine)
½ teaspoon vanilla extract
Step-by-Step Instructions
Step 1: Preheat & Prep Pan
First things first, get your oven preheating to 350 degrees Fahrenheit (175 degrees Celsius). This is crucial for even baking, so don’t skip it! While the oven is warming up, grab your favorite loaf pan – a standard 9×5 inch one is perfect. Grease it really well with butter or cooking spray, and then I like to give it a light dusting of flour too. This ensures your beautiful loaf doesn’t stick. You can even line the bottom with parchment paper for extra insurance; I find it makes getting the bread out a breeze. Trust me, the last thing you want is a loaf stuck to the pan!
Step 2: Mix Dry Ingredients
In a medium-sized bowl, whisk together your flour, baking soda, salt, cinnamon, nutmeg, and cloves (if you’re using them). Whisking them together ensures everything is evenly distributed, so you don’t end up with pockets of baking soda or spice. This step is super simple, but it’s one of those little things that makes a big difference in the final product. Make sure there are no clumps of flour!
Step 3: Mix Wet Ingredients
In a larger bowl, you’ll combine the wet ingredients. Crack in your two eggs, add the granulated sugar, vegetable oil, applesauce, and vanilla extract. Whisk this mixture together until it’s well combined and has a lovely smooth consistency. The applesauce is a little secret I discovered years ago to add even more moisture without making it greasy. It really is a lifesaver for cakes and breads!
Step 4: Combine
Now for the exciting part: bringing it all together! Pour the dry ingredients into the bowl with the wet ingredients. Use a spatula or wooden spoon to gently fold them together until *just* combined. Seriously, don’t overmix! Overmixing develops the gluten in the flour, which can make your bread tough. A few streaks of flour are okay; they’ll disappear as you add the zucchini. Once the wet and dry are mostly combined, gently fold in your grated zucchini and any optional add-ins like chocolate chips or nuts. Mix until everything is evenly distributed. The batter will be thick!
Step 5: Prepare Filling
If you’re adding chocolate chips or nuts, this is the step where you fold them into the batter. Just gently stir them in until they’re distributed throughout. You don’t want to overmix here either! If you’re going plain, just skip this step. The beauty of this recipe is its flexibility.
Step 6: Layer & Swirl
Spoon the batter into your prepared loaf pan. It will be quite thick, so spread it out evenly with your spatula. If you’re doing a swirl (like a cinnamon-sugar swirl, though I usually just stick to chocolate chips!), you’d do that before baking. But for this recipe, we’re just going straight into the pan with our delicious batter. Make sure it’s smoothed out on top so it bakes evenly.
Step 7: Bake
Pop that pan into your preheated oven. Bake for about 50-65 minutes. Now, oven temperatures can vary, so start checking around the 50-minute mark. The best way to tell if it’s done is to insert a toothpick or a thin knife into the center of the loaf. If it comes out clean (or with just a few moist crumbs attached, which is perfect for this moist bread), it’s ready! If it’s still wet, give it another 5-10 minutes and check again. If the top starts to brown too quickly before the inside is cooked, you can loosely tent it with aluminum foil.
Step 8: Cool & Glaze
Once it’s baked, take the loaf out of the oven and let it cool in the pan for about 10-15 minutes. This helps it set up. Then, carefully invert it onto a wire rack to cool completely. This is super important! Trying to glaze a warm loaf means the glaze will just melt off. Once it’s completely cool, whisk together the powdered sugar, milk, and vanilla extract for the glaze. Start with 2 tablespoons of milk and add more, a teaspoon at a time, until you reach your desired drizzling consistency. Drizzle it over the top, letting it cascade down the sides. It looks so pretty!
Step 9: Slice & Serve
Once the glaze has set a little (which doesn’t take long!), it’s time to slice and enjoy! I like to use a serrated knife for clean cuts. The smell alone is enough to make your mouth water. Serve it at room temperature for the best flavor and texture. It’s absolutely divine on its own, but a warm cup of coffee or tea makes it even better.
What to Serve It With
This zucchini bread is honestly a star all on its own, but that doesn’t mean it can’t be part of a larger culinary experience! For a delightful breakfast, I love pairing a slice with a hot cup of coffee or a steaming mug of herbal tea. It’s satisfying enough on its own, but if you want to go a little extra, a smear of cream cheese or a dollop of Greek yogurt is wonderful. For a more elaborate brunch spread, imagine this alongside some fresh fruit salad, maybe some crispy bacon or sausage, and a lovely mimosa. The sweetness of the bread balances out savory dishes perfectly. As a dessert, it’s fantastic! I sometimes serve a slightly warmed slice with a scoop of vanilla bean ice cream or a drizzle of caramel sauce. It’s a comforting end to any meal. And for those cozy snack times, whether it’s an afternoon pick-me-up or a late-night craving, this bread is the ultimate comfort food. It’s perfect with a glass of cold milk, or honestly, just straight from the loaf with your fingers. My family loves it after school with a glass of chocolate milk – pure bliss!
Top Tips for Perfecting Your Zucchini Bread
After making this recipe more times than I can count, I’ve picked up a few tricks that help ensure perfection every single time. Firstly, about the zucchini itself: when you grate it, don’t just dump it in the bowl. Give it a gentle squeeze to get rid of the excess water. You don’t want to wring it out bone dry, but too much liquid can make your bread gummy. I usually use the medium holes on my grater, and then gather it up in my hands and give it a gentle squeeze over the sink. This is a game-changer for texture! When it comes to mixing, remember my mantra: “Don’t overmix!” This is probably the most common mistake people make with quick breads. Mix the wet and dry ingredients until they are *just* combined. A few small lumps in the flour mixture are perfectly fine. Overmixing develops the gluten too much, leading to a tough, dense bread instead of a tender, moist one. For the swirl or add-ins, if you’re using chocolate chips or nuts, I sometimes toss them with a tablespoon of the flour mixture before adding them to the batter. This helps them distribute more evenly and prevents them from sinking to the bottom. If you’re trying ingredient swaps, I’ve had success using almond milk instead of regular milk in the glaze, and it actually made it even creamier! For the baking, always do the toothpick test. Ovens can be finicky. If your loaf is browning too quickly on top but still seems wet in the middle, loosely tent it with aluminum foil for the remainder of the baking time. This will protect the top while allowing the inside to cook through. And for the glaze variations, you can get creative! A little lemon zest in the glaze adds a bright, fresh note that’s wonderful. Or, if you’re not a fan of glaze, a simple dusting of powdered sugar after cooling is elegant and delicious.
Storing and Reheating Tips
The best part about this zucchini bread is that it actually gets *more* moist and delicious as it sits for a day or two! For storing at room temperature, I usually let the loaf cool completely, then wrap it tightly in plastic wrap or place it in an airtight container. It will stay wonderfully fresh for about 2-3 days. If you live in a warm climate or know you won’t get to it within a few days, the refrigerator is your friend. Wrapped well, it can last up to a week in the fridge. The texture might firm up slightly, but it’s still delicious. When you’re ready to enjoy a slice from the fridge, you can either eat it cold, or I find it’s best to let it sit out on the counter for about 20-30 minutes to come back to room temperature. If you’re craving a warm slice, you can microwave a piece for about 10-15 seconds – just enough to take the chill off and make it wonderfully soft. For longer storage, freezing is an excellent option. Wrap the cooled loaf tightly in a couple of layers of plastic wrap, then add a layer of aluminum foil or place it in a freezer-safe bag. It will keep well in the freezer for up to 3 months. When you’re ready to thaw, unwrap it and let it come to room temperature on the counter. About the glaze timing: I always apply the glaze *after* the bread has completely cooled, regardless of whether I’m storing it at room temp, in the fridge, or planning to freeze it later. If you add glaze to a warm loaf, it’ll just melt off. If you’re freezing a glazed loaf, the glaze might become a little sticky or slightly less smooth after thawing, but it will still taste fantastic!
Frequently Asked Questions
Final Thoughts
So there you have it – my absolute favorite recipe for zucchini bread. I truly believe this recipe is a winner because it’s incredibly forgiving, bursting with flavor, and delivers that perfect moist, tender crumb every single time. It’s the kind of recipe that makes you feel like a baking rockstar, even if you’re just starting out. It’s a recipe that brings joy, whether you’re making it for a special occasion or just because you have some extra zucchini on hand. I hope you’ll give it a try and love it as much as my family and I do. If you’re a fan of quick breads and comforting flavors, you might also want to check out my easy blueberry muffins or my classic banana nut bread. They’re all keepers! Let me know in the comments below how yours turns out, or if you have any fun variations you tried. Happy baking, and enjoy every delicious bite!
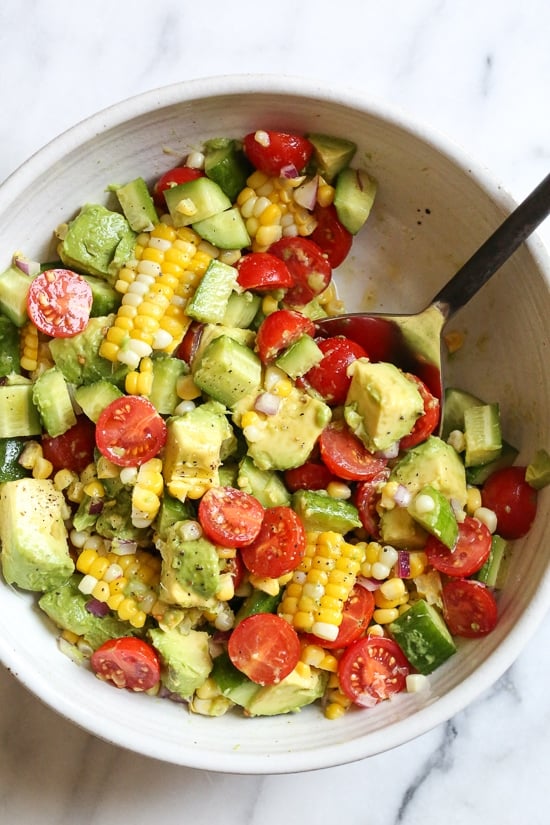
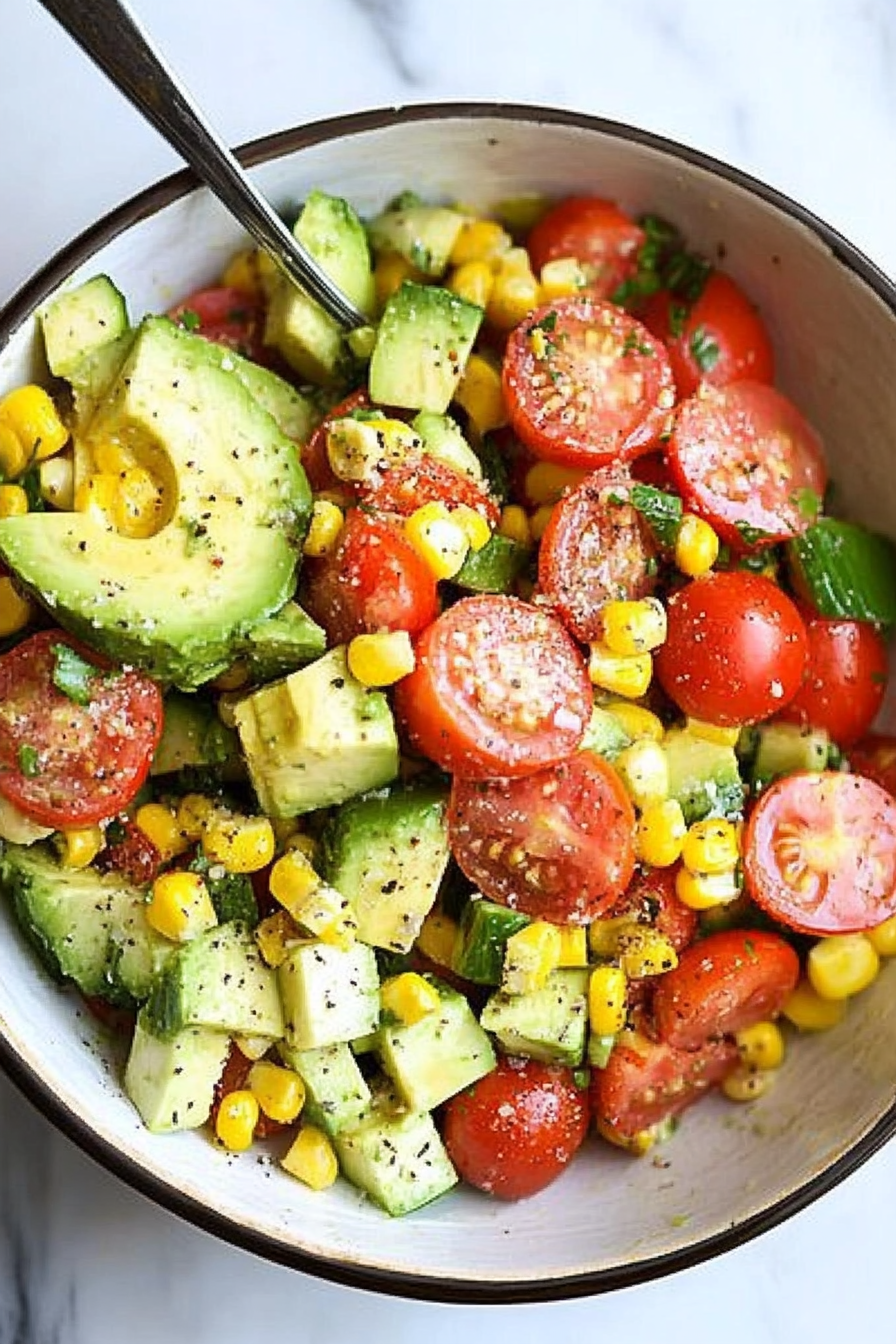
corn tomato avocado salad
Ingredients
Method
- Steam corn in a steamer or microwave (or you can grill or boil) until tender, about 5 minutes.
- Let the corn cool then transfer it to a large bowl.
- Add all the remaining ingredients (avocado, cucumbers, cherry tomatoes, red onion, olive oil, lemon juice, salt, and pepper) to the bowl with the corn. Toss everything together gently until well combined.
- Serve immediately and enjoy your fresh Corn Tomato Avocado Salad!