Tangy Cornbread Recipe Simple & Delicious
There’s something so comforting about pulling a loaf out of the oven—especially when it’s packed with vibrant blueberries and tender zucchini. I remember my grandma baking a similar treat when I was a kid, the sweet, tart aroma filling the house and making every tummy grumble. Years later, I started experimenting with my own twist on it, and it’s become a family favorite that I always do this when I want something wholesome yet indulgent. This blueberry zucchini loaf is that one recipe I keep in my back pocket—perfect for lazy Sunday mornings, sneaking snacks in lunchboxes, or even gifting to friends (trust me, it disappears in minutes at my house). It’s incredibly simple to make, and somehow the zucchini keeps it moist without overpowering the flavor, while the blueberries burst with each bite. Honestly, the smell alone brings everyone to the kitchen—best of all, it’s sweet enough to satisfy a dessert craving but healthy enough to feel good about eating for breakfast. If you’re looking for a comforting baked good with a touch of nostalgia and a hearty twist, this is the one.
What is blueberry zacchini?
Think of the blueberry zucchini loaf as a cozy hybrid of a Classic Banana Bread and a Carrot Cake, but with a juicy burst of blueberries. It’s essentially a moist, tender bread — kind of like a lazy weekend’s hug for your taste buds. The name might sound fancy, but really it’s just a humble quick bread that combines shredded zucchini, fresh blueberries, and simple pantry staples. The zucchini keeps everything super tender and adds a sneaky vegetable boost—my kids don’t even realize it’s there! Back in the day, folks used to toss grated zucchini into olive oil pasta or spinach into smoothies, but I love how it transforms into this sweet, snackable loaf. The blueberries give it that beautiful purple-blue hue and a tart pop of flavor that balances out the sweetness. It’s a laid-back but impressive bake—perfect for when you want something that’s as pretty as it is delicious, without needing a fancy cake decorator or a ton of time.
Why you’ll love this recipe?
What are some of the reasons why this loaf is a staple in my kitchen?
- Flavor: The combination of sweet blueberries and mildly earthy zucchini creates a flavor profile that’s sweet, tart, and deeply comforting. The bread’s crumb is just moist enough, with those little pockets of fruit that make each bite happy.
- Simplicity: This recipe is a lifesaver on busy nights or when you’re craving something quick but satisfying. No complicated techniques, just throw ingredients together, and in less than an hour, you’ve got a gorgeous loaf cooling on the rack.
- Cost-efficiency: What is the best way to measure cost-efficiency? The ingredients are everyday staples—flour, sugar, zucchini—and frozen blueberries work just as well as fresh. I love how it turns humble ingredients into something special.
- Versatility: My favorite part? This loaf is a blank canvas. Want to add a handful of chopped nuts or a dash of cinnamon? Go for it. Prefer to make it dairy-free? I tested this with almond milk and it actually made it even creamier. It’s adaptable, forgiving, and forgivingly delicious.
What I love most about this is how it feels like you’re eating something homemade and full of love—yeah, it’s that kind of recipe. Plus, it’s perfect for almost any occasion, from an easy brunch to a cozy snack at 3 pm, or even a dessert dusted with powdered sugar. Once you make this, I promise your friends will be asking for the recipe—just like mine do!
How to Make Blueberry Zucchini Loaf
Quick Overview
This loaf comes together in just a few simple steps. Start by prepping your pan and shredding the zucchini. Mix the dry ingredients in one bowl, the wet in another, then gently combine them—like hugging the ingredients together to keep it tender. Fold in the blueberries last, being careful not to crush them. Pour the batter into your loaf pan, swirl in some extra blueberries or a sprinkle of topping if you like, then bake at 350°F (175°C) for about 45-50 minutes. It’s foolproof because the batter is forgiving, and the smell alone makes it hard to wait! The trick is not overmixing to keep the bread light and fluffy. Once it’s golden and a toothpick comes out with just a few moist crumbs, it’s done. Cool it a bit before glazing or slicing—trust me, patience makes all the difference in presentation and texture.
Ingredients
For the Main Batter:
- 2 cups all-purpose flour (or whole wheat for more fiber)
- 1 teaspoon baking powder
- ½ teaspoon baking soda
- ½ teaspoon salt
- ½ cup granulated sugar (you can reduce this to ⅓ cup if you prefer less sweetness)
- ½ cup brown sugar (adds a bit of richness)
- ½ cup vegetable oil or melted coconut oil
- 2 large eggs
- 1 teaspoon vanilla extract
- 1 cup shredded zucchini (squeeze out excess moisture)
- 1 cup fresh or frozen blueberries (don’t thaw if frozen to avoid coloring everything purple early)
For the Filling:
- Extra blueberries for layering or swirling (optional but pretty!)
- A sprinkle of coarse sugar or cinnamon sugar on top before baking (for a crispy crust)
For the Glaze:
- 1 cup powdered sugar
- 1-2 tablespoons milk or lemon juice (add more for drizzling consistency)
- Optional: vanilla or almond extract for extra flavor
Step-by-Step Instructions
Step 1: Preheat & Prep Pan
Set your oven to 350°F (175°C). Grease your loaf pan generously with butter or spray and line it with parchment paper if you like to avoid sticking. This is my go-to move—I’ve learned the hard way that a well-prepped pan means no mess when you’re ready to serve. While the oven heats, shred your zucchini using a box grater—use the largest holes for a nice, even shred. Squeeze out as much moisture as you can using a clean kitchen towel or paper towels; this keeps the bread from turning soggy. It’s a little extra step, but trust me—moisture control makes all the difference.
Step 2: Mix Dry Ingredients
In a big bowl, whisk together the flour, baking powder, baking soda, salt, and sugars. Doing this evenly distributes the leavening and keeps every slice consistent. I always do this first because it’s the easiest way to avoid clumps later. Make sure the dry ingredients are well mixed—this saves you from uneven rising or strange pockets of salt or baking soda.
Step 3: Mix Wet Ingredients
In another bowl, whisk the eggs, oil, vanilla, and a splash of milk or lemon juice. The eggs should be fully beaten, and the mixture should look smooth and slightly shiny. I tested this with coconut oil for a richer smell and it turned out divine. That’s when I realized small tweaks like swapping oils or adding a splash of citrus can elevate the flavor completely.
Step 4: Combine
Pour the wet into the dry ingredients and gently fold with a spatula or wooden spoon. Do this just until combined—don’t overmix! The batter should be thick but still scoopable. If you overmix, it turns dense and chewy, which is not what we want. If you see streaks of flour, don’t worry—that’s normal. Gently fold in the shredded zucchini and blueberries last, just enough to distribute evenly without crushing the fruit.
Step 5: Prepare Filling
If you’re adding a swirl of blueberries or extra toppings, carefully layer or sprinkle them into the batter now. I love to swirl in a few extra blueberries on top before baking—they create beautiful purple streaks and add extra tartness that pairs wonderfully with the sweetness.
Step 6: Layer & Swirl
Pour the batter into your prepared loaf pan. Using a spoon or spatula, gently smooth the surface and make little swoops with your spoon to swirl the blueberries inside. If you want a marbled effect, add a few more blueberries on top and swirl gently with a toothpick. It’s like making art, but it’s for eating—and nobody minds if it’s a little messy!
Step 7: Bake
Pop it in the oven and bake for about 45-50 minutes. Check for doneness by inserting a toothpick in the center—if it comes out clean or with a few moist crumbs, it’s ready! I’ve learned that ovens vary, so keep an eye after 40 minutes — I once overbaked and it dried out a bit. When it’s golden brown on top and you can smell that warm, fruity scent wafting through the house, it’s time to get it out.
Step 8: Cool & Glaze
Let the loaf cool in the pan for about 15 minutes before transferring it to a wire rack. Patience is key here—you don’t want it to be too hot, or the glaze will melt away. Mix your powdered sugar with just enough milk or lemon juice to make a pourable glaze. Drizzle it over the slightly warm loaf—it’s the finishing touch that makes it special without being fussy.
Step 9: Slice & Serve
Use a sharp serrated knife to slice gently—clean cuts depend on a sharp blade. Serve it warm with tea or coffee, or let it cool completely for snacking later. I love how it looks with a dusting of extra blueberries or a sprinkle of cinnamon sugar on top for extra flair. This loaf is better the second day (if it lasts that long!), and it keeps beautifully wrapped at room temperature for a couple of days or in the fridge for up to a week. Just reheat slices briefly if you want that freshly baked feeling again.
What to Serve It With
This blueberry zucchini loaf is so relaxed and versatile, I often think of it as the ultimate comfort food. For breakfast, it’s lovely alongside a hot cup of coffee or a glass of fresh orange juice. My kids love it toasted with a smear of butter or cream cheese—and secretly, I do too. It’s also a perfect addition to a brunch spread, paired with yogurt, fresh fruit, and a drizzle of honey. When evening rolls around, I’ll sometimes add a dollop of whipped cream or a scoop of vanilla ice cream for a quick, homemade dessert—trust me, the tart berries and moist crumb make every bite heavenly. Or, on those lazy afternoons, I’ll just cut a thick slice, settle on the porch, and enjoy a moment of calm with a fragrant piece of heaven in my hands. It’s become a little family tradition—baking, sharing, and savoring this loaf together. Honestly, leftovers are rare here because everyone eats it so fast! But if you do have extras, wrapping it tightly or storing it in an airtight container keeps it fresh and delicious for days.
Top Tips for Perfecting Your Blueberry Zucchini Loaf
After making this countless times, I’ve picked up a few tricks to make it even better each round. Here are some secrets I swear by:
- Zucchini Prep: Always squeeze out excess moisture after shredding. If you skip this step, your bread might come out a little soggy or dense. I’ve tested slices with extra moisture and learned that draining the zucchini thoroughly makes a big difference in how fluffy and moist your loaf ends up.
- Mixing Advice: Overmixing is the enemy here. The best way is to fold gently, just until the ingredients are just combined. That way, you get a tender crumb without risking Gummy Bread Syndrome. If your batter feels too thick, a splash of milk can loosen it up.
- Swirl Customization: For Instagram-worthy swirls or marbled effects, swirl blueberries around the surface after pouring in the batter. Use a toothpick or skewer, making gentle figure eights or zigzags. You’ll get pretty streaks and a surprise of tart fruit with every slice.
- Ingredient Swaps: Want to make this vegan? Swap eggs for flax eggs by mixing 1 tablespoon ground flaxseed with 3 tablespoons water per egg—works like a charm. Out of blueberries? Raspberries, chopped strawberries, or even dried cranberries work beautifully. Just remember, the ratio might need a tiny adjustment to keep the batter balanced.
- Baking Tips: Oven hot spots are real, so if you notice uneven baking, rotate the pan halfway through baking. For a softer crust, tent loosely with foil after 30-35 minutes if it’s browning too quickly.
- Glaze Variations: Spice things up by adding a pinch of cinnamon, lemon zest, or vanilla extract to your glaze. Or skip the glaze altogether and dust with powdered sugar for a simple, elegant look.
Years of experimenting have taught me that every oven, pan, and ingredient brand has its quirks. The more you play around, the better your baked goods will turn out. Don’t be discouraged by a failed batch—these little lessons are what make your baking truly personal and perfect for your taste.
Storing and Reheating Tips
This loaf keeps well, but how you store it matters for keeping that fresh-baked feel lingering a bit longer. Keep it tightly wrapped in plastic wrap or stored in an airtight container. At room temperature, it stays fresh for about 2 days—just don’t leave it in a humid place or in direct sunlight. For longer storage, I recommend refrigerating it, especially if your kitchen runs warm. Wrapped well, it’ll last up to a week—perfect for little snacks or breakfast prep. To freeze, slice the loaf first, then wrap each piece tightly in plastic and store in a freezer bag. It’s great to have on hand for busy mornings—just thaw at room temperature or warm slices in the microwave. If you plan to glaze or dust with powdered sugar, do that just before serving to keep it shiny and fresh. Trust me, this loaf tastes just as good next week, as long as you keep it covered and stored properly!
Frequently Asked Questions
Final Thoughts
This blueberry zucchini loaf has become one of those recipes I keep coming back to because it’s honestly like giving a gift to myself and my family every time I bake it. It’s cozy, a little nostalgic, and just the right amount of sweet with that fresh fruit vibrancy. Over the years, I’ve played with ingredients, swapped nuts, and tried different fruits, but this version remains my favorite—simple, forgiving, and deeply satisfying. Whether you’re an experienced baker or just starting out, I promise you’ll love how easy it is to pull together. Plus, there’s something really joyful about biting into a slice and tasting that perfect swirl of blueberries with every forkful. If you do give this a try, I’d love to hear how it turns out—your variations, favorite toppings, or even stories of how it’s become part of your weekly routine. Happy baking! Remember, the best recipes are the ones shared with love. Enjoy every bite.
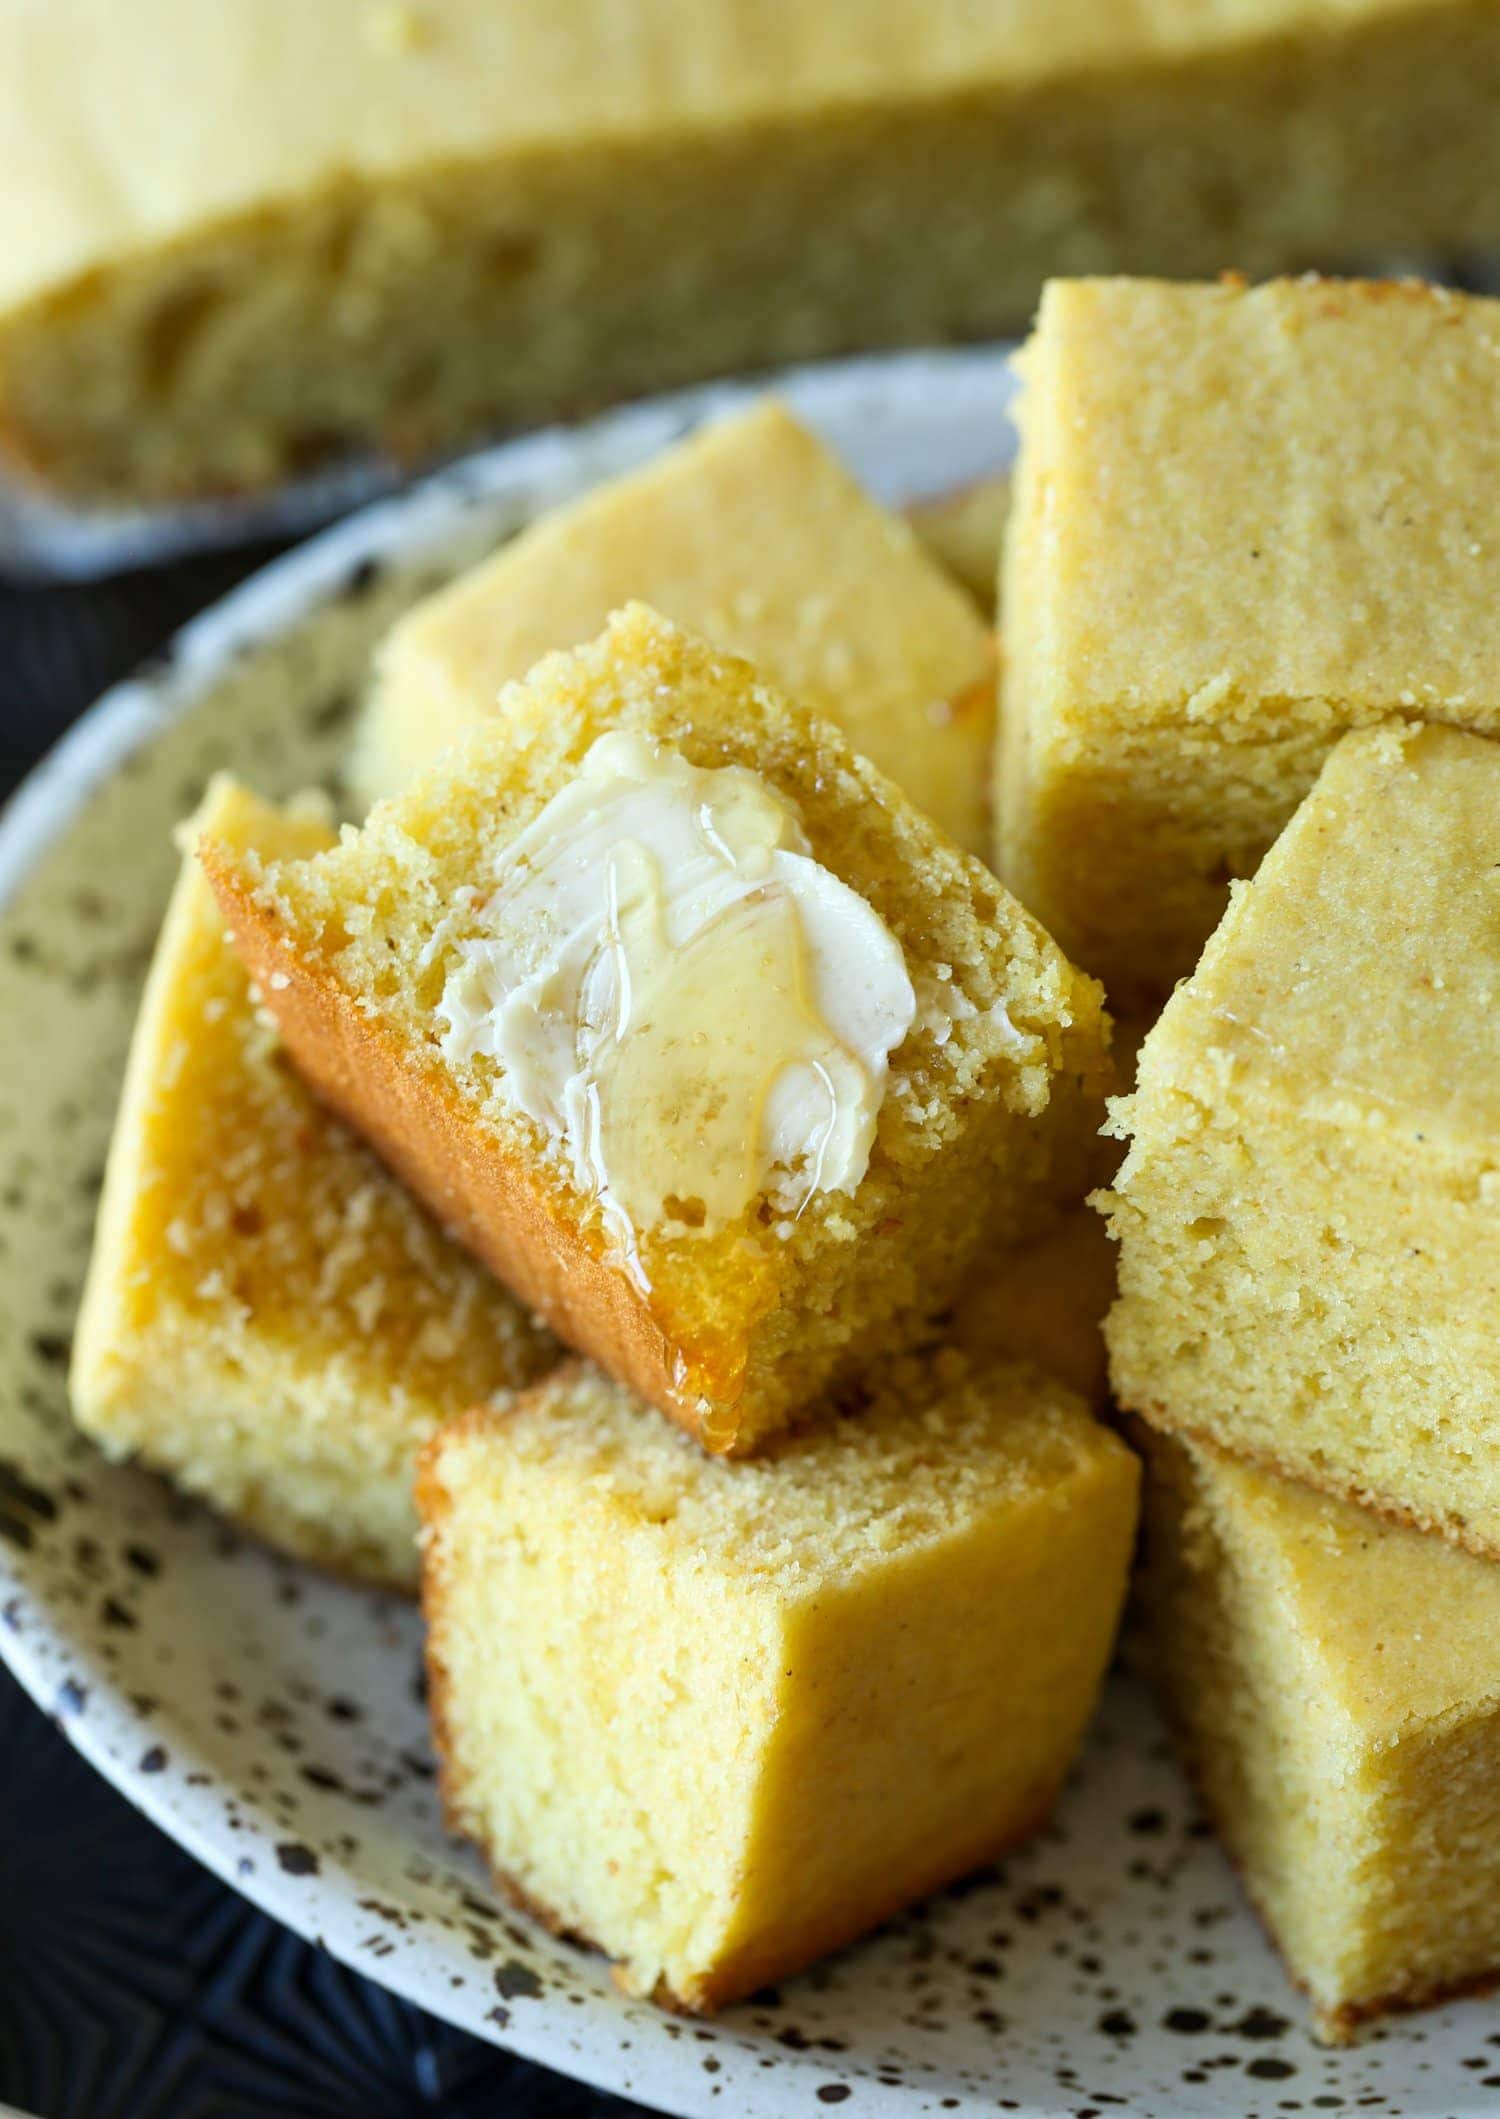
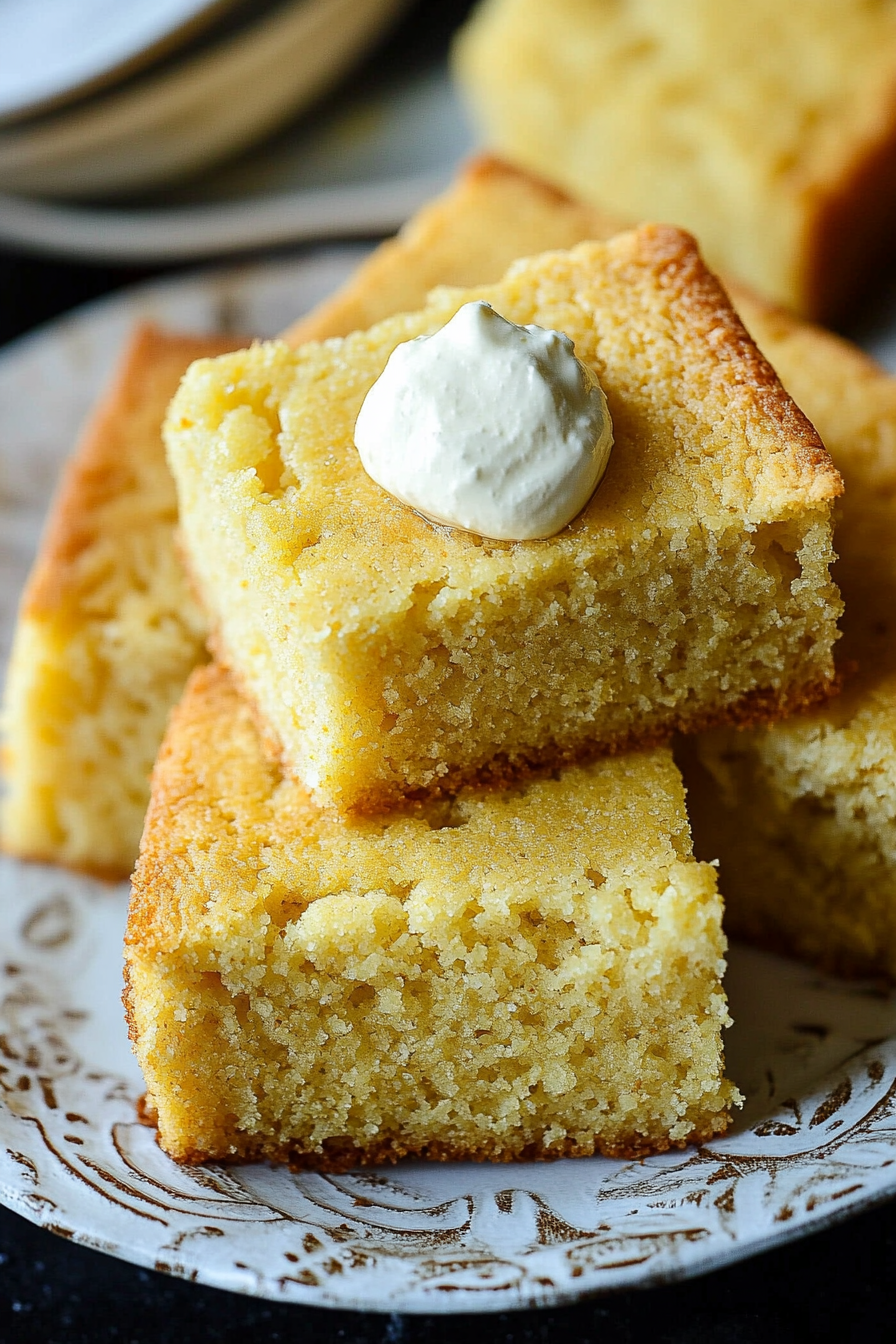
sour cream cornbread
Ingredients
Method
- Preheat oven to 375°F. Coat a 9×13-inch baking dish with cooking spray and set aside.
- In a large bowl, whisk together the cornmeal, flour, sugar, baking soda, and salt until combined.
- Stir in sour cream and eggs until smooth. Gradually add in the melted butter until evenly mixed.
- Pour the batter into the prepared baking dish and bake for 35 minutes, or until a toothpick inserted into the center comes out clean.
- Serve warm or at room temperature.