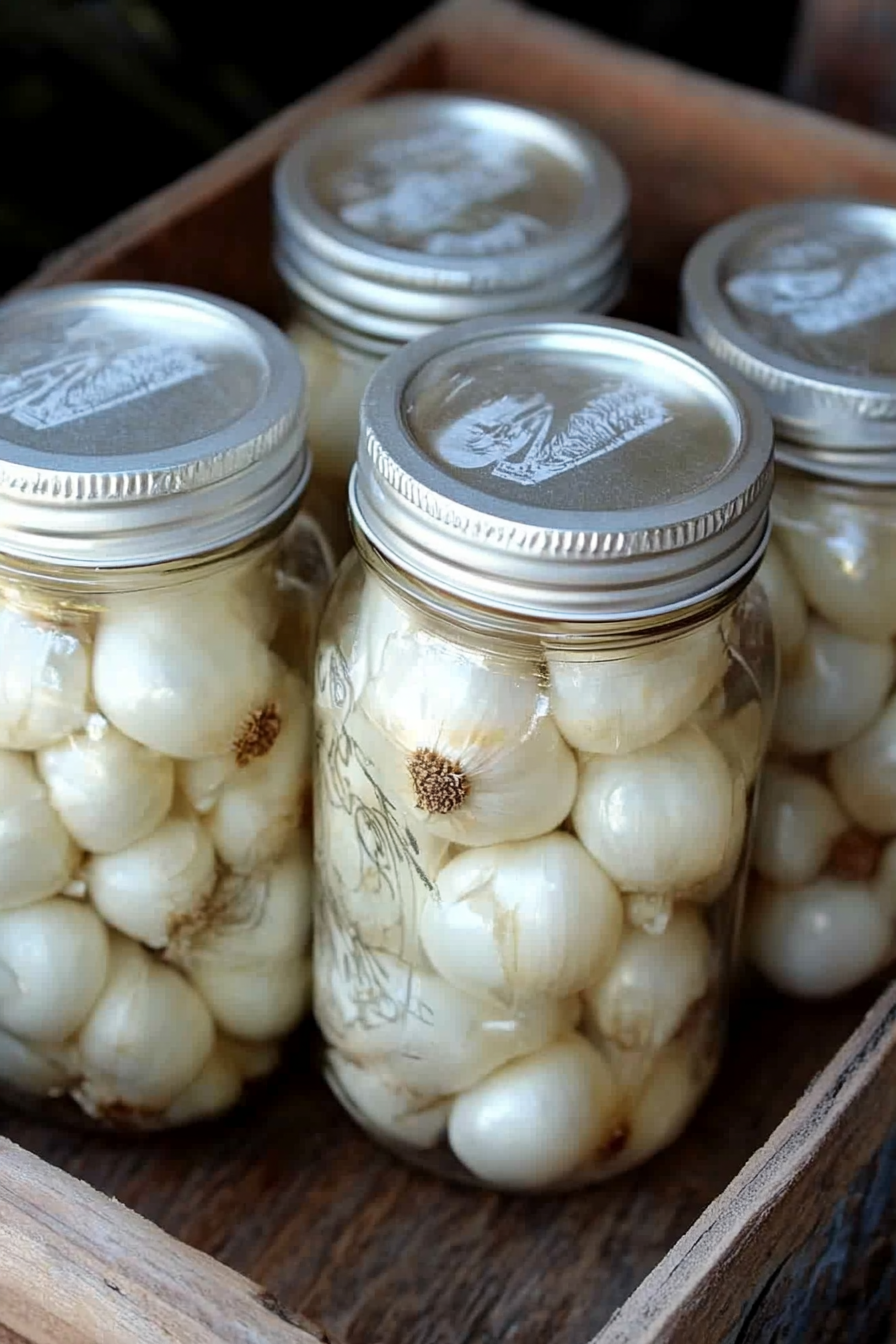
How to Store Garlic for Winter
There’s something about waking up on a lazy weekend morning and the smell of coffee mingling with warm spices — it instantly makes everything feel cozy and right. That’s exactly how I felt the first time I whipped up this zucchini coffee cake. It’s such a simple pleasure, and honestly, it’s my go-to when I want something sweet but not overly indulgent. My kids ask for this all the time, and I swear, it disappeared in minutes at my house. I love that it’s loaded with zucchini—yes, that humble veggie that usually gets a bad rap—because it keeps the cake insanely moist, and you don’t even realize it’s there until you taste that subtle, nutritious boost. This one’s a lifesaver on busy nights when I need a little extra comfort, or when I want to impress friends without spending hours baking. Trust me on this — once you try it, it’ll become a staple in your recipe box too.
What is Zucchini Coffee Cake?
Think of it as a cross between a classic crumb cake and a moist, veggie-packed treat. The name might sound a little unusual at first, but it’s really just a cake that happens to include zucchini as a secret ingredient. It’s essentially a cozy, cinnamon-swirled loaf or square, with a tender crumb that’s bursting with warm cinnamon flavor and just the right amount of sweetness. The zucchini adds moisture and a slight earthiness, which balances beautifully with the rich vanilla and cinnamon. It’s a casual, comforting dessert or breakfast that feels like you’re indulging but secretly sneaking in some veggies. My favorite part is the swirl of cinnamon—kind of like a cinnamon roll but in cake form. My grandma used to say, “If you hide your greens in something sweet, everyone wins,” and honestly, I couldn’t agree more. This cake is proof that veggies can be cozy, delicious, and totally welcome on the breakfast table.
Why you’ll love this recipe?
What I love most about this zucchini coffee cake is how it strikes that perfect balance between moistness, flavor, and a little bit of spice. The smell alone when it’s baking—think warm cinnamon, vanilla—and that sweet aroma kind of hugs the entire house. It’s sweet enough that everyone asks for seconds, but not so sugary that you feel sluggish afterward. It’s also super easy — I’ve made this countless times, and it never fails. The ingredients are simple pantry staples, so I can throw it together on a busy morning or a lazy weekend afternoon. Plus, the zucchini makes it feel a little healthier, which I definitely need when indulging in a sweet treat! And because the batter is forgiving, you can customize it in all sorts of ways—add nuts, swap out the glaze, or even throw in blueberries for extra flavor. I’ve tested this with almond milk and it actually made it even creamier—so lots of ways to tweak it to your taste. Family and friends always rave about how cozy and comforting it is; it’s become one of those recipes I genuinely look forward to making and sharing.
How do I make Zucchini Coffee Cake?
Quick Overview
This cake comes together pretty quickly and doesn’t require fancy techniques—my kind of baking! You’ll start by preparing the zucchini, then mix up a tender vanilla batter. While that bakes, you swirl in cinnamon sugar, and finish with a simple glaze that sets perfectly on top. It’s like your favorite coffeehouse pastry, but made homey and from scratch. The best part? It’s forgiving with moisture and really hard to mess up, making it perfect even if you’re new to baking. Once everything’s mixed and layered, into the oven it goes, and before you know it, your kitchen smells like a cinnamon dream. Honestly, I love making this when I need a little extra warmth or when company drops by — it’s impressive but totally doable.
Ingredients
For the Main Batter:
– 2 cups grated zucchini (squeeze out excess moisture, I do this with a clean dish towel so it’s not runny)
– 1 ½ cups all-purpose flour (I use unbleached for a richer flavor)
– 1 teaspoon baking powder
– ½ teaspoon baking soda
– ½ teaspoon salt
– 1 teaspoon ground cinnamon
– ½ teaspoon nutmeg (optional but adds a nice warmth)
– ¾ cup granulated sugar
– ⅓ cup vegetable oil or melted butter
– 2 large eggs
– 1 teaspoon vanilla extract
– ½ cup milk (dairy or almond works great)
For the Filling:
– ¼ cup sugar
– 2 teaspoons ground cinnamon
– 1 tablespoon butter (melted, so it mixes easily)
For the Glaze:
– ½ cup powdered sugar
– 1-2 teaspoons milk
– ½ teaspoon vanilla (or lemon juice for a twist)
– A pinch of salt
Step-by-Step Instructions
Step 1: Preheat & Prep Pan
Set your oven to 350°F (175°C). Grease a 9-inch square pan or line it with parchment paper—trust me, a little spray or butter makes the cake come out easily. If you want a more rustic look, a simple parchment-lined pan works perfectly.
Step 2: Mix Dry Ingredients
In a large bowl, whisk together the flour, baking powder, baking soda, salt, cinnamon, and nutmeg. This way everything is evenly distributed and your cake rises nicely. I always do this first so I don’t forget any leavening or spices.
Step 3: Mix Wet Ingredients
In another bowl, beat the eggs, sugar, vanilla, and oil until smooth. I like to use a fork or a whisk—nothing fancy. Then, gently stir in the milk. The batter should look smooth and slightly shiny — that’s how you know it’s ready.
Step 4: Combine
Gradually add the dry ingredients into the wet, folding lightly with a spatula. Don’t overmix — just mix until no flour streaks remain. Overmixing can make the cake dense, and nobody wants that. Gently fold in the grated zucchini last, making sure it’s evenly distributed.
Step 5: Prepare Filling
In a small bowl, combine the sugar and cinnamon. Melted butter is optional but helps the cinnamon swirl spread and stick better. Set aside for now.
Step 6: Layer & Swirl
Pour half the batter into your prepared pan and spread evenly. Sprinkle half of the cinnamon-sugar mixture over it. Pour the remaining batter over the top and then sprinkle with the rest of the cinnamon mix. Using a toothpick or a butter knife, swirl gently through the batter — don’t overdo it, just enough to create pretty ribbons.
Step 7: Bake
Pop it into the oven and bake for 40-45 minutes. Do the toothpick test in the center — it should come out clean or with just a few moist crumbs. Ovens vary, so keep an eye on it after 40 minutes.
Step 8: Cool & Glaze
Let the cake cool in the pan for about 15 minutes. Then, transfer it to a wire rack or serve straight from the pan if you can’t wait. Mix your glaze ingredients until smooth and drizzle over the slightly warm cake. The glaze will set just enough for a shiny, sweet finish that’s impossible to resist.
Step 9: Slice & Serve
Use a sharp knife to cut clean slices. I like to serve this warm or at room temperature. A dollop of whipped cream, a splash of coffee, or a handful of fresh berries—whatever makes you happy. Honestly, I think a big mug of coffee and a slice of this cake is the definition of cozy perfection.
What to Serve It With
This cake is so versatile, I could write pages about pairing ideas! For breakfast, pair it with a strong cup of coffee or a frothy cappuccino—you’ll feel like you’re at your favorite café. If you’re hosting brunch, why not serve it with some Greek yogurt and fresh fruit? It’s also a lovely ending to a casual dinner—just warm with a drizzle of cream or an extra sprinkle of cinnamon. And let’s not forget, it’s perfect for a cozy afternoon snack with tea and good company. When the weather turns cooler, I love pairing this with a mug of hot cider or mulled wine. It’s truly a feel-good, multi-purpose treat that everyone will love—believe me, I’ve had friends text me for the recipe after just one slice.
Top Tips for Perfecting Your Zucchini Coffee Cake
Over the years, I’ve learned a few tricks that make this cake come out even better every time. First, don’t skip squeezing out excess moisture from the zucchini. I grated mine then wrapped it in a clean dish towel and pressed out the water — that step is key for a tender crumb that isn’t soggy. Second, when mixing the batter, use gentle folds — overmixing will develop gluten and make the cake denser. Trust me, patience is your friend here. Third, for a prettier swirl pattern, try layering the cinnamon sugar mixture in the middle and swirling twice—less is more, but a little swirl looks so pretty. I’ve experimented with swapping brown sugar for part of the white, which adds depth and molasses richness—I highly recommend it! Also, keep an eye on the baking time because oven temps can vary; start checking around the 40-minute mark. And finally, on the glazing front, I tested adding a splash of lemon juice to the glaze for zing; it’s subtle but brightens up the sweetness perfectly. Honestly, the best desserts are the ones you tweak and personalize — don’t be afraid to make this your own.
Storing and Reheating Tips
This cake keeps like a dream! At room temperature, it stays good for about two days if covered tightly with foil or plastic wrap. I usually put it in an airtight container; it keeps moist and fresh tasting. If I want to save some for later, I pop slices into the fridge, where they’re still delicious for up to five days. To reheat, I warm a slice in the microwave for about 20 seconds or so—just enough to bring back the cozy warmth and melt the glaze slightly. If you prefer it even softer, wrapping it in foil and reheating briefly in the oven at 300°F works beautifully without drying it out. For longer storage, you can freeze individual slices wrapped well in plastic and a layer of foil; just let them thaw at room temp or warm them gently. A good rule of thumb: glaze is best added fresh or right before serving, so it stays glossy and sweet. With these tips, you’ll keep every slice tasting as good as when it first came out of the oven.
Frequently Asked Questions
Final Thoughts
This zucchini coffee cake is a testament to the art of cozy baking. It’s simple, forgiving, and packed with warm spices that just make everything better. I love how the zucchini keeps it tender and moist without overpowering the flavor. Every time I make it, memories of lazy weekend mornings, family laughter, and the smell of cinnamon fill my kitchen. It’s one of those recipes that feels like a warm hug — and the fact that it sneaks in some veggies makes me feel good about serving it to the kids. Whether you’re in need of a quick breakfast, a weekend treat, or just a bit of comfort in a slice, I promise this will become a go-to. Feel free to customize with nuts, berries, or your favorite spices — the possibilities are endless. Happy baking, and I can’t wait to hear how yours turns out! Drop a comment, rate it, or share your own twist—I love hearing from fellow cozy baking enthusiasts.
preserving garlic
Ingredients
Method
- Break apart your garlic bulbs and peel the cloves. Place the peeled cloves in a large bowl and rinse to clean off any dirt. Transfer to a strainer and rinse well.
- Trim any brown spots with a small paring knife if needed, then rinse the cloves again.
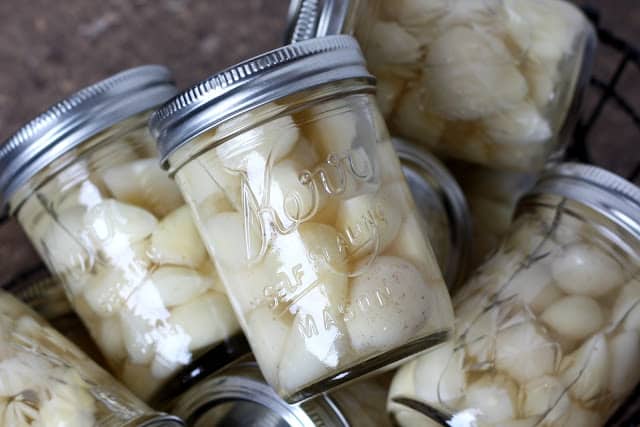
- Bring the vinegar to a boil in a large pot. Fill small jars with garlic cloves. Pour hot vinegar over the garlic in each jar and screw the lids on tight.
- Let the jars come to room temperature overnight then store in the refrigerator. The garlic will keep for up to a year. Enjoy!