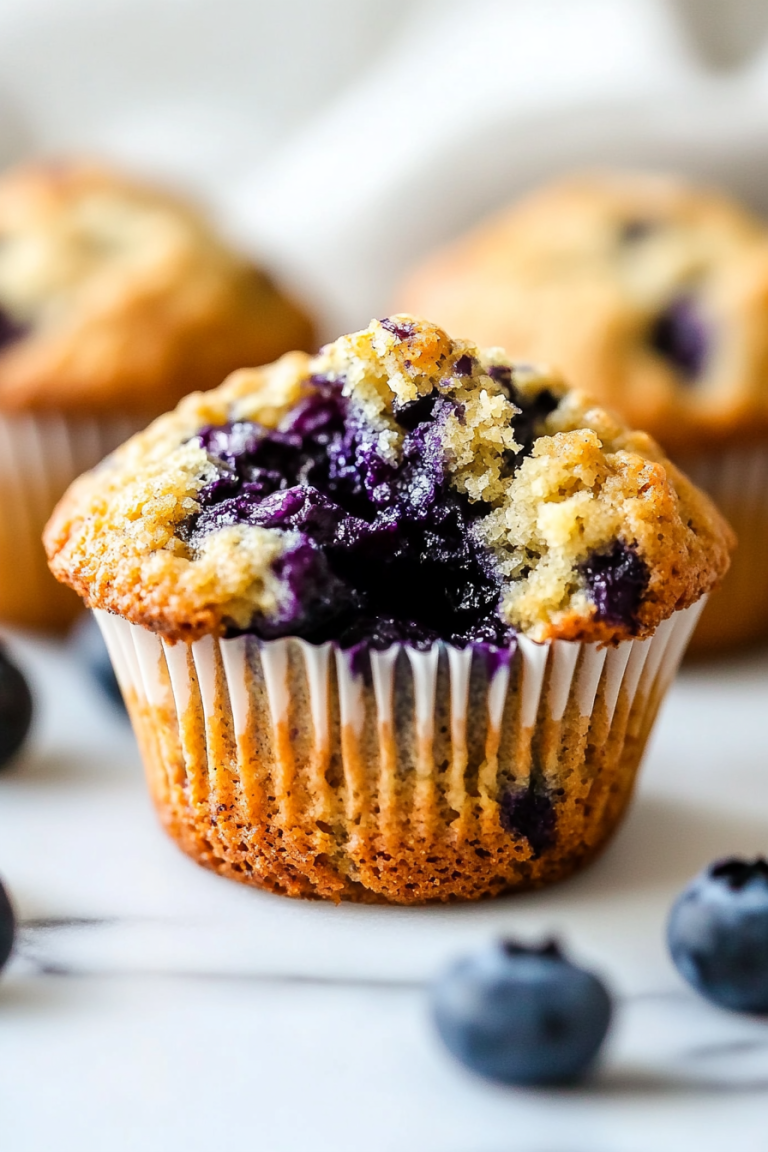
Easy Banana Muffins How to Bake Them
There’s something about baking that feels like wrapping yourself in a warm hug, isn’t there? I still remember the first time I made this zucchini chocolate swirl loaf — I was looking for a way to sneak some veggies into my kids’ snacks without putting up a fuss. And honestly? This one’s a lifesaver on busy nights when everyone’s craving something sweet but I don’t want to turn on the oven for a full cake. The smell alone—warm chocolate and fresh zucchini—fills the kitchen and draws everyone in. It’s got that perfect balance of moist, tender crumb, and decadent chocolate swirls. Plus, it’s surprisingly easy to make, even if you’re not a seasoned baker. I always do this when I want something comforting yet a little bit healthy, and my family asks for seconds every single time. Believe me, once you try this, it’ll be a staple in your house, too. I love how the zucchini keeps everything so moist, and I’ve tested this with different chocolates — white, dark, you name it — and it’s a winner every time. Just a little tip: a sprinkle of sea salt on top before baking makes it even more irresistible. Ready to dive in? Let’s make some magic happen in your kitchen!
What is Zucchini Chocolate Swirl Loaf?
This zucchini chocolate swirl loaf is essentially a moist, tender quick bread with waves of rich, melty chocolate running through it. Think of it as a fancy banana bread but with zucchini replacing bananas—only it’s way more decadent because of the chocolate. The name might sound a little unusual at first, but trust me, once you taste it, it all makes sense. The zucchini acts like a secret ingredient, adding moisture and a subtle sweetness that no one will suspect. Originally, I think of this as a twist on classic loaf recipes, giving it a healthy edge with all the goodness of veggies hidden in the swirl of chocolate. It’s a good way to sneak some nutrients into the kids’ snacks or to indulge yourself without feeling guilty. The concept is simple: a basic batter with grated zucchini folded in, layered with a generous swirl of chocolate, and baked to perfection. It’s perfect for breakfast, brunch, or even a cozy afternoon treat—because who says comfort food can’t be a little healthy too? This recipe is adaptable, forgiving, and seriously addictive. Once you get the hang of it, it’s great to customize with different chocolates or nuts.
Why you’ll love this recipe?
What I love most about this zucchini chocolate swirl loaf is how it hits all the right notes—it’s super tasty, ridiculously easy, and a total crowd-pleaser. The flavor? Oh, it’s got that luscious chocolate richness balanced by the fresh, slightly crisp zucchini, and a hint of vanilla that makes it sing. It’s like a grown-up chocolate cake, but way simpler to throw together. Plus, I find it to be incredibly forgiving, which is a huge plus. Sometimes when I bake, I mess up the timing or overmix the batter, but with this loaf, even a slight overmix doesn’t ruin the texture. The best part? It’s budget-friendly, with pantry staples like flour, sugar, and chocolate found in most homes. And because the zucchini is grated fine, it doesn’t alter the texture or taste too much—just an extra hidden vegetable that makes me feel a little better about indulging. I’ve made this countless times, and what’s funny is how it disappears in minutes—my kids actually ask for seconds! I also love how versatile it is: serve warm with a drizzle of caramel or a dusting of powdered sugar, or even sliced cold for a snack later. Trust me, this one’s a keeper.
How do you make Zucchini Chocolate Swirl Loaf?
Quick Overview
This recipe comes together in just a few straightforward steps. First, you grate the zucchini and set it aside, making sure to squeeze out most of the excess moisture—trust me, too much moisture can make your loaf a little gooey. Meanwhile, you mix your dry ingredients—flour, baking powder, salt—and set that aside. Then, combine your wet ingredients: eggs, sugar, oil, vanilla—beat until smooth. Gently fold in the grated zucchini, then pour half of the batter into a prepared loaf pan. Melt your chocolate with a little butter or cream, swirl it into the rest of the batter, and layer it over the first layer, creating beautiful marbled waves. Bake until golden and a skewer inserted in the center comes out clean—that’s your cue it’s done. Cool in the pan for a few minutes, then transfer to a wire rack to cool completely before glazing or serving. Honestly, it’s so simple, I usually get everything ready in under 15 minutes, and the oven does the rest. And once you master the swirl technique, this loaf becomes a stunning, delicious centerpiece with minimal effort!
Ingredients
For the Main Batter:
– 2 cups all-purpose flour (I like Bob’s Red Mill or local organic brands)
– 1 teaspoon baking powder
– ½ teaspoon baking soda
– ¼ teaspoon salt
– 1 cup granulated sugar (can reduce to ¾ cup for less sweetness)
– ½ cup vegetable or olive oil (trust me, melted butter works too)
– 3 large eggs
– 1 teaspoon vanilla extract
– 1 cup grated zucchini (squeezed dry)
For the Filling:
– ½ cup chopped chocolate chips or chopped chocolate (I prefer dark, but milk works too)
– 2 tablespoons butter or cream (for melting chocolate)
– A pinch of sea salt or flaky sea salt for sprinkling on top before baking
For the Glaze:
– ½ cup powdered sugar
– 1-2 teaspoons milk or cream
– ¼ teaspoon vanilla (optional)
– A tiny pinch of extra salt for flavor enhancement
Step-by-Step Instructions
Step 1: Preheat & Prep Pan
Set your oven to 350°F (175°C). Line a standard loaf pan with parchment paper or spray it generously with non-stick spray. I always like to do this first so I don’t have to scramble at the last minute. If you want a crisper crust, leave it unlined but butter the pan well. Also, grate your zucchini now—use a box grater or a food processor—not too fine, but small enough that it blends smoothly into the batter. Then, squeeze out as much moisture as possible with a clean kitchen towel or paper towel—this keeps your loaf from turning into a soggy mess. Trust me, I learned this the hard way after a batch that was…well, a little too moist! Once the moisture is pressed out, set the zucchini aside.
Step 2: Mix Dry Ingredients
In a medium bowl, whisk together the flour, baking powder, baking soda, and salt. This step ensures everything is evenly distributed, which gives you a uniform rise and texture. I always do this first; it’s like laying the groundwork for success. Make sure there are no lumps—especially with the baking soda, which can clump up.
Step 3: Mix Wet Ingredients
In a large mixing bowl, whisk the eggs, sugar, oil, and vanilla until smooth. The mixture should be a bit pale and fluffy—try not to overbeat, but make sure everything’s well combined. Then, gently fold in the grated zucchini. You’ll see bits of it just disappearing into the batter—this is what keeps the loaf super moist. It’s a sneaky way to get extra nutrition, too. I’ve tested with almond milk instead of regular milk, and it actually made it even creamier—that’s an easy swap you can try if you’re dairy-free or just out of milk.
Step 4: Combine
Gradually add your dry ingredients into the wet, folding gently just until combined — no overmixing! Overmixing can lead to a dense loaf, so stir just enough that everything looks evenly incorporated. You’ll end up with a thick, speckled batter that’s ready for the fun part: the swirl.
Step 5: Prepare Filling
In a small bowl, melt your chocolate with butter or cream until silky smooth—microwave in 20-second bursts, stirring in between. Let it cool slightly so it doesn’t sink into the batter. Optional: toss in a pinch of sea salt or a sprinkle of flaky salt. It heightens the chocolate flavor and adds a gourmet touch.
Step 6: Layer & Swirl
Pour half of your batter into the prepared loaf pan, smoothing the top with a spatula. Spread the melted chocolate evenly over this layer. Carefully pour the remaining batter on top, then use a knife or skewer to swirl the chocolate through the batter in gentle figure-eight motions. Don’t overdo it—just enough to create beautiful marbled waves. This is the part where patience pays off because watching the swirl form is pretty satisfying!
Step 7: Bake
Pop it into the oven and bake for 50-60 minutes—or until a skewer inserted into the center comes out clean. Trust me on this: every oven is different, so start checking around 50 minutes. If the top is browning too quickly but the inside isn’t quite done, tent it with foil for the last 10 minutes. The smell alone when it’s baking is worth every second—chocolate and baked zucchini, who would’ve thought?
Step 8: Cool & Glaze
Once the loaf is out of the oven, let it cool in the pan for about 10 minutes—this helps it set and makes slicing easier. Transfer it to a wire rack to cool completely. If you want that shiny finish, whisk together powdered sugar, milk, and vanilla until smooth, then drizzle it over the cooled loaf. Don’t wait too long—chocolate can sink in if the loaf isn’t cooled properly. I love adding a tiny pinch of sea salt on top of the glaze while it’s still wet; it creates a perfect sweet-salty combo.
Step 9: Slice & Serve
Use a sharp serrated knife and cut with a gentle sawing motion—this keeps the slices neat and prevents squishing the chocolate swirl. Serve warm, at room temp, or chilled—each way has its charm. My kids prefer it warm with a dollop of whipped cream, while I love it sliced thin for snacks on the go. It looks pretty pro on a platter with a few fresh berries or a sprig of mint, but honestly, it’s so good, I usually can’t wait to dive in as soon as it’s cool enough to handle.
What to Serve It With
This zucchini chocolate swirl loaf is a versatile treat, and I’ve served it in so many ways over the years. For breakfast, it’s delicious toasted with a smear of butter or paired with a strong cup of coffee—think cozy weekend mornings at home. My family loves it on brunch plates alongside fresh fruit and yogurt, especially when we’re doing a laid-back Sunday feast. As a dessert, it’s perfect topped with a drizzle of caramel or a dusting of powdered sugar, paired with a glass of cold milk or a cup of tea. On lazy afternoons, I sometimes slice a piece and serve it with a warm latte—my kids even ask for it as an after-school snack, especially when there’s a little extra chocolate swirled inside. It’s also great packed into lunchboxes for something sweet and different. The secret is how adaptable it is—add some chopped nuts for crunch or fold in dried cranberries for a tart contrast. Honestly, I’ve never made this and not gotten a request for seconds. It’s become part of our little family tradition, and I promise, once you try it, it’ll be yours too.
Top Tips for Perfecting Your Zucchini Chocolate Swirl Loaf
Over the years, I’ve picked up a few secrets for turning this loaf from good to unbeatable. Here are my top tips:
- Zucchini Prep: Always squeeze out the excess moisture — it makes all the difference in avoiding a soggy loaf. I find using a fine grater is best because it distributes evenly, and toss the grated zucchini with a tiny pinch of salt before mixing to draw out even more moisture.
- Mixing Advice: Be gentle when folding the dry into the wet. Overmixing can make your batter dense, which isn’t what we want. Stop mixing as soon as there are no streaks of flour — you want a slightly lumpy, thick batter.
- Swirl Pattern: For a prettier swirl, try using a skewer to make figure-eight motions, starting from the center and working outward. Color distribution doesn’t need to be perfect — that uneven, marbled look is charming and rustic.
- Ingredient Swaps: You can swap milk for almond or oat milk, and dark chocolate chips for white or even peanut butter chips for a different flavor vibe. I’ve tested with coconut oil, which adds a subtle tropical aroma, and it’s fabulous.
- Baking Tips: Oven temperatures vary, so keep an eye on the loaf after 50 minutes. If the top browns too quickly, tent with foil. Testing with a skewer is the key; don’t rely solely on the clock.
- Glaze Variations: Want a citrus twist? Mix in a spoonful of lemon or orange zest to your glaze. Or sprinkle chopped nuts over the glaze while still wet for extra crunch.
Honestly, the trick to perfecting this loaf is patience and a bit of practice. The more you make it, the more you’ll get a feel for your oven and your ingredients. One thing I’ve learned is that a little less sugar makes it more balanced, so don’t be afraid to tweak it to your taste. Every time I experiment, I end up with a new favorite version. That’s the fun of baking — it’s always a little different each time, and that’s what keeps it exciting.
Storing and Reheating Tips
This loaf keeps surprisingly well, which makes it perfect for making ahead. If you plan to eat it within a day or two, store it in an airtight container at room temperature—just don’t leave it out in direct sunlight because the chocolate can melt. For longer storage, wrap it tightly in plastic wrap and freeze for up to three months. Thaw it at room temperature or give it a quick warm-up in the microwave — about 15-20 seconds—so it’s just right to enjoy. I don’t recommend refrigerating for more than a day because it can dry out, but if you do, warm slices slightly in the microwave to revive that tender, moist crumb. When I make it ahead, I wait to add the glaze until just before serving to keep that glossy finish intact. The only thing to watch for is that added moisture from refrigeration—storing sliced loaf in a sealed container can sometimes make the chocolate glaze weep or become dull. So, for best results, glaze right before serving. Trust me, this loaf tastes just as wonderful on day three—if it lasts that long!
Frequently Asked Questions
Final Thoughts
This zucchini chocolate swirl loaf has truly become a favorite in my house — it’s decadent yet sneaky, moist and full of flavor, and so easy to whip up on a weekday. I love that it’s a little bit healthy, a little bit indulgent, and endlessly adaptable. Over the years, I’ve tested different chocolates, sweeteners, and add-ins, and every variation seems to bring a new twist of deliciousness. Honestly, once you get comfortable with the basic steps, you’ll find your own favorite version in no time. It’s perfect for breakfast, snack time, or a casual feel-good dessert. And the best part? It’s so satisfying to see friends and family’s faces light up when they realize there’s zucchini hidden inside—such a sneaky joy! I hope you have as much fun making and eating this as I do. Please leave a comment below sharing your twists or favorite pairings—I’d love to hear how yours turns out. Happy baking!
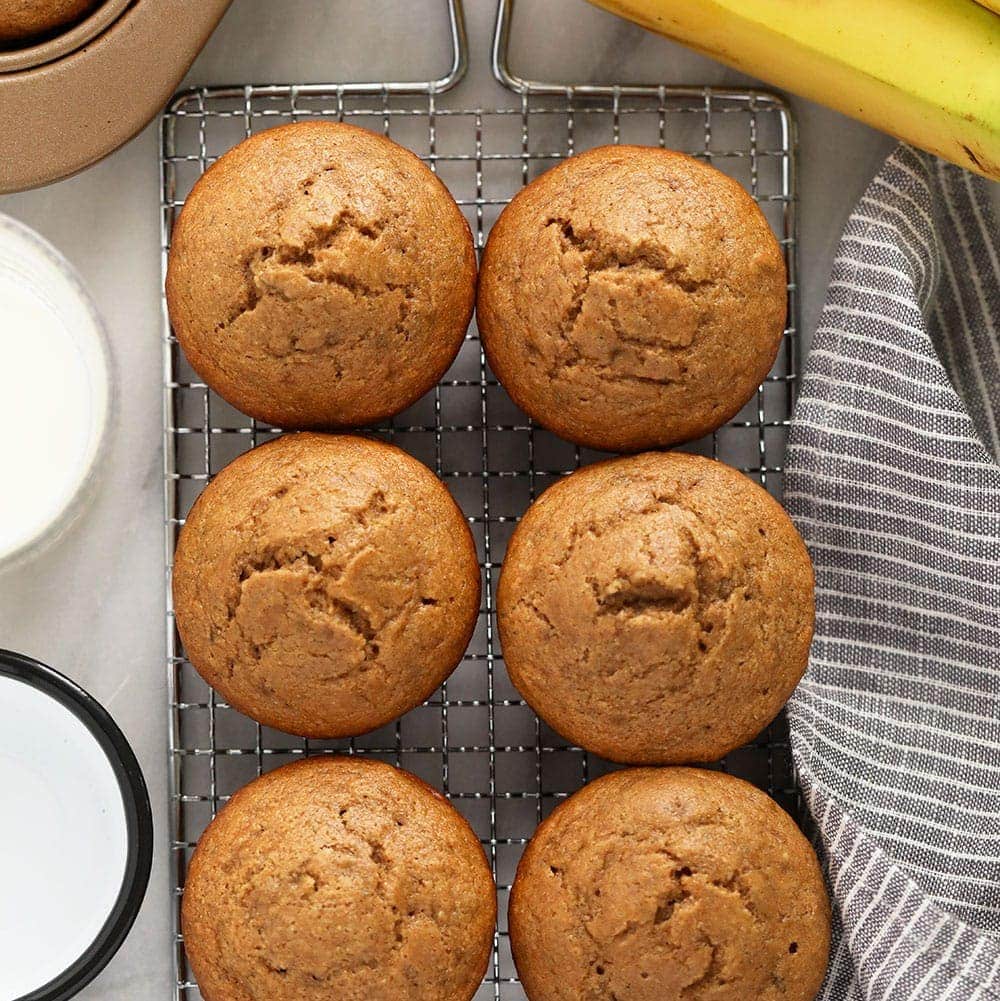
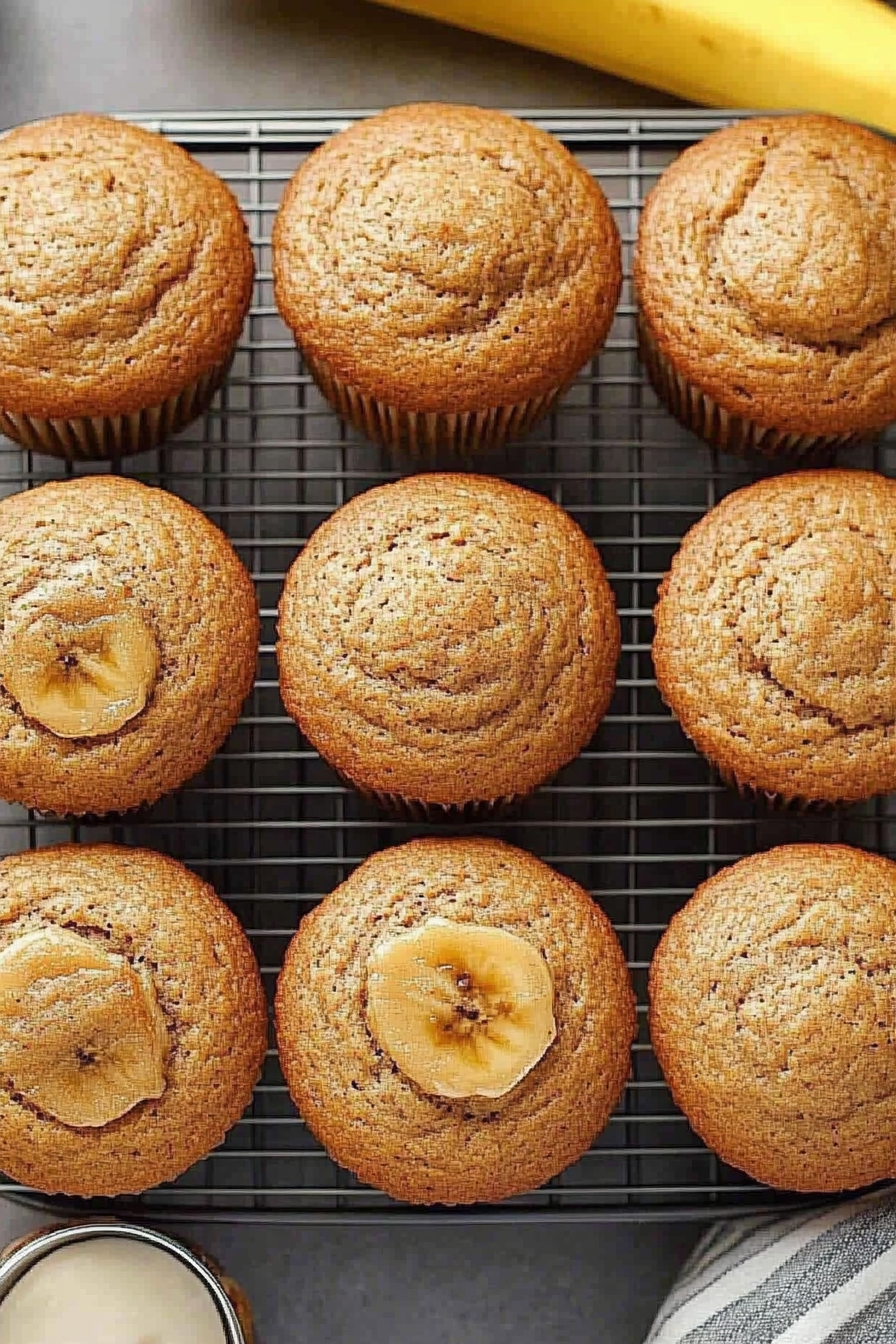
banana muffins
Ingredients
Method
- Preheat oven to 350ºF. Line a muffin tin with liners or spray with nonstick spray.
- Mash approximately 2 medium bananas in a large bowl. Add eggs, maple syrup, and almond milk, then whisk until combined.
- Add all dry ingredients and mix well.
- Pour melted coconut oil into the batter and stir to combine.
- Divide batter evenly into 12 muffin cups, filling about 2/3 full.
- Bake for 16-18 minutes or until a toothpick inserted in the center comes out clean.
- Allow muffins to cool in the tin for 10 minutes, then transfer to a cooling rack to cool completely.