Easy Chicken Gnocchi Pot Pie Delight
If you’ve ever wandered into your kitchen craving something both sweet and a little unexpected, I get you. There’s something about biting into a slice of cake that’s bursting with flavor but also sneaks in a little veggie boost—like zucchini—that makes it feel just a tiny bit healthier. I remember the first time I made this zucchini swirl cake—it was a lazy Sunday afternoon, and I hadn’t planned anything fancy, but I had a zucchini lurking in the fridge. I threw it into my usual batter, did a little swirling magic, and the result? Pure comfort on a plate. My kids asked for seconds (and thirds, honestly), and my friends couldn’t believe how moist and flavorful it was, with just a whisper of sweetness and a soft, tender crumb that melts in your mouth. Honestly, this one’s a lifesaver on busy nights when dessert feels like just another chore I want to skip—but then I remember how delicious and satisfying it is. Trust me, once you try this, it’ll become a regular around your house too! It’s simple, flexible, and perfect for sharing with people you love over coffee or tea.
What is Zucchini Swirl Cake?
This zucchini swirl cake is basically a cozy, baked hug in the form of a loaf or cake slice. Think of it as a sneaky way to get kids (and maybe even grown-ups) to eat their vegetables—without anyone noticing. It’s essentially a moist, tender cake batter infused with grated zucchini, which not only adds moisture but also a lightly earthy flavor that balances the sweetness beautifully. The “swirl” part comes from twisting in a caramel or cinnamon-spiked filling that runs through the batter like a ribbon of flavor—think cinnamon rolls, but way easier. It’s kind of a hybrid between a classic loaf cake and a fruit-filled pastry, all wrapped into one versatile treat. Originally, I think of it as a no-fuss dessert that can be whipped up quickly, yet it looks and tastes special enough for weekend brunch or a cozy afternoon snack. Plus, it’s a great way to clear out those veggies hiding in the crisper without feeling like you’re making a salad. It’s homey, comforting, and honestly kind of addictive once you start slicing into that first piece.
Why you’ll love this recipe?
What I love most about this zucchini swirl cake is how it manages to be both simple and sophisticated at the same time. The first thing you’ll notice is the incredible flavor—moist, mildly sweet, with just enough spice from cinnamon or vanilla to make it feel like a treat but not overly indulgent. The zucchini keeps the crumb incredibly tender and almost pudding-like, which is just heaven with a cup of coffee in the morning or tea in the afternoon. It’s also a recipe that’s kind to your budget—simple ingredients, no fancy gadgets needed—and it’s hard to go wrong, even if you’re a beginner in the kitchen. I’ve made this with different types of zucchinis and have tested it with almond milk, coconut oil, and even a dash of honey instead of sugar, and it always comes out gorgeous. One of my favorite things? The swirl. That pretty, marbled ripple of cinnamon and sugar through each slice. It’s almost too pretty to eat, but I promise, once you taste it, you’ll want to share—though I won’t blame you if you keep a few slices for yourself. This cake is my go-to when I want something sweet that feels like a little hug—perfect for unexpected guests or a quiet moment when I just need to remind myself that baking is, after all, my love language. Plus, it’s versatile—you can jump in with apple, walnuts, or even chocolate chips if you want to shake things up a bit. The best part? It’s practically foolproof, making it a wonderful way to boost your baking confidence, too.
How do I make Zucchini Swirl Cake?
Quick Overview
This cake is pretty straightforward—mix your dry ingredients while your zucchini is getting grate-ready, then blend wet ingredients and combine everything gently. The swirl is just a quick mixture of cinnamon and sugar that you layer into the batter before baking. The secret? Don’t overmix once you combine everything, or you’ll end up with a dense cake. Simply fold everything together until just combined, swirl your filling into the batter, and bake until a toothpick comes out clean. It’s a one-bowl kind of process that’s perfect even on busy days when you’re short on time but crave something freshly baked. Once baked, let it cool completely before glazing or serving—it’s worth the wait, I promise.
Ingredients
For the Main Batter:
• 2 cups all-purpose flour (or a blend of white and whole wheat for added nutrition)
• 1 teaspoon baking powder
• ½ teaspoon baking soda
• ¼ teaspoon salt
• 1 teaspoon cinnamon (or a hint of nutmeg if you love that warm spice)
• 1 cup granulated sugar (or coconut sugar for a slightly caramelized flavor)
• ½ cup vegetable oil or melted unsalted butter
• 3 large eggs
• 1 teaspoon vanilla extract
• 1 cup grated zucchini (squeeze out excess moisture to prevent sogginess)
For the Filling:
• ¼ cup brown sugar or coconut sugar
• 1 teaspoon cinnamon
• 2 tablespoons melted butter or coconut oil
• Optional: chopped nuts or chocolate chips for extra fun and flavor
For the Glaze:
• ½ cup powdered sugar
• 1-2 teaspoons milk (dairy or plant-based)
• A splash of vanilla or lemon juice for added brightness
Step-by-Step Instructions
Step 1: Preheat & Prep Pan
Start by preheating your oven to 350°F (175°C). Grease your loaf pan or cake pan with butter or non-stick spray. Lining it with parchment paper makes removal even easier. I always do this because I hate fighting with delicate slices when they’re still warm!
Step 2: Mix Dry Ingredients
In a large bowl, whisk together the flour, baking powder, baking soda, salt, and cinnamon. It’s important to do this first to evenly distribute the leavening agents, ensuring the cake rises nicely and has a uniform crumb. Set aside.
Step 3: Mix Wet Ingredients
In another bowl, whisk together the sugar, eggs, vanilla, and oil until smooth and slightly frothy. This helps create a homogenous mixture that’s rich and moist. If you’re using a plant-based alternative like almond milk, add a splash here—trust me, it makes it even creamier!
Step 4: Combine
Gently fold the wet ingredients into the dry, using a spatula or wooden spoon. Be careful not to overmix—stop once everything is just combined. Overmixing leads to a dense cake, and nobody has time for that, right?
Step 5: Prepare Filling
Mix your cinnamon and sugar, then stir in the melted butter. If you have chopped nuts or chocolate chips, fold them in now. This mixture should be crumbly but moist enough to spread and swirl. It’s the magic ribbon that will make each slice look irresistible.
Step 6: Layer & Swirl
Pour the batter into your prepared pan. Dollop spoonfuls of the cinnamon-sugar mixture on top and use a skewer or knife to swirl it into the batter—don’t overdo it, though; a few gentle turns will do to create a marbled effect. This part is almost like art, and I always find it satisfying to see the ribbons form as I swirl.
Step 7: Bake
Pop it into the oven and bake for 45-50 minutes, or until a toothpick inserted in the center comes out clean. Every oven is a little different, so start checking around 45 minutes. The smell alone is enough to make everyone in the house gather in the kitchen!
Step 8: Cool & Glaze
Let the cake cool in the pan for about 15 minutes, then transfer to a wire rack to cool completely. Once cooled, mix your glaze ingredients and drizzle over the top. I love doing a light drizzle—it adds a little extra sweetness and a pretty finish.
Step 9: Slice & Serve
Use a sharp knife to cut slices once the glaze is set. Serve at room temperature with a hot cup of coffee or tea. I swear the first slice always disappears faster than I expect—I tend to grab an extra piece for sneaky snacking. This cake is wicked good warm or at room temp, so don’t stress over perfect cuts. Just enjoy the cozy charm in every bite.
What to Serve It With
This zucchini swirl cake is wonderfully flexible. For a breakfast or brunch, pair it with freshly brewed coffee, a dollop of whipped cream, or a smear of butter. I love serving it on a rustic platter with a side of fresh berries or sliced bananas—something to add brightness and contrast. When I’ve got friends over, I set out a few tea options—earl grey, chai, or even a peppermint tisane—to elevate the experience. If it’s more of a dessert moment, I drizzle extra glaze, sprinkle toasted nuts on top, or add a scoop of vanilla ice cream—trust me on this, the contrast of hot cake and cold ice cream is pure heaven. And for a cozy, casual snack, I’ll just warm up a slice, add a little more glaze, and enjoy it with a glass of milk or a mug of hot cocoa. This cake makes every occasion feel special, even if you’re just baking it for yourself on a regular Tuesday night.
Top Tips for Perfecting Your Zucchini Swirl Cake
If you want your cake to be absolutely perfect, a few insider tricks can help:
Zucchini Prep: I always shred and then squeeze out excess moisture using a clean kitchen towel. Too much water, and your cake will be soggy rather than moist. Also, fresh zucchini makes all the difference—older zucchinis can be a little watery.
Mixing Advice: I used to overmix the batter—lesson learned! Overmixing develops gluten and results in a dense crumb. Gently fold until just combined and you’ll get that tender, airy texture.
Swirl Pattern: For a prettier, more even swirl, use a toothpick to draw lines through the batter in one direction, then rotate slightly and repeat. The result looks almost like a marbled souvenir!
Ingredient Swaps: Honey or maple syrup can replace sugar, and mashed bananas or applesauce work well if you want to cut down on oil. Just keep proportions similar—about ¾ cup of liquid sweetener for every cup of sugar.
Baking Tips: If your oven tends to run hot, turn it down by 25°F and bake a little longer. Keep an eye on the cake’s edges; they should be golden but not burnt. A toothpick test remains your best friend for doneness.
Glaze Variations: For a citrus splash, add lemon or orange zest to your glaze. For a more decadent feel, mix in a splash of cream cheese or mascarpone before drizzling. Play around—this cake takes well to tweaks and personal touches!
Over the years, I’ve learned that patience pays off—let it cool fully before slicing, and don’t rush the glaze. The flavors deepen overnight, making it even more delicious the next day. Sometimes, I make this the night before for a Sunday breakfast—you’ll wake up to the smell, and it’s always an instant hit.
Storing and Reheating Tips
This cake keeps surprisingly well! Store leftovers in an airtight container at room temperature for about 2 days—just cover it with a clean towel if it’s unglazed, to prevent it from drying out. For longer storage, wrap tightly and refrigerate for up to a week. To keep it fresh, I usually slice it first and then store individual pieces—perfect for grabbing a quick breakfast or snack. If you want to stash it for more than a week, toss it in the freezer—just wrap it well, ideally in parchment, then an airtight container. Thaw at room temperature or warm slices gently in the microwave for about 20 seconds to regain that just-baked softness. When reheating, adding a tiny drizzle of milk or a dusting of powdered sugar helps refresh the flavor. I’ve found that glazing it fresh each time keeps the look and taste freshest, so do that right before serving if you’re storing it for a few days. Honestly, this cake is a resounding hit in my house, and I love how easy it is to keep it around for unexpected visits or lazy mornings. Just remember, good things come to those who wait—so do try to give it the full cooling time before slicing and serving.
Frequently Asked Questions
Final Thoughts
There’s something truly special about a homemade cake that surprises you with its fluffiness and flavor—especially one that sneaks in a little bit of veggie goodness. The zucchini swirl cake has become a household favorite, not only because it’s easy to make but because it somehow feels like a warm hug from the kitchen. Every time I bake it, I’m reminded of lazy Sunday afternoons, the smell wafting through the house, and the delight of sharing something homemade with loved ones. Honestly, once you get the hang of swirling the filling and baking until golden, you’ll feel like a professional pastry chef—no fancy equipment required. It’s a forgiving, adaptable recipe that welcomes tweaks and personal touches. Plus, it’s perfect for so many occasions—breakfast, brunch, dessert, or just a cozy perk-me-up after a long day. So go ahead, give it a try—I promise, your taste buds will thank you. And I’d love to hear how your version turns out—drop me a comment or share your photos! Happy baking!

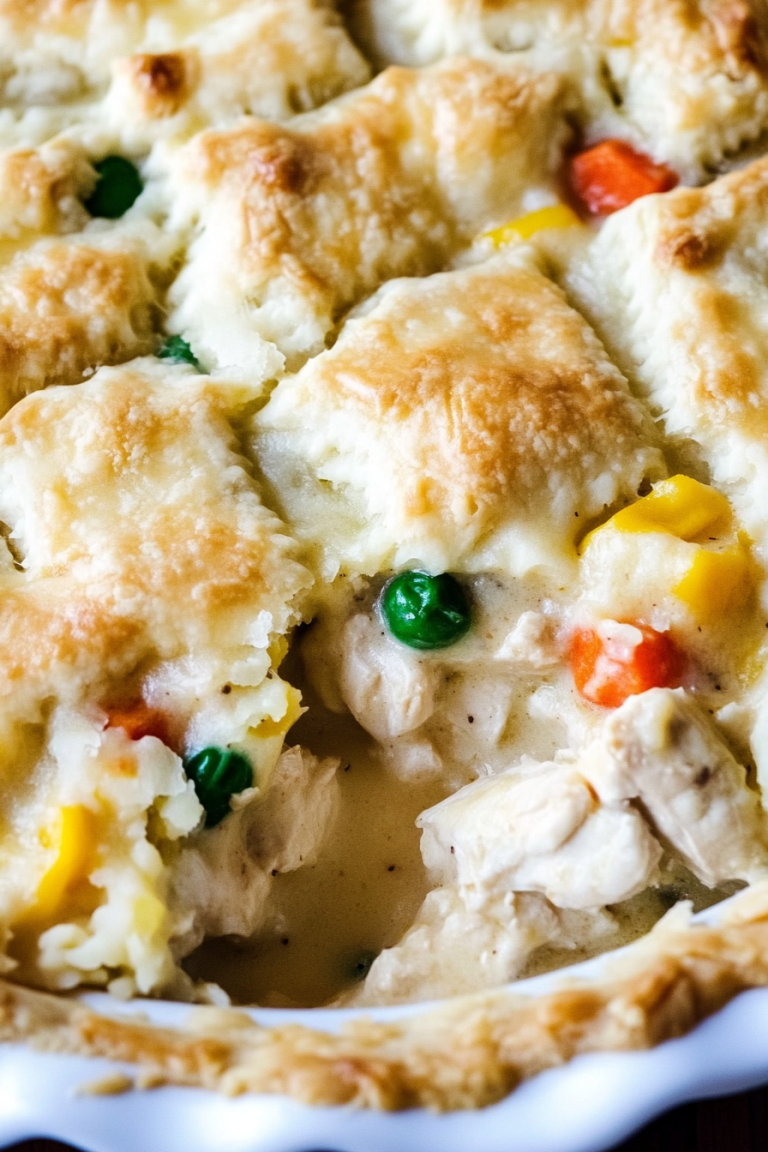
Chicken Gnocchi Pot Pie
Ingredients
Method
- In a large saute pan, melt butter over medium heat. Add sliced cremini mushrooms, diced onions, and fresh thyme leaves. Sauté for 2-3 minutes until vegetables are tender.
- Add diced rotisserie chicken, peas & carrots, and cream of chicken with herbs soup to the pan. Stir until well combined.
- Gradually pour in chicken stock while stirring until the mixture becomes smooth and fully blended.
- Bring the mixture to a gentle boil, add the gnocchi, and reduce heat. Cover and simmer for 10-15 minutes, stirring occasionally, until gnocchi are tender.
- Remove from heat, garnish with additional thyme if desired, and serve hot.