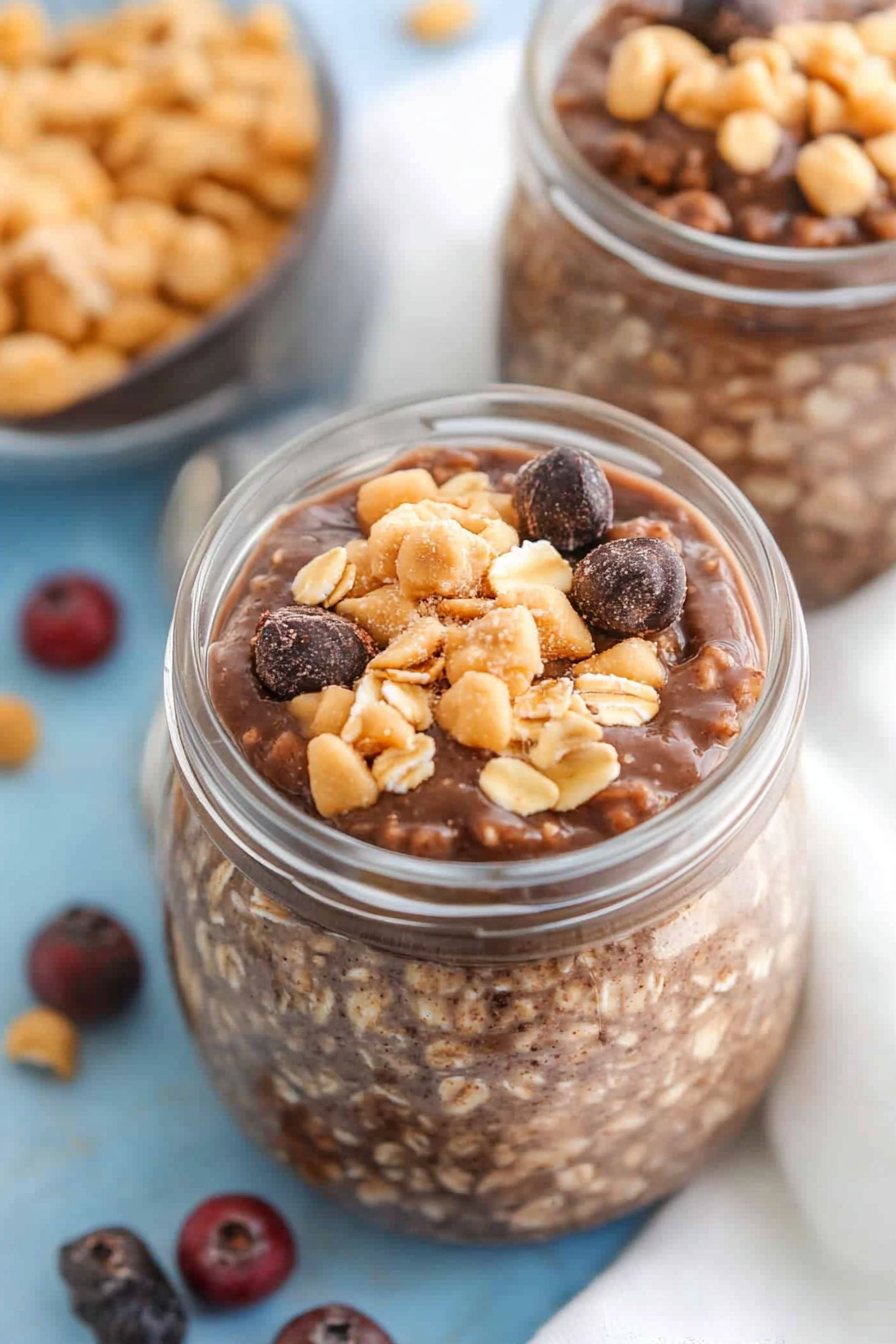
Easy Chocolate Peanut Butter Overnight Oats
There’s something about pulling a warm, golden loaf out of the oven that instantly feels like a hug. I remember the first time I made this zucchini marble loaf — I was home alone, craving something sweet and slightly indulgent but still comforting enough to kick back with on a Sunday morning. The smell alone, a cozy mix of vanilla, cinnamon, and just a hint of zucchini’s freshness, had everyone in the house rushing to the kitchen. Honestly, this recipe is a total lifesaver on busy nights or those moments when you want something homemade but don’t want to fuss for hours. It’s become a go-to at our place—my kids ask for this all the time, and I love how versatile it is. Plus, I’ve tested this with almond milk and it actually made it even creamier, which was a lovely surprise. Trust me when I say, once you get the hang of swirling the batter, it’s almost addictive — yes, I get a little proud every time I nail that perfect marbling. This one’s just such a sweet way to celebrate those humble zucchinis hiding in your fridge—let’s bake!
What is a Zucchini marble loaf?
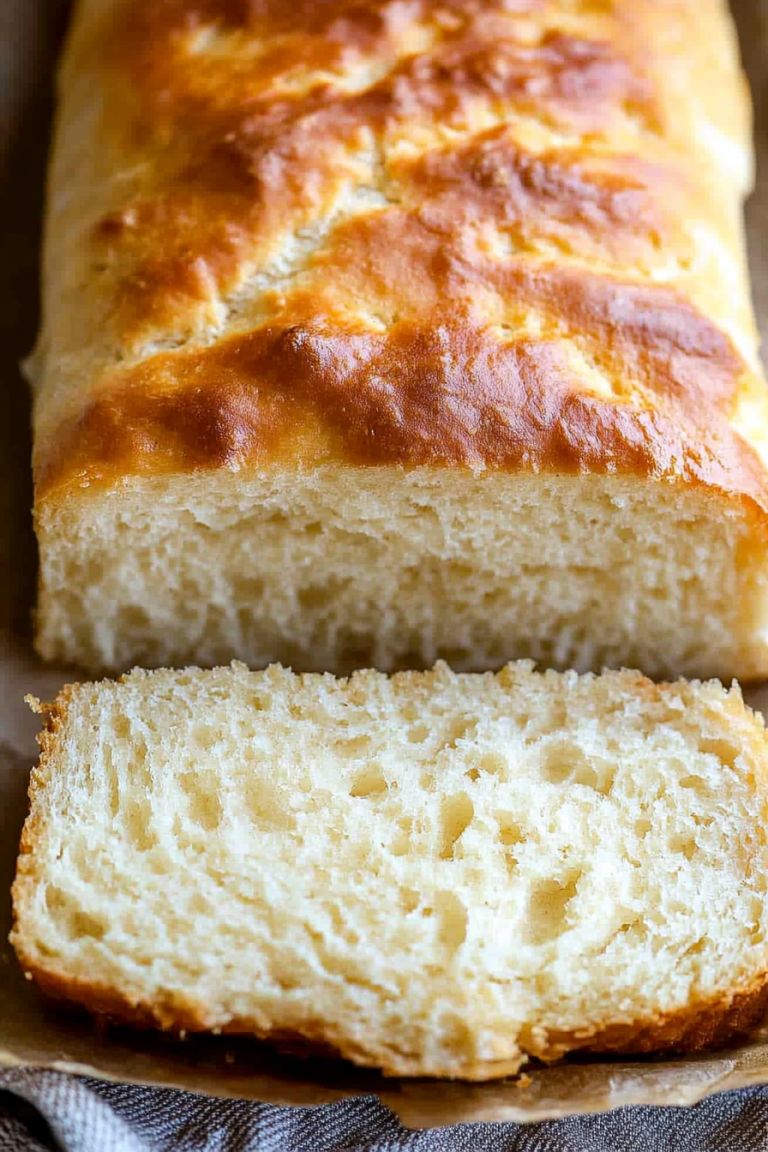
Think of it as a rustic, cozy bread with a little twist—marbled with a vanilla and cinnamon swirl that makes every slice feel special. It’s essentially a quick bread, which means no yeast, no kneading, just good old mixing, layering, and baking. The name “marble” comes from the beautiful veins of cinnamon and vanilla that run through the batter, giving it that marbled effect. The zucchini, slightly grated and softened, adds moisture and a subtle veggie boost — no one will guess because it blends seamlessly into the sweet batter. It’s like a love letter to those summer zucchinis you might have overgrown or didn’t know what to do with. This loaf is versatile enough to serve for breakfast, brunch, or a comforting snack with tea or coffee. And don’t worry — it’s super forgiving if you’re new to baking. Think of it as a warm hug wrapped in a slice of deliciousness, perfect for sharing or savoring all on your own.
Why you’ll love this recipe?
Honestly, what I love most about this zucchini marble loaf is how incredibly adaptable it is. The flavor—rich vanilla softened by a whisper of cinnamon—just hits all the right notes. Plus, the zucchini adds moisture and a little nutritional bump without compromising that tender crumb. It’s sweet enough that my kids devour it in minutes, but not so sweet that it can’t double as a breakfast or a teatime treat. What’s even better? This recipe is seriously simple. I always do this when I have a spare zucchini or a few ripe bananas lying around—just toss everything in one bowl, swirl the batters together, and bake. No fuss, no complicated steps. It’s also budget-friendly—most ingredients are pantry staples, and the zucchini’s practically free if you grow your own or snag some at your local farmers’ market. The fact that this bread is forgiving, with plenty of room for tweaks, makes it a keeper in my book. I also find it’s a great way to sneak some veggies into picky eaters because they love the sweet, marbled appearance—and the taste? Pure cozy goodness. Definitely a recipe you’ll want to keep close and make over and over.
How do you make Zucchini marble loaf?
Quick Overview
This zucchini marble loaf comes together in about 10 minutes of prep, plus baking. It’s basically about creating two batter mixtures—one plain vanilla and one with cinnamon—layering them in your baking pan, swirling gently for that marbled effect, and then letting the oven do its magic. The secret is not overmixing once you add the swirl so those veins stay distinct and beautiful. I love how the zucchini keeps the loaf moist and tender, and the swirl makes every slice feel fun and special. It’s perfect when you want something homemade that doesn’t require complicated techniques, plus it’s the kind of recipe that tastes even better the next day—if it lasts that long!
Ingredients
For the Main Batter:
- 1 ½ cups all-purpose flour (trust me on this one, all-purpose is best for that fluffy crumb)
- 1 teaspoon baking powder
- ½ teaspoon baking soda
- ½ teaspoon salt
- ½ cup granulated sugar
- ½ cup vegetable oil or melted butter (for richness)
- 2 large eggs
- ¾ cup milk (I’ve tested this with regular, almond, even oat milk—works beautifully!)
- 1 teaspoon vanilla extract
For the Filling:
- ¼ cup brown sugar
- 1 teaspoon cinnamon
- Pepper optional—adds a subtle kick or keep it sweet and gentle
For the Glaze:
- ½ cup powdered sugar
- 1-2 teaspoons milk or lemon juice (to adjust consistency)
- Optional: a splash of vanilla or citrus zest
Step-by-Step Instructions
Step 1: Preheat & Prep Pan
Set your oven to 350°F (175°C). Line a loaf pan with parchment paper or lightly grease it—trust me, this saves so much hassle when you’re trying to get that first slice out. I always do this first so I don’t forget, and the loaf comes out in one piece. Let’s get those ingredients ready while the oven preheats—that way, no rushing later!
Step 2: Mix Dry Ingredients
In a big bowl, whisk together the flour, baking powder, baking soda, and salt. I’ve learned that sifting isn’t totally necessary, but I do flick the dry ingredients a few times with the whisk—it keeps everything light and helps prevent lumps. Plus, it aerates the mixture a little, making your bread fluffier overall.
Step 3: Mix Wet Ingredients
In another bowl, whisk the eggs with sugar until combined—this takes a minute, but it’s worth it because it helps incorporate air and makes the loaf really light. Add the oil or melted butter, milk, and vanilla, whisking until silky smooth. I test the temperature of the milk to ensure it’s not too cold or warm—lukewarm is best to help everything blend nicely.
Step 4: Combine
Pour the wet mixture into the dry ingredients and gently fold everything together—do not overmix! Overmixing can make the bread dense, and nobody wants that. Just stop mixing as soon as you see no dry flour. The batter will be thick but pourable, almost like a loose cake batter. Now, divide it into two bowls: one plain, and one with the cinnamon brown sugar mixed in.
Step 5: Prepare Filling
In the second bowl, stir together the brown sugar and cinnamon. If you want a little extra spice or flavor, go ahead and add a pinch of nutmeg or a splash of vanilla. For variations, I sometimes sprinkle chopped nuts or dried fruit into the swirl for texture. Keep this filling dry, but sticky enough to hold in place.
Step 6: Layer & Swirl
Pour half the plain batter into your prepared loaf pan, smoothing it out gently. Then layer all of the cinnamon sugar mixture on top. Finally, add the remaining plain batter over that, smoothing the top with a spatula. Use a toothpick or knife to swirl through the batter—figure-eight motions are my favorite to get those beautiful veins. The goal is to distribute the cinnamon swirl evenly without overmixing, so the marbling stays distinct and lovely.
Step 7: Bake
Pop it into the oven and bake for about 45-50 minutes, or until a toothpick inserted in the center comes out clean. Every oven is a little different—my tip is to start checking around 45 minutes to prevent overbaking. The top should be golden, and the swirl should be visible through the cracks. If the edges brown too quickly, loosely cover with foil for the last 10 minutes.
Step 8: Cool & Glaze
Let the loaf cool slightly in the pan for about 10 minutes, then transfer to a wire rack to cool completely. Patience is key—if you try to cut it while hot, it might fall apart. Once cooled, whisk together your glaze ingredients, adding milk gradually until you get a drizzling consistency. Drizzle over the loaf for that finishing touch—trust me, it’s the icing on the cake—or in this case, the glaze on your loaf!
Step 9: Slice & Serve
Use a serrated bread knife for clean slices, and watch the marbled pattern reveal itself in the cross-section. Serve warm or at room temperature—my family prefers it slightly warmed with a pat of butter. It’s perfect with a cup of coffee or a glass of cold milk. And honestly, the leftovers are just as good the next day, if you don’t devour it all right away.
What to Serve It With
This loaf is incredibly versatile. For breakfast, I love pairing it with a strong brewed coffee or a glass of fresh juice—something bright and citrusy really balances the sweetness. On a brunch table, serve slices alongside scrambled eggs or yogurt with fresh berries. I also love slicing it thick and spreading a little cream cheese on top for a quick snack.
As a dessert, few things beat a warm slice topped with vanilla ice cream or a dollop of whipped cream. My kids ask for this with a dusting of powdered sugar or a drizzle of caramel—fancy but easy! If you’re just looking for comfort food, I find this loaf pairs perfectly with a hot mug of cocoa or herbal tea, especially on chilly days. It’s my go-to cozy treat, and I bet it’ll become yours, too.
Top Tips for Perfecting Your Zucchini Marble Loaf
Trust me, over the years I’ve learned a few tricks that make this recipe even better.
Zucchini Prep: Grate the zucchini and then squeeze out excess moisture using a clean dish towel or paper towels. Otherwise, the batter can end up watery, and your loaf might turn out dense. Fresh zucchini really makes a difference—older, drier zucchinis tend to wander into flavorless territory.
Mixing Advice: When combining the wet and dry ingredients, fold gently. Overmixing leads to a gummy texture; just mix until combined. Also, let the batter rest for a few minutes before pouring into the pan—this helps develop that tender crumb.
Swirl Customization: If you want a more pronounced swirl, consider adding more cinnamon or even a splash of espresso flavor in the cinnamon mixture. To get that perfect marbled look, don’t overdo the swirling—just a few strokes are enough to create beautiful veins.
Ingredient Swaps: Tried coconut oil or applesauce instead of vegetable oil? Both work well, though the loaf might be slightly different in texture. For a gluten-free version, use a blend of almond and oat flour—just remember to add a touch more baking powder to compensate for the different properties!
Baking Tips: Keep an eye on the loaf’s color; if it browns too quickly, cover loosely with foil. Every oven bakes differently, so start checking around 45 minutes. To test doneness, insert a toothpick—if it comes out clean, you’re good!
Glaze Variations: Instead of powdered sugar glaze, try a simple lemon glaze or even a chocolate drizzle for a decadent twist. Add a splash of vanilla or grated citrus zest to the glaze for extra flavor.
This recipe has been a journey of experimentation. I’ve made it countless times, tweaking and adjusting, and honestly, each batch turns out delicious. The key is not rushing and tasting as you go. Keep notes, and don’t be afraid to get creative with the fillings or toppings. It’s all about making it your own and enjoying every bite.
Storing and Reheating Tips
This loaf stays fresh for about 2 days at room temperature if wrapped tightly in foil or stored in an airtight container. Honestly, it’s usually gone before then, but if you want to keep it fresh longer, the fridge is your friend. Wrap slices individually in plastic wrap or store the whole loaf in an airtight container—either way, it’ll stay moist and tasty for up to 4 days.
Need to keep it longer? Freeze slices individually with wax paper in between—perfect for quick defrosting. To reheat, microwave for about 15-20 seconds or warm in a low oven—just enough to bring back that cozy warmth. If you added glaze, it’s best to wait until the loaf is fully thawed before throwing on more for that fresh appearance. I’ve found that rewarmer slices taste just as good, if not better, the next day—those flavors have had a little extra time to meld.
Frequently Asked Questions
Final Thoughts
This zucchini marble loaf is more than just a bake—it’s a little slice of comfort that reminds me of lazy Sunday mornings and spontaneous family gatherings. The ease of making it, combined with how stunning it looks when sliced, makes it a real winner in my kitchen. It’s one of those recipes that feels fancy enough for guests but simple enough for weekday afternoons. I love how adaptable it is—swap the flavors, add nuts or dried fruit, or even experiment with different spices. Every time I make it, I get a little excited seeing the marbled veins and imagining how many people it’ll make happy. I hope you give this recipe a try and love it as much as my family does. Drop your variations and stories in the comments—I’d love to hear how yours turns out. Happy baking! And remember, the best part is sharing slices of this warmth with the people you love.
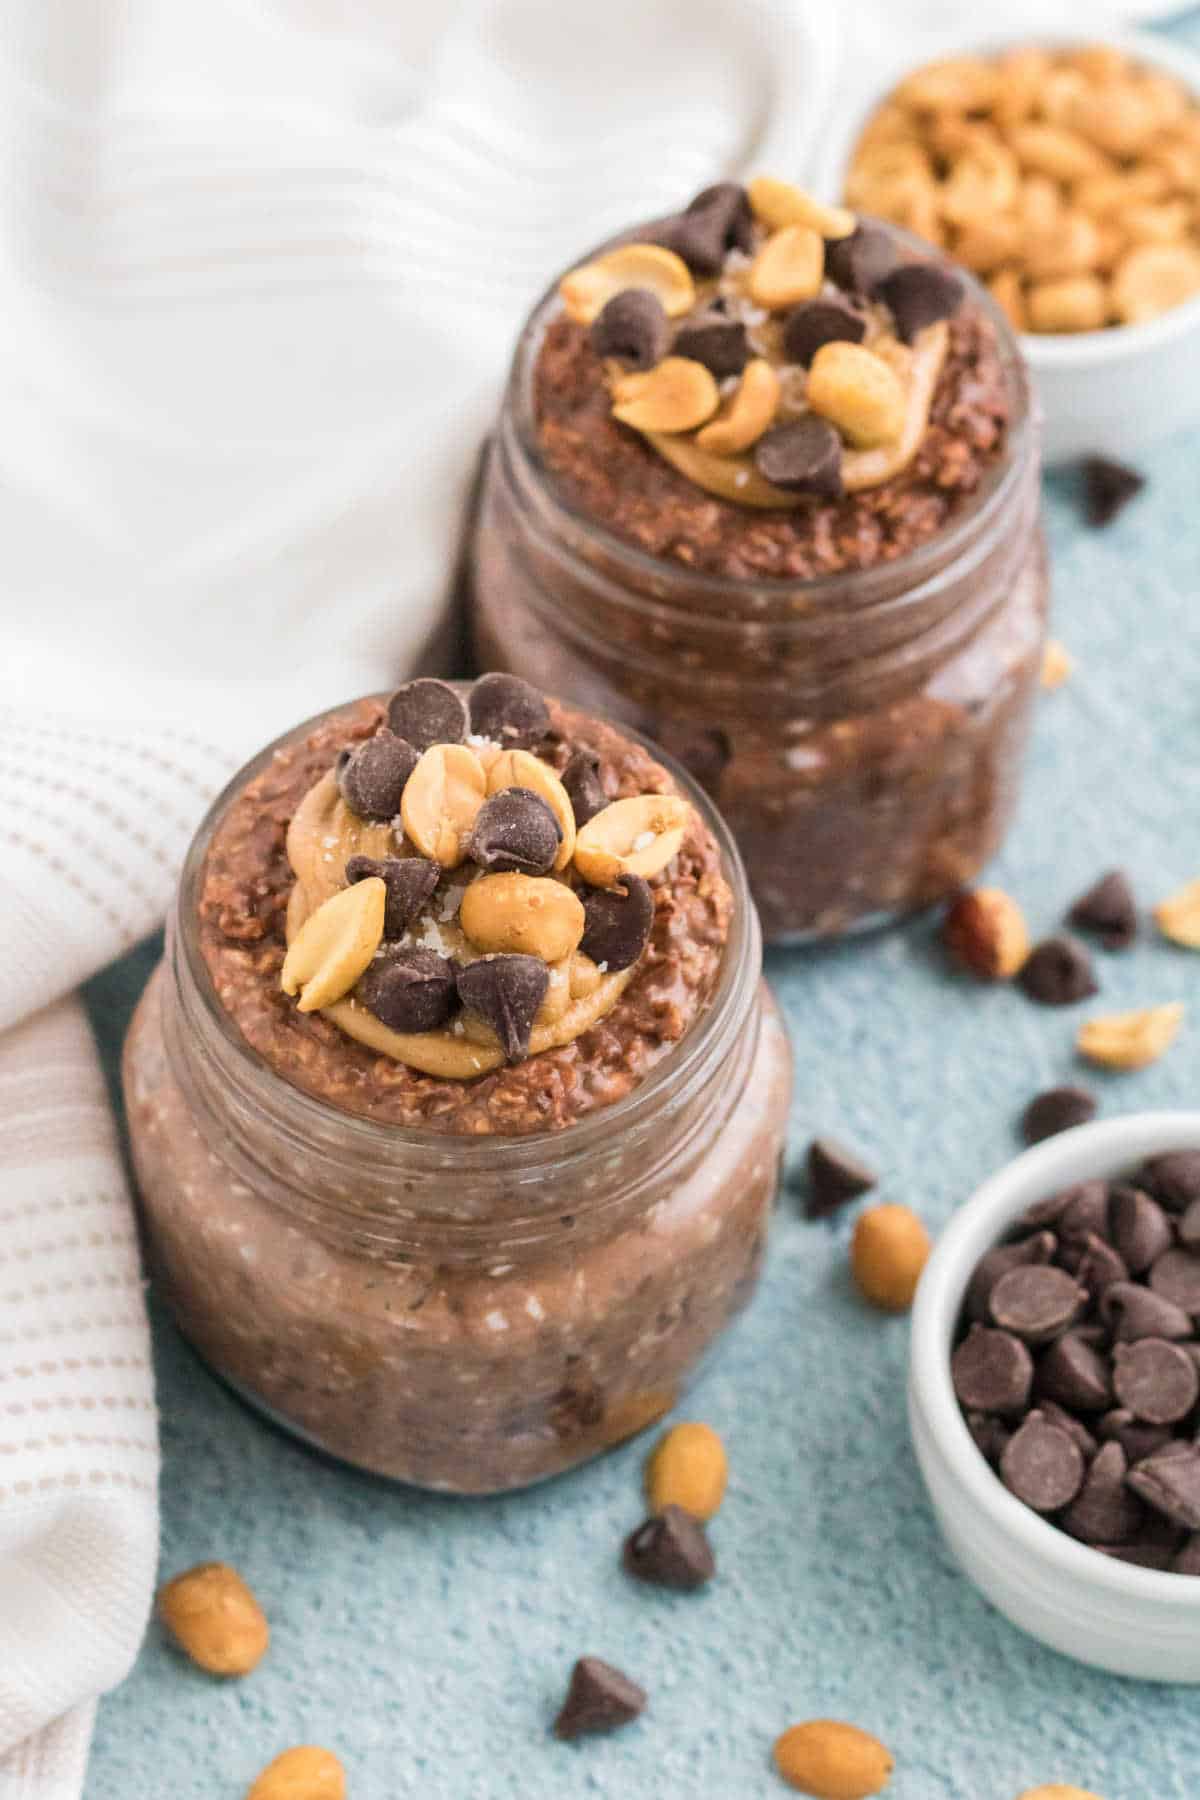
Chocolate Peanut Butter Overnight Oats
Ingredients
Method
- In a large bowl, combine the oats, chia seeds, and cocoa powder. Set aside.
- In a medium bowl, whisk together milk, peanut butter, maple syrup, and vanilla extract until smooth.
- Pour the wet mixture into the dry ingredients and mix thoroughly.
- Transfer the mixture into a glass storage container and refrigerate overnight.
- In the morning, stir the oats. Add extra milk if you'd like a creamier texture.
- Serve topped with a spoonful of peanut butter and enjoy!