Easy Oreo Cream Pie Delight
Oh my goodness, where do I even begin with this zucchini bread? It’s not just *any* zucchini bread, you know? This is the one. The one I’ve been making for years, the one that’s become legendary in my family, and the one that always, *always* gets rave reviews. If you’ve ever felt intimidated by baking or thought zucchini bread was just… well, *fine*, prepare to have your mind changed. This recipe is ridiculously moist, packed with warm spices, and has this incredible tender crumb that just melts in your mouth. It’s seriously a game-changer, especially when you’ve got a surplus of zucchini from the garden and don’t want to end up with mushy, bland loaves. Think of it as the ultimate cozy treat, a little slice of sunshine even on the cloudiest days. I swear, the smell alone when this bakes will have everyone in the house gathering in the kitchen, begging for a slice. It’s a classic for a reason, but this version? It’s a little bit extra special, and I can’t wait to share it with you.
What is Zucchini bread?
So, what exactly *is* zucchini bread? At its heart, it’s a quick bread, which means it doesn’t rely on yeast for leavening. Instead, we use baking soda and baking powder to get that lovely rise. The “zucchini” part, of course, comes from the grated zucchini baked right into the batter. Now, some people might think, “Zucchini? In a sweet bread? That sounds weird!” But trust me, it’s pure genius. The zucchini adds an incredible amount of moisture, making the bread super tender and soft without making it taste like… well, vegetables. It’s almost like a magic ingredient that works behind the scenes. The name itself is pretty straightforward – it’s a loaf that tastes like a delicious, spiced cake, but with the secret weapon of zucchini. It’s essentially a perfected sweet bread where that subtle addition elevates everything. It’s less like a dense loaf and more like a cake you can legitimately eat for breakfast (and I do, no judgment here!).
Why you’ll love this recipe?
Honestly, there are so many reasons why this zucchini bread has earned a permanent spot in my recipe binder. First and foremost, the FLAVOR. It’s just perfection. The combination of warm cinnamon, nutmeg, and a hint of cloves (if you like it!) really sings. It’s sweet, but not cloyingly so. And the texture? Oh, the texture! It’s unbelievably moist and tender, thanks to that secret ingredient – the zucchini. It never dries out, even after a few days. And speaking of moistness, you know how some baked goods can be a bit… well, dry? Not this one. It’s like a fluffy cloud with a hint of spice. Beyond the taste, the SIMPLICITY is a huge draw. This is a one-bowl wonder for the most part, and it comes together so quickly. It’s a lifesaver on busy weeknights when you need a last-minute bake sale contribution or just a sweet treat to brighten your day. Plus, it’s incredibly COST-EFFECTIVE. Zucchini is usually pretty affordable, and the other ingredients are pantry staples. You don’t need any fancy equipment either; just a grater and a mixing bowl. And the VERSATILITY! This bread is wonderful on its own, but I’ll get into some fun variations later. What I love most about this specific recipe, though, is how consistently amazing it turns out. I’ve tried other zucchini bread recipes before, and some have been too dense, others too dry, or just… bland. This one hits all the right notes, every single time. It’s the recipe I reach for when I want guaranteed deliciousness, and that’s priceless.
How do you make Zucchini bread?
Quick Overview
This recipe is all about effortless deliciousness. You’ll simply whisk together your dry ingredients, then your wet ingredients, combine them gently, fold in some goodness (like chocolate chips or nuts, if you fancy!), and bake until golden and fragrant. The magic of the zucchini means minimal fuss for maximum moistness. It’s a straightforward process that even baking novices can master, and the results are always impressive. You get a beautifully risen, deeply flavorful loaf with minimal effort, proving that amazing baked goods don’t need to be complicated.
Ingredients
For the Main Batter:
3 cups all-purpose flour (I’ve also had luck with a 1:1 gluten-free blend, but the texture is slightly different)
1 teaspoon baking soda
1/2 teaspoon baking powder
1 teaspoon ground cinnamon
1/4 teaspoon ground nutmeg
1/4 teaspoon ground cloves (optional, but it adds such a lovely warmth!)
1 teaspoon salt
1 1/2 cups granulated sugar (you can reduce this slightly if you’re adding very sweet mix-ins)
1 cup vegetable oil (or any neutral-flavored oil like canola or even melted coconut oil)
4 large eggs, at room temperature (this helps them incorporate better)
1 teaspoon vanilla extract
2 cups grated zucchini (about 2-3 medium zucchini), squeezed of excess moisture
For the Optional Mix-Ins:
1 cup chocolate chips (semi-sweet or dark work best!)
1/2 cup chopped walnuts or pecans (toasted for extra flavor!)
For the Optional Glaze:
1 cup powdered sugar
2-3 tablespoons milk (or almond milk, for extra creaminess!)
1/2 teaspoon vanilla extract
Step-by-Step Instructions
Step 1: Preheat & Prep Pan
First things first, get your oven preheating to 350°F (175°C). This is super important so the bread starts baking evenly as soon as it goes in. Next, you’ll need a standard loaf pan, usually about 9×5 inches. Grease it really well with butter or cooking spray, and then I like to lightly flour it too, or even better, line it with parchment paper, leaving a little overhang on the sides. This makes it a breeze to lift the loaf right out once it’s baked. No sticking, no struggling – just pure loaf-lifting joy!
Step 2: Mix Dry Ingredients
Grab your biggest mixing bowl. This is where all the dry magic happens. Add your flour, baking soda, baking powder, cinnamon, nutmeg, cloves (if you’re using them), and salt. Give it all a good whisk. You want everything to be evenly distributed so you don’t get pockets of leavening agents or spices. This ensures a nice, consistent rise and flavor throughout the entire loaf. Just a quick whisk until it all looks like one harmonious blend is perfect.
Step 3: Mix Wet Ingredients
Now, in a separate, slightly smaller bowl (or a large liquid measuring cup), whisk together your sugar and oil. Make sure they’re thoroughly combined. Then, crack in your eggs, one at a time, whisking well after each addition. Stir in that lovely vanilla extract. You want this mixture to look smooth and well-emulsified. The room temperature eggs are key here; they’ll blend in much more smoothly than cold ones.
Step 4: Combine
Here’s where it all comes together! Pour the wet ingredients into the bowl with the dry ingredients. Now, this is the *most important* part: mix only until *just* combined. Seriously, don’t overmix! A few streaks of flour are totally okay. Overmixing develops the gluten too much, which can lead to a tough, dense bread, and we want tender and fluffy! I usually switch from a whisk to a spatula or wooden spoon at this stage. Gently fold everything together. It’s better to be slightly under-mixed than over-mixed. Trust me on this one; it’s a lesson I learned the hard way years ago!
Step 5: Prepare Filling
If you’re adding chocolate chips or nuts, this is your moment! Gently fold them into the batter now. You don’t want to overwork the batter while adding these, so just a few gentle folds until they’re distributed throughout. This is also where you’ll gently fold in your grated, squeezed zucchini. It might seem like a lot of zucchini, but it’s going to bake down beautifully and contribute to that incredible moisture.
Step 6: Layer & Swirl
Spoon the batter evenly into your prepared loaf pan. If you’re feeling fancy, you can even do a little swirl on top with a knife or offset spatula. It’s mostly for looks, but it does give it a nice rustic charm. Smooth the top a little so it bakes evenly.
Step 7: Bake
Pop that loaf pan into your preheated oven. Bake for about 55-70 minutes. Now, oven temperatures can vary, so start checking around the 55-minute mark. You’ll know it’s done when a wooden skewer or toothpick inserted into the center comes out clean, with maybe just a few moist crumbs attached, but no wet batter. The top should be golden brown and it should smell absolutely heavenly. If the top starts browning too quickly before the center is cooked, you can loosely tent it with foil.
Step 8: Cool & Glaze
Once it’s baked to perfection, take the loaf out of the oven and let it cool in the pan for about 10-15 minutes. This allows it to set up a bit. Then, carefully remove it from the pan using those parchment paper overhangs (or just tip it out if you didn’t use parchment). Place it on a wire rack to cool completely. For the glaze, whisk together the powdered sugar, a couple tablespoons of milk, and vanilla until smooth. You want it pourable but not too thin. Once the bread is *completely* cool (this is important, otherwise the glaze will melt right off!), drizzle it over the top. You can make it as thick or as thin as you like.
Step 9: Slice & Serve
Once the glaze has set (or if you skipped the glaze), it’s time to slice! I like to use a serrated knife for clean cuts. Serve yourself a generous slice and enjoy the fruits of your labor. It’s fantastic warm or at room temperature. The aroma alone is worth the effort, and the taste is pure comfort.
What to Serve It With
This zucchini bread is a culinary chameleon! For a quick and satisfying BREAKFAST, I love pairing it with a simple cup of coffee or a glass of cold milk. It’s hearty enough to keep you going until lunch. For BRUNCH, it steps up its game. Serve it with a dollop of whipped cream or a side of fresh berries. It looks so elegant on a brunch spread, especially with that lovely glaze. It’s also fantastic alongside a frittata or some savory breakfast sausage. As a DESSERT, it’s pure indulgence. A warm slice with a scoop of vanilla bean ice cream is absolute heaven. Or, try it with a drizzle of caramel sauce. It’s perfect for satisfying those late-night sweet cravings without feeling too heavy. And for COZY SNACKS, well, it’s the undisputed champion. Curl up on the couch with a slice and a mug of hot chocolate or herbal tea. It’s the ultimate comfort food. My family also loves it with a smear of cream cheese or peanut butter, especially the kids – they devour it!
Top Tips for Perfecting Your Zucchini Bread
I’ve learned a thing or two over the years of making this bread, and I’m happy to share my little secrets to ensure yours turns out just as amazing. First, the ZUCCHINI PREP is crucial. When you grate your zucchini, be sure to squeeze out as much excess moisture as possible using your hands or a clean kitchen towel. Too much water will make the bread soggy. I usually use the large holes on a box grater. For MIXING ADVICE, remember my warning about overmixing – it’s the number one culprit for tough quick breads. Just combine until you *barely* see dry flour. It’s okay if it looks a little lumpy. For SWIRL CUSTOMIZATION, if you decide to add something like cinnamon-sugar or a swirl of jam, do it *gently*. Don’t overdo it, or it can affect the bread’s structure. For INGREDIENT SWAPS, I’ve experimented a lot! You can substitute some of the granulated sugar with brown sugar for a deeper caramel note. Using half whole wheat flour can add a nuttier flavor, but I’d recommend sticking to all-purpose for the classic tender crumb. If you don’t have oil, melted butter works, but it can make the bread slightly less moist over time. For BAKING TIPS, always use the middle rack of your oven for the most even heat. If you’re baking at a higher altitude, you might need to slightly reduce the leavening agents and sugar, and potentially increase the liquid. For GLAZE VARIATIONS, try adding a touch of lemon zest for brightness or a sprinkle of chopped nuts for crunch after the glaze is applied.
Storing and Reheating Tips
One of the best things about this zucchini bread is how well it stores. At ROOM TEMPERATURE, it’s usually good for about 2-3 days, especially if you keep it wrapped tightly in plastic wrap or in an airtight container. It tends to stay moist for quite a while. If you live in a warmer climate or your kitchen tends to be humid, REFRIGERATOR STORAGE is your best bet. Wrap it well and it should last for about a week. The texture might firm up a little in the fridge, but don’t worry, it’s easily remedied. For FREEZER INSTRUCTIONS, this bread freezes beautifully! Let it cool completely, then wrap it tightly in a layer of plastic wrap followed by a layer of aluminum foil, or place it in a freezer-safe bag. It can last for up to 3 months. To thaw, just unwrap it and let it come to room temperature on the counter for a few hours, or slice it and toast individual slices. If you plan to glaze it, I always wait until *after* it’s been thawed and is at room temperature. Applying glaze to a frozen or still-cold loaf just doesn’t work as well.
Frequently Asked Questions
Final Thoughts
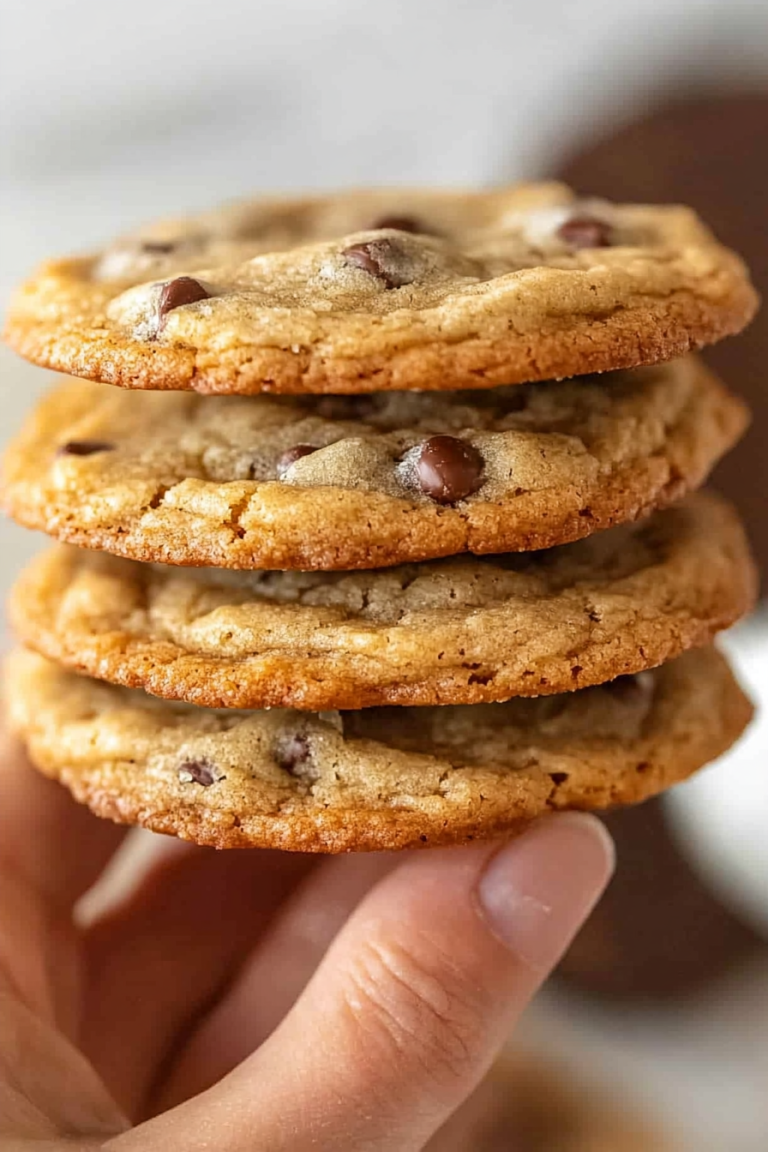
Seriously, if you’re looking for a recipe that brings comfort, joy, and an incredible aroma to your kitchen, this zucchini bread is it. It’s more than just a recipe; it’s a feeling. It’s that warm hug on a chilly morning, that little treat that makes an ordinary afternoon feel special. I truly believe this is the best zucchini bread out there, and I’m so excited for you to try it and see why it’s such a favorite in my home. If you love this recipe, you might also enjoy my Classic Banana Bread or my Easy Apple Crumble Pie – they have that same cozy, home-baked goodness. Don’t be afraid to make it your own with your favorite mix-ins or a creative swirl! I can’t wait to hear how yours turns out in the comments below. Please share your photos and any variations you try – happy baking!

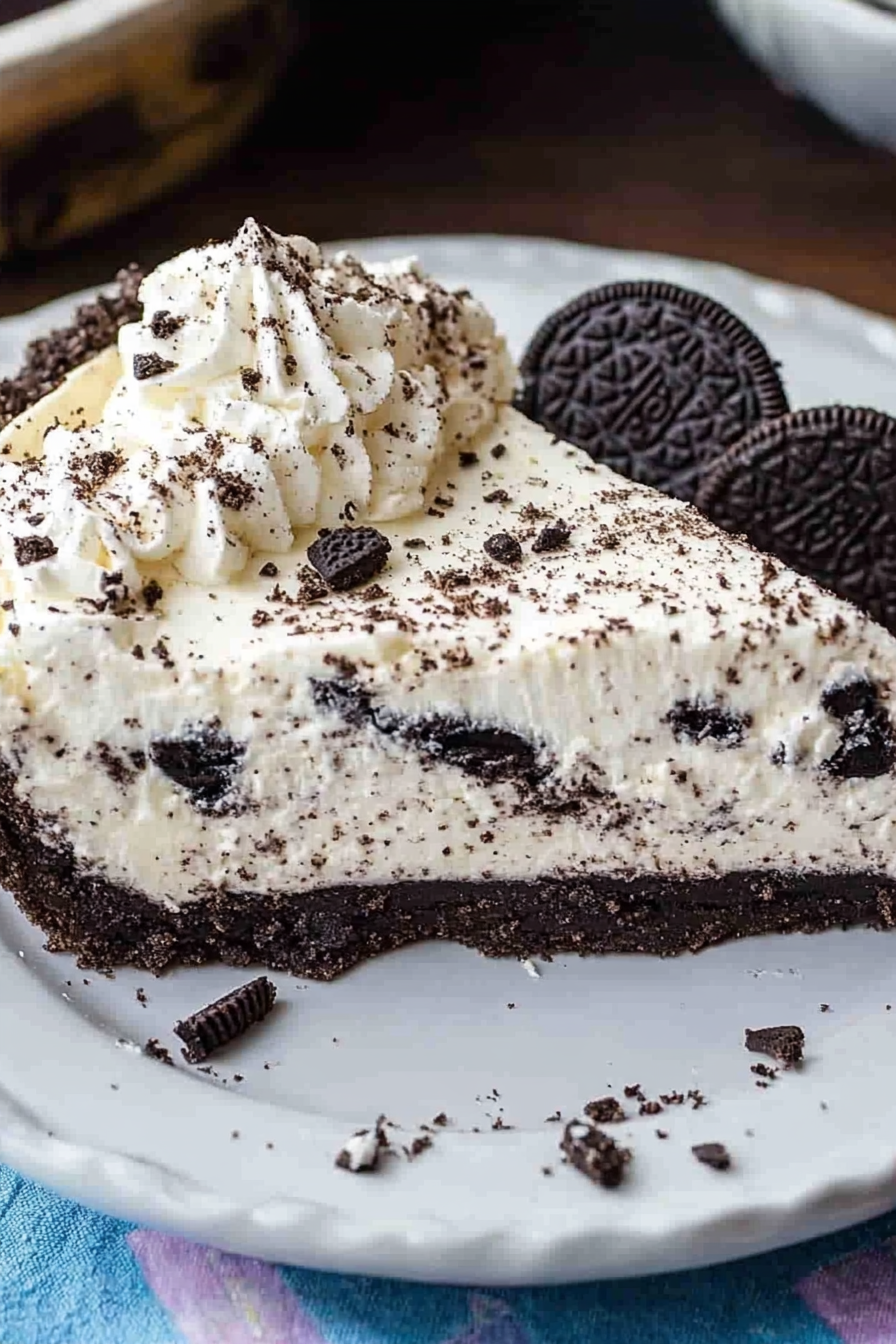
Oreo cream pie
Ingredients
Method
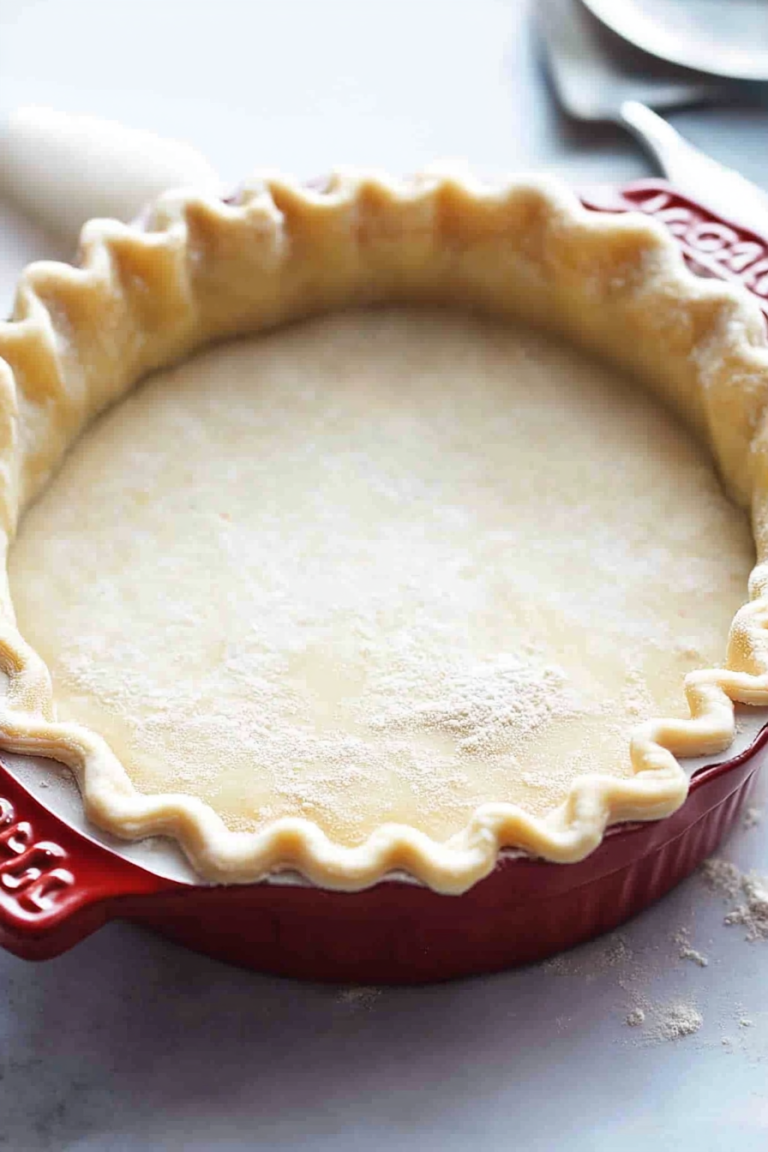
- Crush the Oreo cookies in a food processor, or place them in a ziploc bag and bash with a rolling pin until fine crumbs form.
- Mix the crushed cookies with the melted butter.
- Press the mixture into the bottom and up the sides of a 9-inch pie plate. You can use the bottom of a glass cup to help compact it.
- Place the crust in the fridge to chill while you prepare the filling.
- In a large bowl, beat the cream cheese and powdered sugar together until the mixture is soft and smooth.
- Gently fold in the whipped topping, followed by the chopped Oreo cookies.
- Spoon the filling evenly into the chilled pie crust and smooth the top.
- Place the pie in the fridge to chill for at least an hour before serving to allow it to set completely.