Autumn Spice Ice Cream How to Make It
Oh, hello there! Come on in, pull up a chair. I’ve been so excited to share this with you. You know, there are some recipes that are just… magic. They’re the ones that fill your kitchen with the most incredible aroma, make your house feel instantly cozier, and most importantly, taste like pure comfort. This zucchini bread? It’s absolutely one of those. It’s not just a baked good; it’s a warm hug on a plate. I’ve been making it for years, and it’s become *the* go-to for everything from school bake sales to lazy Sunday mornings. It’s even better than my mom’s famous chocolate chip cookies, and that’s saying something! When people ask me for a simple, crowd-pleasing recipe, this is the first one that pops into my head. It’s got that perfect balance of sweet and spice, and the texture? Oh, the texture is just heavenly – moist and tender, never dry. You’re going to adore this.
What is Heavenly Zucchini Bread?
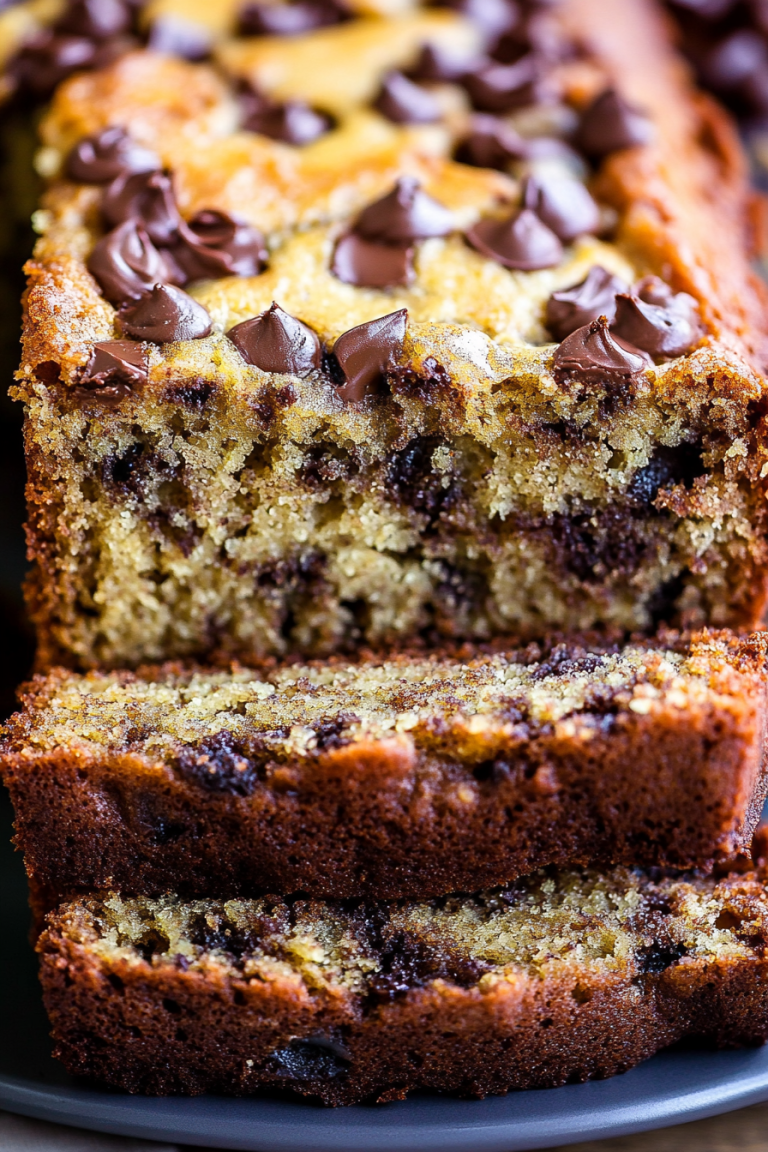
So, what exactly *is* this zucchini bread I’m raving about? Well, think of it as your classic quick bread, but with a delightful secret ingredient: zucchini! Don’t worry, it doesn’t taste like vegetables, I promise. The zucchini is the unsung hero that makes this bread incredibly moist and tender. It’s packed with warm spices like cinnamon and nutmeg, a touch of sweetness from sugar and brown sugar, and often a delightful surprise like chocolate chips or walnuts. It’s essentially a cake-like bread that’s perfect for any time of day. The name is pretty straightforward, but the experience of eating it is anything but ordinary. It’s the kind of thing you might find at a cozy little bakery or at a family gathering, and it always disappears in a flash.
Why you’ll love this recipe?
Honestly, there are so many reasons this zucchini bread has become my absolute favorite, and I just know you’re going to feel the same way. First off, the flavor is just out of this world. That perfect blend of cinnamon and nutmeg, the subtle sweetness that’s not overpowering, and the tender crumb make every bite a pure delight. It’s like a warm hug for your taste buds. Then there’s the simplicity. I’ve made this countless times, even when I’m totally exhausted, and it never fails. It comes together so quickly, and you don’t need any fancy equipment, just a couple of bowls and a whisk. This is a lifesaver on busy weeknights when you need a quick treat or a breakfast that feels a little special. And let’s talk about cost-effectiveness! Zucchini is usually pretty affordable, and the other ingredients are pantry staples. You get a delicious, impressive baked good without breaking the bank. Plus, it’s so versatile! You can add chocolate chips, nuts, or even a bit of orange zest for a twist. It’s fantastic on its own, but it’s also amazing toasted with a smear of butter or cream cheese. What I love most about this recipe, though, is how forgiving it is. Even if you’re a beginner baker, you’ll nail this. It’s the kind of recipe that gives you confidence and always results in happy faces around the table. It’s definitely a step up from a basic banana bread, offering a more nuanced flavor and an unbeatable moistness. Seriously, you won’t believe how good it is.
How do I make Zucchini Bread?
Quick Overview
This zucchini bread recipe is wonderfully straightforward. You’ll mostly be whisking ingredients together in two separate bowls and then combining them. The grated zucchini adds moisture, so there’s no need for butter or oil in the batter itself, though we do add some for richness. The key is not to overmix, which keeps the bread tender. Once it’s baked, a simple glaze finishes it off beautifully. It’s genuinely one of the easiest quick breads you can whip up, perfect for when you need a sweet treat in a pinch or a delightful addition to your brunch spread.
Ingredients
For the Main Batter:
This is where all the magic starts! You’ll need:
- 2 cups all-purpose flour: I always use unbleached all-purpose flour for the best texture. Make sure to spoon and level it, don’t scoop directly from the bag, or you might end up with a dense loaf!
- 1 teaspoon baking soda: This is crucial for lift.
- 1/2 teaspoon salt: Balances the sweetness and enhances the other flavors.
- 1 teaspoon ground cinnamon: My favorite cozy spice!
- 1/2 teaspoon ground nutmeg: Adds that extra bit of warmth.
- 1/4 teaspoon ground cloves (optional, but I love it!): Just a pinch makes a difference.
- 1 cup granulated sugar: For that perfect sweetness.
- 1/2 cup packed light brown sugar: Adds a lovely moisture and caramel note.
- 2 large eggs: At room temperature, they incorporate much better.
- 1/2 cup vegetable oil (or other neutral oil): This is what makes it so wonderfully moist. I’ve even tested this with melted coconut oil, and it worked beautifully!
- 1/4 cup milk (any kind!): Whole milk gives it a bit more richness, but I’ve used almond milk and oat milk too, and it actually made it even creamier!
- 1 teaspoon vanilla extract: Because vanilla makes everything better.
- 2 cups grated zucchini (about 2 medium zucchinis): Make sure to squeeze out as much excess liquid as you can! We’ll talk more about this later.
For the Filling (Optional, but highly recommended!):
This is where you can really customize it! My family loves these additions:
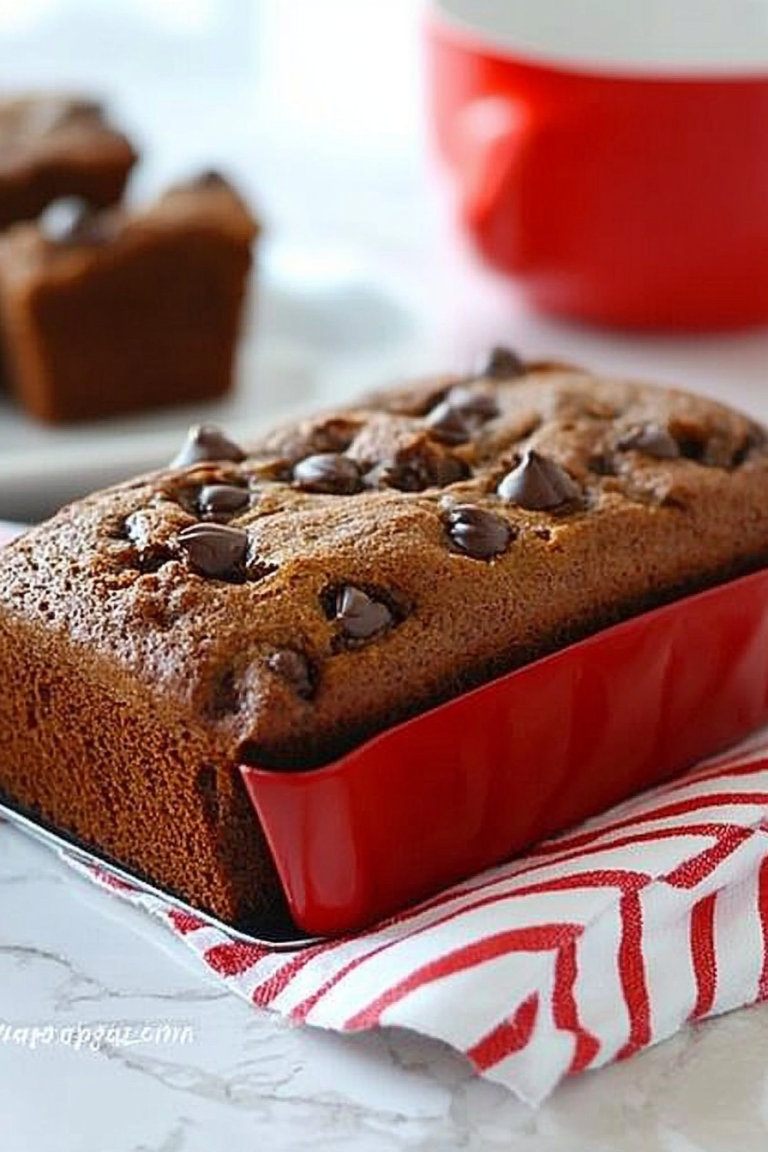
- 1 cup chocolate chips (semi-sweet or dark work best): Or use mini chocolate chips for more even distribution.
- 1/2 cup chopped walnuts or pecans: For a delightful crunch.
For the Glaze:
This adds a lovely finishing touch, but it’s totally optional. If you’re going for it, here’s what you’ll need:
- 1 cup powdered sugar: Sifted to avoid lumps.
- 2-3 tablespoons milk (or lemon juice for a zingy twist): Start with 2 tablespoons and add more until you reach your desired drizzling consistency.
- 1/2 teaspoon vanilla extract (optional): For extra flavor.
Step-by-Step Instructions
Step 1: Preheat & Prep Pan
First things first, let’s get your oven ready and your pan prepped. Preheat your oven to 350 degrees Fahrenheit (175 degrees Celsius). I like to use a standard 9×5 inch loaf pan. Grease it really well with butter or cooking spray, and then dust it lightly with flour. This extra step ensures your beautiful zucchini bread won’t stick, and you’ll get a nice clean release. You can also line it with parchment paper, leaving a little overhang on the sides to make lifting it out super easy. This is a trick I learned after one too many times wrestling a stubborn loaf out of the pan!
Step 2: Mix Dry Ingredients
In a large bowl, whisk together the flour, baking soda, salt, cinnamon, nutmeg, and cloves (if you’re using them). Whisking is important here because it evenly distributes the leavening agents (baking soda) and spices. This ensures every slice of your zucchini bread will have that perfect rise and balanced flavor. It’s such a simple step, but it makes a big difference in the final texture.
Step 3: Mix Wet Ingredients
In a separate medium bowl, whisk together the granulated sugar and brown sugar. Then, add the eggs, one at a time, whisking well after each addition. Pour in the vegetable oil, milk, and vanilla extract. Whisk everything together until it’s smooth and well combined. The mixture will look a bit like a pale, smooth liquid. I always make sure my eggs are at room temperature for this step; it helps them emulsify better with the other wet ingredients, leading to a more uniform batter.
Step 4: Combine
Now, pour the wet ingredients into the bowl with the dry ingredients. Using a spatula or a wooden spoon, gently fold everything together until *just* combined. You don’t want to see streaks of flour, but please, please, please don’t overmix! Overmixing develops the gluten in the flour, which can make your zucchini bread tough and dense. A few little lumps are totally okay – trust me on this one!
Step 5: Prepare Filling
If you’re adding chocolate chips or nuts, gently fold them into the batter now. Just a quick mix to distribute them evenly. Some people like to toss the chocolate chips with a tablespoon of flour before adding them; this can help prevent them from sinking to the bottom of the loaf during baking, though I find with this recipe, they usually stay put!
Step 6: Layer & Swirl (If Adding Filling)
Spoon about half of the batter into your prepared loaf pan. If you’re adding a swirl (like a cinnamon-sugar swirl or a pocket of extra chocolate chips), now’s your chance. Spoon the remaining batter on top. If you’re adding those delicious chocolate chips or nuts, you can just sprinkle them over the top of the batter in the pan. It’ll create little pockets of deliciousness throughout the bread.
Step 7: Bake
Bake in your preheated oven for about 50-60 minutes. How do you know it’s done? The best way is to insert a toothpick or a thin knife into the center of the loaf. If it comes out clean, or with just a few moist crumbs attached (no wet batter!), it’s ready. If it’s still wet, give it another 5-10 minutes and check again. Ovens can vary, so keep an eye on it towards the end. The top should be golden brown and the edges should start to pull away slightly from the sides of the pan.
Step 8: Cool & Glaze
Once it’s baked to perfection, let the zucchini bread cool in the pan for about 10-15 minutes. This allows it to set up a bit. Then, carefully invert the pan onto a wire rack to remove the loaf. Let it cool completely on the wire rack before glazing. If you glaze it while it’s still warm, the glaze will melt and just run off. For the glaze, whisk together the powdered sugar, 2 tablespoons of milk, and vanilla extract until smooth. Add more milk, a teaspoon at a time, until you get a drizzly consistency. Drizzle it all over the cooled loaf. It’s so pretty!
Step 9: Slice & Serve
Once the glaze has set a little, you can slice into your masterpiece! I like to use a serrated knife for clean cuts. Serve it warm or at room temperature. Honestly, this bread is fantastic all on its own, but toasted with a smear of butter or cream cheese? Absolutely divine. My kids ask for this all the time, and I’m always happy to oblige!
What to Serve It With
This zucchini bread is so versatile, it’s practically its own food group! But if you’re looking for ideas, here are a few of my favorites:
For Breakfast: This is where it really shines. A thick slice of this zucchini bread is perfect alongside a steaming mug of coffee or a glass of freshly squeezed orange juice. It’s so much more satisfying than just plain toast, and it feels like a little weekend treat, even on a Tuesday. I love it toasted with a light spread of butter – it’s simple, comforting, and gets my day off to a great start.
For Brunch: Elevate your brunch spread with this beautiful loaf. It looks gorgeous sliced and arranged on a platter, especially with that lovely glaze drizzled over it. It pairs wonderfully with a fruit salad or a yogurt parfait. For drinks, a mimosa or a sparkling cider would be lovely. It adds a touch of homemade sweetness to any gathering without being too heavy.
As Dessert: Seriously, this makes a fantastic light dessert! If you’re craving something sweet after dinner but don’t want to bake a whole cake, this is your answer. A slice of this, perhaps with a small scoop of vanilla ice cream or a dollop of whipped cream, is pure bliss. It’s not overly rich, so it’s a perfect way to end a meal.
For Cozy Snacks: This is my absolute favorite time to enjoy it. When that mid-afternoon or late-night craving hits, a slice of this zucchini bread is the answer. It’s perfect with a cup of tea or even a glass of cold milk. It’s that comforting, familiar taste that just makes everything feel better. My kids always sneak a slice when they get home from school, and I can’t blame them!
My family tradition is to have this on Saturday mornings while we’re still in our pajamas. It feels so special, like we’re starting the weekend off right. Another great combination is with a light dusting of powdered sugar if you don’t feel like making the glaze – it still looks beautiful and tastes just as delicious.
Top Tips for Perfecting Your Zucchini Bread
Over the years, I’ve learned a few tricks that have helped me make this zucchini bread absolutely perfect every single time. Here are my best tips:
Zucchini Prep: This is probably the most important step! When you grate your zucchini, it releases a lot of water. You absolutely *must* squeeze out as much of that liquid as possible. I usually grate it into a fine-mesh sieve set over a bowl, then use my hands to press out the excess moisture. Some people even use a clean kitchen towel or cheesecloth to wring it out. If you skip this step, your bread will be too wet, dense, and might not bake properly. Don’t be shy about really squeezing!
Mixing Advice: I can’t stress this enough: do NOT overmix the batter. Once you add the wet ingredients to the dry, mix until they are *just* combined. A few lumps are your friend! Overmixing develops the gluten, leading to a tough, gummy texture. You want that tender, almost cake-like crumb, and that comes from gentle mixing.
Swirl Customization: If you love a good swirl, get creative! You can create a simple cinnamon-sugar swirl by mixing 2 tablespoons of granulated sugar with 1 teaspoon of cinnamon and sprinkling it over the first layer of batter before adding the second layer. For a chocolate swirl, you can reserve some chocolate chips and a tablespoon of cocoa powder, mix them with a little melted butter, and swirl that into the batter. It’s all about adding those little bursts of extra flavor!
Ingredient Swaps: I’ve experimented a lot! For a richer flavor, you can substitute half of the vegetable oil with melted unsalted butter. If you don’t have milk, a dairy-free alternative like almond, soy, or oat milk works wonderfully. I even tested this with applesauce instead of oil, but it made the bread a bit gummier, so I stick to oil for the best moisture. For the nuts, any kind you like will work – pecans offer a slightly sweeter flavor, while walnuts are a bit more robust.
Baking Tips: Always keep an eye on your oven. If your loaf is browning too quickly on top before the center is cooked, you can loosely tent it with aluminum foil. Also, make sure your oven rack is in the center position for even heat distribution. When testing for doneness, make sure you’re not poking into a pocket of melted chocolate chips if you’ve added them; aim for the denser part of the bread.
Glaze Variations: The basic glaze is delicious, but you can play with it! For a lemon zest glaze, add about a teaspoon of finely grated lemon zest to the powdered sugar and milk mixture. For a touch of maple flavor, use maple syrup instead of milk (you might need a little less syrup as it’s sweeter). If you prefer not to glaze, a simple dusting of powdered sugar or a sprinkle of coarse sugar on top before baking also looks lovely and adds a nice crunch.
Storing and Reheating Tips
Storing this delicious zucchini bread is pretty straightforward, and it holds up beautifully for several days. Here’s how I usually do it:
Room Temperature: Once completely cooled, I like to store the loaf at room temperature, loosely wrapped in plastic wrap or in an airtight container. It stays wonderfully moist and delicious for about 3-4 days. I’ve found that wrapping it tightly right away can sometimes make it a bit *too* moist, so a loose wrap is best. If you live in a very humid climate, an airtight container might be better to prevent it from getting soggy.
Refrigerator Storage: If you think you’ll need it to last longer, or if your kitchen is quite warm, you can store it in the refrigerator. Wrap it tightly in plastic wrap, then place it in an airtight container. It should stay fresh for up to a week in the fridge. The texture might firm up a bit, but it’s still perfectly delicious. Just let it come back to room temperature for a few minutes before serving.
Freezer Instructions: This zucchini bread freezes like a dream! It’s perfect for making ahead for busy weeks. Once it’s completely cooled, wrap the loaf tightly in a layer of plastic wrap, then a layer of aluminum foil. You can also slice it into individual portions and wrap each slice before freezing. It will keep well in the freezer for up to 2-3 months. To thaw, simply unwrap it and let it sit at room temperature for a few hours, or gently warm it in a low oven (around 300°F or 150°C) for about 10-15 minutes. Frozen slices can also be popped directly into a toaster for a quick treat.
Glaze Timing Advice: If you plan to freeze your loaf, it’s best to glaze it *after* thawing. The glaze can get a bit sticky or gummy if frozen, so it’s much better to apply it fresh once the bread is thawed and at room temperature. If you’re storing it at room temperature or in the fridge, the glaze should hold up well.
Frequently Asked Questions
Final Thoughts
So, there you have it! My absolute favorite zucchini bread recipe. It’s more than just a recipe; it’s a memory maker, a comfort provider, and a guaranteed way to bring smiles to faces. I really hope you’ll give this one a try. It’s proof that simple ingredients, when treated with a little love, can create something truly special. It’s the perfect blend of sweet spice and incredible moistness, and it’s so incredibly forgiving. If you love this recipe, you might also enjoy my recipe for {link to another recipe, e.g., Best Ever Banana Bread} or my {link to another recipe, e.g., Simple Apple Crumble}. These are other favorites that bring that same sense of cozy satisfaction. I can’t wait to hear what you think! Let me know in the comments how yours turns out, or if you’ve tried any fun variations. Happy baking, my friends!
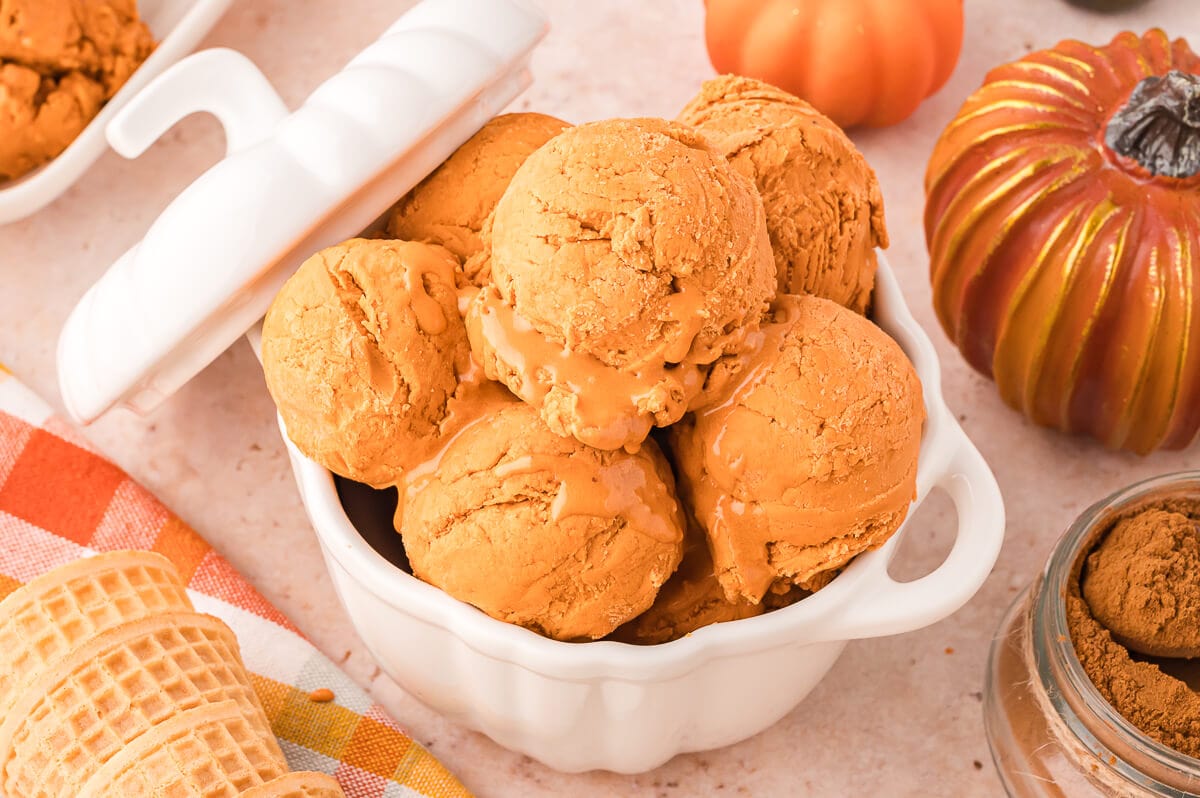
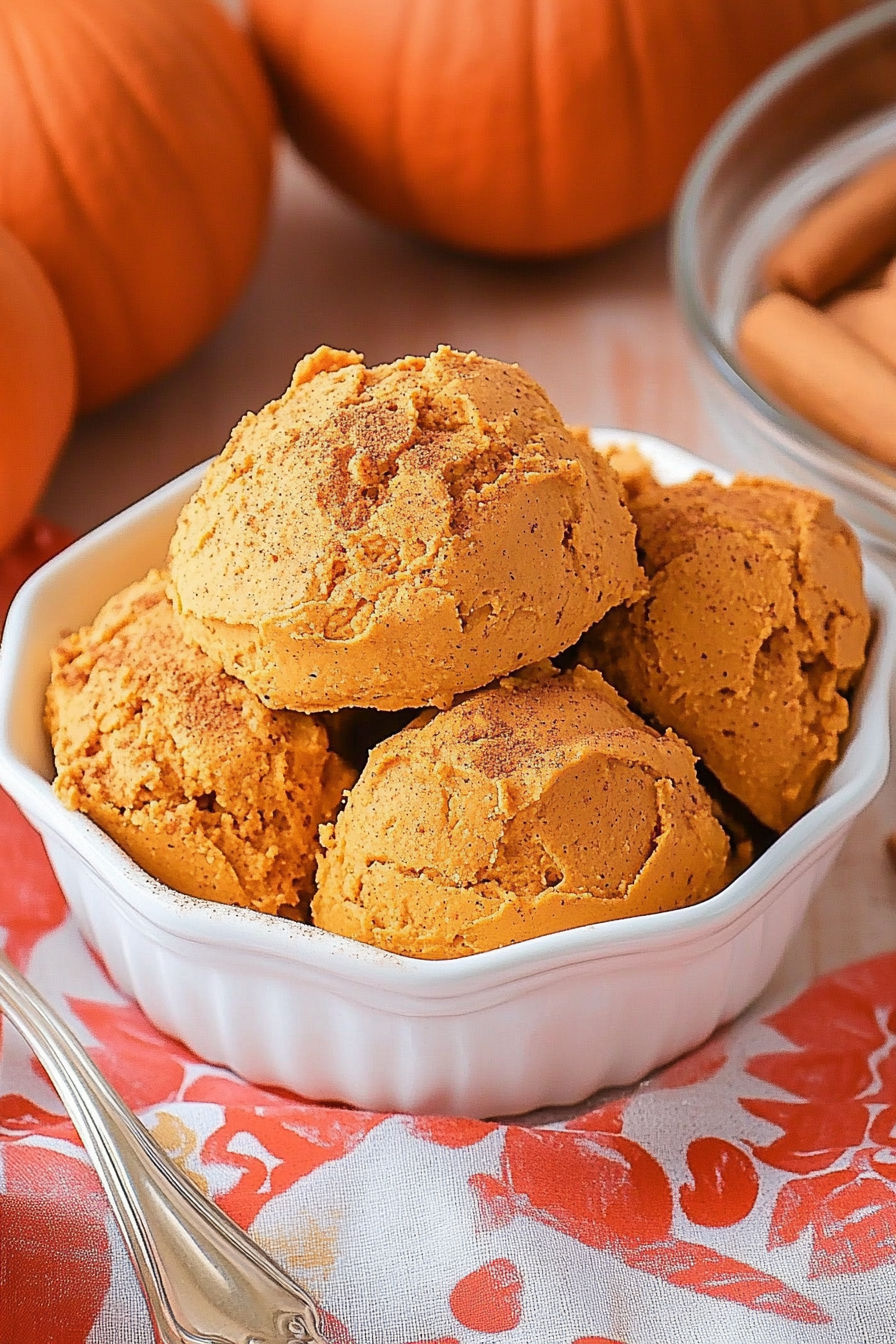
Pumpkin Pie Ice Cream
Ingredients
Method
- In a food processor blend all the ingredients until smooth and creamy. Transfer to a glass container and freeze for about an hour.
- If it freezes pretty hard, let it sit on the counter for a few minutes before serving.