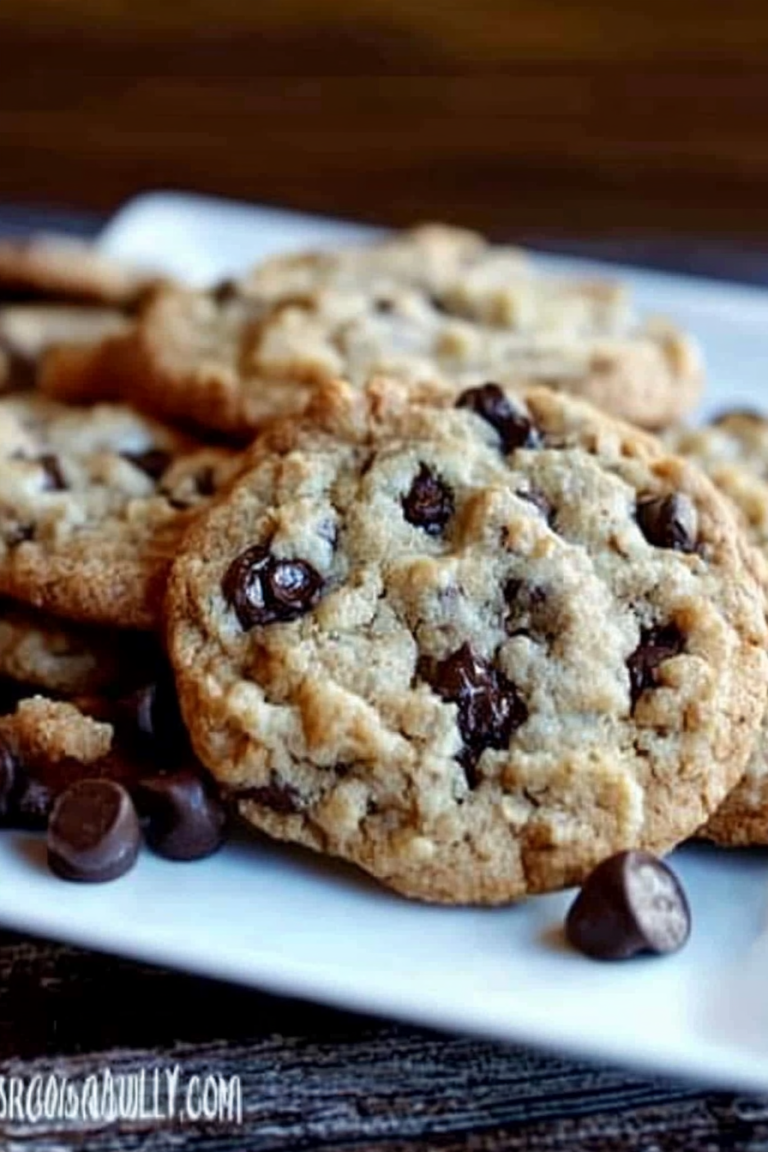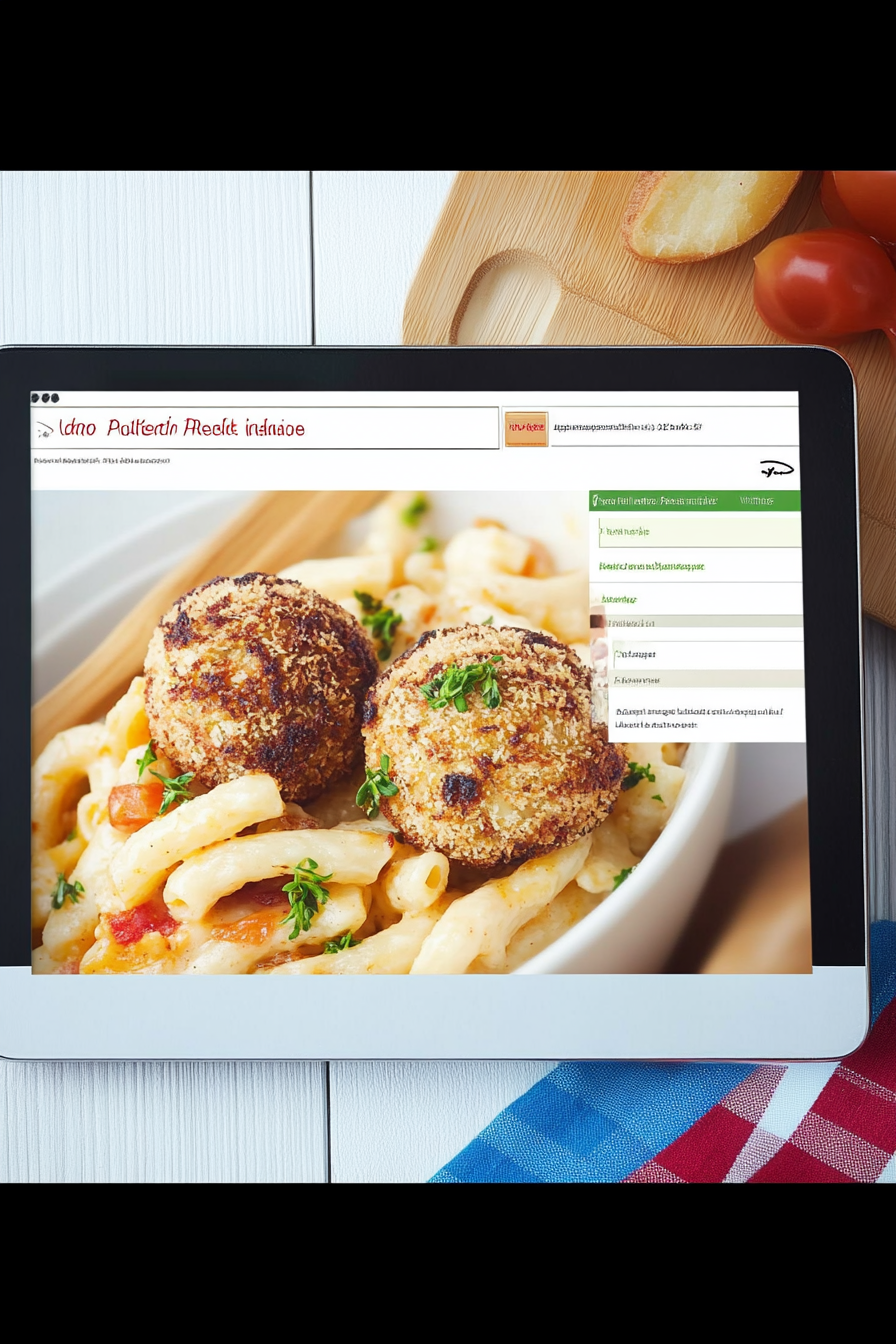
Cheesy Baked Bites How to Make Mac Balls
There’s something about this zucchini swirl cake that’s just… addictive. Maybe it’s the way the tender zucchini keeps everything moist and sneaky, or perhaps it’s the swirls of rich filling winding through each slice like a cozy little secret. I remember the first time I made this—it was a busy Sunday, and I had a mountain of zucchini from my garden. I thought, “What can I do with all this?” and suddenly this cake was born. It’s like a cross between your classic coffee cake and a light, vegetal surprise that doesn’t feel heavy at all. Honestly, I’d call it my comfort dessert—my kids ask for it all the time, and friends always ask for the recipe. This one’s a lifesaver on busy nights or when I want something homemade that feels like a warm hug, even if I only have half an hour. The smell alone… oh my gosh, it’s intoxicating! You’ll love how simple it comes together, and trust me, once you’ve made it a couple of times, you’ll be craving it every week.
What is Zucchini Swirl Cake?
Think of this zucchini swirl cake as a little bit of magic hiding in a simple treat. It’s essentially a moist, tender cake made with grated zucchini, which adds a subtle, vegetable-y sweetness and keeps every bite beautifully soft. The “swirl” part is a luscious filling—think cinnamon-spiced, nutty, or even a hint of cream cheese—that you swirl through the batter before baking. It’s like a playful design that makes each slice pretty as a picture. This dish takes inspiration from those comfort-baked goods we all love, but with a fresh twist. The name might sound fancy, but I promise, it’s straightforward enough that even a beginner can nail it. It’s perfect for breakfast, brunch, or a quick dessert that feels special without the fuss. My favorite part? The way the zucchini sort of melts into the cake, making every bite moist and flavorful—you won’t believe it’s healthy-ish!
Why you’ll love this recipe?
What I love most about this zucchini swirl cake is how it hits all the right notes: tender, flavorful, and a little bit unexpected. The flavor? Oh, it’s got that warm cinnamon aroma that makes you want to curl up with a good book. Plus, the zucchini flavor is so subtle, it almost sneaks past your taste buds—my kids actually ask for seconds and they don’t even realize it’s veggie! This cake’s also super simple to make, which is a big win on my busy weekdays. I’ve tested this with almond milk instead of regular milk, and it actually made the texture even silkier—trust me on that one. It’s budget-friendly too, using pantry staples like flour, sugar, and a few spices. And the best part? You can customize the swirl filling with nuts, berries, or even a splash of lemon zest. Honestly, I think this has now become a family staple—I’m pretty sure I make it at least once a month, and it disappears in minutes at my house. I love that it’s versatile enough to serve for breakfast with coffee or as a sweet ending to a cozy dinner. Plus, it’s a recipe you can tweak to suit your mood or what’s in the fridge—fancy, right?
How do I make Zucchini Swirl Cake?
Quick Overview
This cake is as easy as mixing, layering, and baking. You grate some zucchini, prep your filling, then fold everything together before swirling the filling through the batter—think of it as creating little chocolate or fruit ripples, but with a cozy cinnamon-spiced filling. It bakes in about 40-45 minutes, filling your kitchen with that irresistible aroma. The trick is to not overmix the batter—gentle folds are key—and to swirl the filling beautifully so every slice is bursting with flavor. Once it’s out of the oven, let it cool slightly before glazing or dusting with powdered sugar, and then you’re all set for a slice of heaven. This method keeps it simple but produces a stunning result—trust me, you’ll impress everyone, even yourself!
Ingredients
For the Main Batter:
– 2 cups grated zucchini (squeeze out excess moisture)
– 1 ½ cups all-purpose flour
– 1 cup granulated sugar
– ½ teaspoon baking powder
– ½ teaspoon baking soda
– 1 teaspoon cinnamon
– ½ teaspoon salt
– ½ cup vegetable or canola oil
– 2 large eggs
– 1 teaspoon vanilla extract
For the Filling:
– ½ cup brown sugar
– 1 teaspoon cinnamon
– ¼ cup chopped nuts (optional but recommended)
– 2 tablespoons butter, melted
For the Glaze:
– ½ cup powdered sugar
– 1-2 tablespoons milk or lemon juice
– A dash of vanilla (optional)
Step-by-Step Instructions
Step 1: Preheat & Prep Pan
Set your oven to 350°F (175°C). Grease a 9-inch round or square baking pan—trust me, I always line mine with parchment for easy removal. Get everything ready so once your batter’s mixed, you’re ready to pop it in. A quick note: I like using a dark pan because it helps the cake bake evenly and get that lovely golden crust.
Step 2: Mix Dry Ingredients
In a large bowl, whisk together the flour, sugar, baking powder, baking soda, cinnamon, and salt. This helps distribute everything evenly and prevents clumping. I’ve learned the hard way—skipping this step can lead to uneven rising or flavor pockets, so don’t rush it!
Step 3: Mix Wet Ingredients
In a separate bowl, beat the eggs, then add the oil and vanilla. Mix well until combined. I always do this first so the eggs are fully incorporated before folding in the zucchini. Speaking of zucchini, make sure you grate it finely and squeeze out as much moisture as you can—this keeps the batter from getting soggy. I tested this with pre-grated zucchini from the store, but fresh is always best. After squeezing out the excess water, toss the zucchini into the wet mixture, stirring to combine.
Step 4: Combine
Pour the wet ingredients into the dry, then gently fold with a spatula. Resist the temptation to overmix—stir just until everything’s incorporated. Overmixed batter leads to dense, rubbery cake, and nobody wants that. See the batter? It should be thick but luscious, with some streaks of zucchini visible.
Step 5: Prepare Filling
Mix the brown sugar, cinnamon, and nuts (if using) in a small bowl. Drizzle in the melted butter and stir until crumbly. This filling is what makes the swirl so tempting—trust me, it’s worth taking the extra minute. If you want to make it even more indulgent, add a handful of chocolate chips or shredded coconut.
Step 6: Layer & Swirl
Pour about half the batter into your prepared pan, spreading it evenly. Dot spoonfuls of the filling over the batter, then add the remaining batter on top. Using a skewer or knife, swirl through the batter gently—don’t overmix, just enough to create marbled patterns. It looks messy but cute, I promise! That swirl pattern with the filling peeking through makes every piece Instagram-worthy.
Step 7: Bake
Pop it into the oven and bake for around 40-45 minutes. Check for doneness with a toothpick inserted in the center—if it comes out clean, you’re good! Every oven is different, so start checking at 38 minutes. When it’s done, the edges should be golden, and the top might have a little crack—my favorite sign of a perfect cake.
Step 8: Cool & Glaze
Let the cake cool in the pan for about 15 minutes. Then transfer it to a wire rack if you used parchment. When it’s just warm, make your simple glaze by mixing powdered sugar with milk or lemon juice. Drizzle it over the top for that perfect finishing touch. Trust me, this glaze adds a beautiful shine and extra flavor—you can even add a splash of vanilla or lemon zest for variety.
Step 9: Slice & Serve
Cutting into a warm, moist cake like this is pure joy. I usually use a serrated knife and wipe it clean between slices. Serve it slightly warm or at room temperature, maybe with a dollop of whipped cream or a scoop of vanilla ice cream if you’re feeling fancy. My kids like it just as is—perfect for breakfast, dessert, or a lazy afternoon snack. And hey, leftovers keep beautifully wrapped in foil or stored in an airtight container for a couple of days.
What to Serve It With
This zucchini swirl cake is incredibly versatile. For breakfast, pair it with a strong cup of coffee or a glass of fresh orange juice. I love serving it alongside a fruit salad—strawberries, blueberries, or peaches—adding a fresh burst to the cozy sweetness of the cake. When brunch rolls around, a dollop of whipped cream or a sprinkle of powdered sugar turns it into a special treat. For dessert, I like to serve it with a drizzle of caramel sauce or a scoop of vanilla ice cream—my kids go totally crazy for that combo. And in a pinch, it’s perfect just on its own with your favorite beverage. I always make sure to keep a few slices in the fridge, since it’s such a comforting, do-it-all kind of dessert. It’s also fantastic during holidays or family gatherings because you can make it ahead and wow everyone with how simple yet decadent it is.
Top Tips for Perfecting Your Zucchini Swirl Cake
Over the years, I’ve picked up a few tricks to make this cake turn out perfection every time. First, always squeeze out as much moisture from the zucchini as you can—otherwise, the batter can turn out a bit too wet, and that’s no fun. I’ve tested this with both freshly grated zucchini and store-bought—but fresh’s always better for texture. When mixing, be gentle—don’t overmix after adding the flour, or you risk a dense cake. Instead, fold with a spatula until just combined.
Swirling the filling is my favorite part, and I’ve learned to do it lightly—a figure-eight pattern works well, creating lovely marbled swirls that look professional but are super forgiving. For ingredient swaps, almond flour can be used I’ve tried, but expect a slightly denser crumb. If you want a richer flavor, swirl in some cream cheese or add chopped walnuts to the filling. Baking at the right temperature is key—every oven is different, so keep an eye on it around 38 minutes, and do that toothpick test. As for the glaze, I recommend mixing until smooth and adjusting the liquid to get that perfect drizzle consistency—thick enough to stay put but pourable. I’ve also experimented with adding lemon zest to the glaze for a zesty punch—it’s fantastic! Remember, this recipe is very forgiving—once you get the hang of the swirl pattern, you’ll be making this cake with your eyes closed in no time. Just have fun with it, and don’t be afraid to tweak the spices or fillings to match your mood or what you have on hand.
Storing and Reheating Tips
This cake keeps really well, which is one reason I love making it ahead. Store leftovers in an airtight container on the counter for a day or two—just keep it out of direct sunlight to prevent it from drying out. If it’s warm in your house, it’s better to pop it in the fridge after a day or so, especially if you’ve added any perishable toppings or glazing. Reheat slices in the microwave for about 15-20 seconds if you want that fresh-from-the-oven vibe or enjoy at room temperature. Freezing works perfectly—I wrap individual slices in plastic wrap and then slide them into a zip-top bag. They’ll stay good for up to 2 months! When ready to serve, thaw at room temp or microwave briefly. If you’ve glazed it, I suggest adding the glaze after reheating to keep the shine and texture. Trust me, even after freezing, it’s just as delicious.
Frequently Asked Questions
Final Thoughts
If you’re anything like me, baking is about comfort, creativity, and little moments of joy. This zucchini swirl cake checks all those boxes. It’s a humble treat that manages to feel fancy, thanks to those beautiful swirls and that warm cinnamon aroma. Over the years, I’ve made this for family gatherings, weekend brunches, and even quick solo moments when I need a little pick-me-up. Every time I take a bite, I’m reminded how a simple ingredient—zucchini—can turn into something unexpectedly delicious. It’s the kind of recipe that somehow gets better with age and practice, so don’t be discouraged if your first try isn’t perfect. The more you make it, the more you’ll love playing around with the fillings, spices, or even toppings. I’d love for you to give it a shot and tell me how it turns out. Happy baking, friends! And don’t forget—sometimes the best thing you make in your own kitchen is just a slice away from happiness. Can’t wait to hear how yours turns out!

mac and cheese balls
Ingredients
Method
- Cook the macaroni in boiling salted water until al dente, then drain and set aside.
- In a saucepan, melt butter over medium heat, add milk, and stir in shredded cheeses until melted and smooth.
- Mix the cooked macaroni into the cheese sauce until well coated.
- Let the mixture cool slightly, then shape into small balls.
- Beat eggs in a bowl. Dip each cheese ball into the eggs, then coat with bread crumbs mixed with paprika.
- Heat oil in a deep fryer or large skillet to 350F. Fry the balls until golden brown, about 3-4 minutes.
- Remove from oil and drain on paper towels. Serve warm with your favorite dipping sauce.