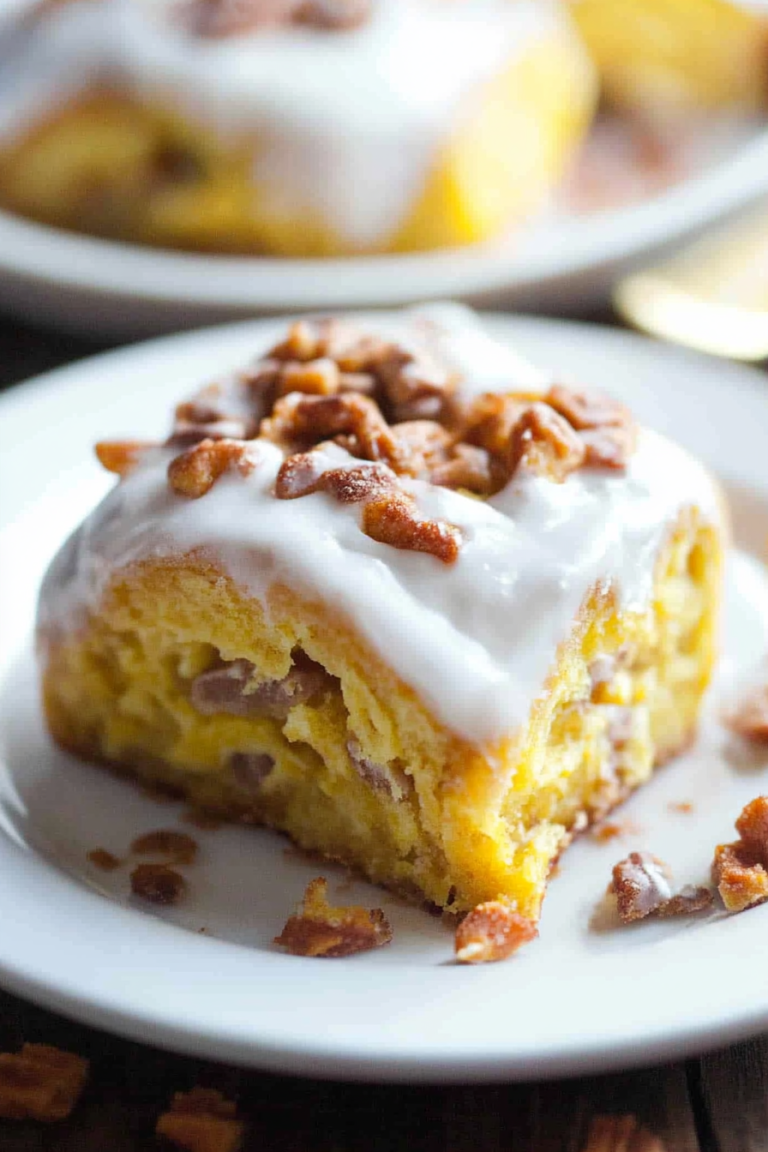
Decadent Chocolate Banana Bread Pudding
If you’re anything like me, a good slice of cake can seriously turn your day around. But here’s the thing—I’m not typically the type to bake stacks of layered desserts every weekend. No, I prefer recipes that are simple, flavorful, and somehow make me feel like I’ve just had a little moment of indulgence without the guilt. This zucchini chocolate swirl cake? It’s become a go-to favorite in my house—it’s moist, rich, and secretly sneaks in a veggie the kids never suspect. The smell alone as it’s baking will have everyone coming into the kitchen asking for seconds. I’ve made this countless times, tweaking here and there, and trust me on this one: it’s surprisingly easy, and the flavor? Absolutely divine. Plus, it’s a bit nostalgic for me—reminding me of the old chocolate zucchini bread I used to enjoy as a kid—but in a modern, layered cake form. Perfect for a cozy Sunday afternoon or even a last-minute dinner party. Ready to make something that’s both comforting and a little special? Let’s do this!
What is Zucchini Chocolate Swirl Cake?
Think of this as a cross between a decadent chocolate cake and a health-conscious secret weapon. It’s essentially a tender, moist cake made with grated zucchini, which keeps it unbelievably soft and almost airy. The “swirl” part comes from gently folding in rich chocolate batter and vanilla, creating pretty marbled patterns that look as beautiful as they taste. The name might sound fancy, but there’s nothing intimidating about making it. Whether you’re a seasoned baker or a kitchen newbie, this cake’s friendly vibe makes it accessible. The zucchini adds moisture and a subtle veggie boost, so it’s a bit like sneaking in a little extra good stuff for the family without anyone noticing. It’s perfect when you want something sweet but don’t want to overindulge, especially since the zucchini keeps the texture light and not overly dense. Plus, the chocolate swirl gives it just enough richness to satisfy any chocolate craving. Think of it as a delicious secret weapon in your baking arsenal—moist, flavorful, and everyone asks for the recipe!
Why you’ll love this recipe?
What I love most about this zucchini chocolate swirl cake is how it hits all the right notes: flavor, ease, and versatility. First, the flavor—every bite is a harmonious blend of rich cocoa and that subtle sweetness from the zucchini itself. It’s *not* overly sweet; instead, it’s a balanced treat that feels just a little healthier—without sacrificing any of that dreamy cake goodness. The moisture level is honestly incredible; I’ve tested this countless times, and it’s consistently soft and tender, no dry edges or crumbly bits. The best part? It’s a one-bowl wonder that comes together in under an hour, making it perfect for busy weeknights or last-minute guests.
And, believe me, you can switch things up easily: swap out the chocolate chips for white chocolate, throw in some chopped nuts, or even top it with berries for a fresh twist. Plus, using simple, budget-friendly ingredients means you don’t have to raid your bank account to indulge in something special. It’s super versatile—you can serve it as a cozy breakfast (with a dollop of whipped cream), a stunning dessert, or even a sweet snack with your afternoon tea. Honestly, I keep coming back to this one because it’s the kind of cake that makes everyone smile—kids, adults, you name it. It’s simple enough for a quick weekday treat but impressive enough for sharing with friends on weekends. Trust me, once you make this, it’ll be in your regular rotation.
How do I make Zucchini Chocolate Swirl Cake?
Quick Overview
This cake is all about ease and flavor. I start by grating fresh zucchini and mixing it into a basic chocolate cake batter—no fancy equipment needed. Then I make a simple vanilla batter and swirl it together with the chocolate, creating that gorgeous marbled look. Baking’s a breeze—just pop it in the oven, and in about 30-40 minutes, you’ve got a fragrant, rich cake that’s still moist and tender. It’s a forgiving recipe too; I’ve tested it with different oven types and even made mini muffins out of leftovers, which turned out fantastic. The key is not overmixing and letting the zucchini do its magic in keeping the cake moist and fluffy. Once out of the oven, I like to add a quick chocolate glaze for that shiny finish—trust me, it’s all in the details—and then it’s ready to slice and serve. Easy, impressive, and seriously addicting!
Ingredients
For the Main Batter:
• 2 cups all-purpose flour (or a gluten-free blend if you prefer)
• 1 ½ teaspoons baking powder
• ½ teaspoon baking soda
• ¼ teaspoon salt
• ¾ cup unsweetened cocoa powder (preferably Dutch-processed)
• 1 cup granulated sugar
• ½ cup vegetable oil or melted coconut oil
• 2 large eggs
• 1 teaspoon vanilla extract
• 1 ½ cups grated zucchini (squeeze out excess moisture with a clean towel)
For the Filling (Chocolate Swirl):
• ½ cup semi-sweet chocolate chips or chopped dark chocolate
• 2 tablespoons unsalted butter or coconut oil (for melting into chocolate)
For the Glaze:
• ½ cup powdered sugar
• 2 tablespoons cocoa powder
• 2-3 teaspoons milk or almond milk
• Optional: a splash of vanilla or a pinch of sea salt for extra flavor
Step-by-Step Instructions
Step 1: Preheat & Prep Pan
Start by preheating your oven to 350°F (175°C). Grease a 9-inch round cake pan or line it with parchment paper. You want a well-greased pan so the cake doesn’t stick—trust me, it’s a pain to wiggle out a beautiful swirl! If you’re making muffins, just line your muffin tin with paper liners. I always do this step first—it makes everything easier when the batter is ready to go.
Step 2: Mix Dry Ingredients
In a big bowl, whisk together the flour, baking powder, baking soda, salt, and cocoa powder. I like to sift the cocoa in to keep things smooth and prevent lumps. Properly combining these ensures your cake rises evenly and has that perfect crumb.
Step 3: Mix Wet Ingredients
In a separate bowl, mix the sugar with oil until they’re well combined—this is what ensures the cake stays moist. Then, beat in the eggs one at a time, followed by the vanilla. Make sure everything looks smooth and kind of shiny—this means it’s well incorporated. Now, gently fold in the grated zucchini. I always squeeze out the excess moisture with a clean kitchen towel before adding it; otherwise, the batter can get too watery, and the cake may not rise properly.
Step 4: Combine
Add the dry ingredients gradually into the wet, mixing gently just until combined. Do not overmix because that can make the cake dense. A few streaks of flour are fine—you want the batter to be smooth but not whipped to death. This step is where patience counts!
Step 5: Prepare Filling
In a microwave-safe bowl, melt the chocolate chips with the butter or coconut oil, stirring until silky smooth. If you prefer, you can do this over a double boiler on the stove. Once melted, let it cool slightly so it’s not hot when you swirl. This chocolate will be the star of the swirl—so make sure it’s rich and glossy.
Step 6: Layer & Swirl
Pour half of the batter into your prepared pan. Drizzle the melted chocolate over the top, then add the remaining batter on top. Using a skewer or a toothpick, gently swirl the chocolate into the batter—try to create nice zigzags and marbled patterns without overmixing. The visual effect makes all the difference when you cut into it later!
Step 7: Bake
Pop it in the oven and bake for about 35-40 minutes. The top should be set, and a toothpick inserted in the center should come out clean or with just a few moist crumbs. Every oven is different, so start checking around the 33-minute mark to prevent overbaking. If you’re using muffins, reduce the baking time to about 20-25 minutes. I always pull mine out a tad early so they stay super moist—that’s my secret for perfect texture.
Step 8: Cool & Glaze
Let the cake cool in the pan for about 15 minutes, then transfer to a wire rack. While it cools, make the glaze by whisking together powdered sugar, cocoa, and milk until smooth. When the cake is just warm (not hot!), drizzle the glaze over the top—it adds that beautiful shine and makes each slice extra tempting. If you want a thicker glaze, just add more powdered sugar; for a thinner one, splash in a tiny bit more milk.
Step 9: Slice & Serve
Use a serrated knife for clean cuts, especially if you’ve got that pretty swirl pattern. Serve it slightly warm or at room temperature, with a dollop of whipped cream or a scoop of vanilla ice cream if you’re feeling fancy. It’s delicious on its own, too—trust me, it rarely lasts more than a day around here.
What to Serve It With
This cake feels right at home in so many settings. For breakfast, pair it with a strong cup of coffee or a glass of milk—kids love it with a splash of almond milk for an extra creamy touch. At brunch, serve slices alongside fresh fruit and a side of yogurt; it’s a crowd-pleaser among friends. As a dessert, warm a slice and top it with a scoop of vanilla bean ice cream or a dusting of powdered sugar. I’ve even served it as a cozy snack in the afternoon with a mug of hot cocoa. The beauty is, it adapts to whatever mood you’re in. I do love the homey feel of sitting with a big plate on the couch and watching a movie after baking this. It’s the kind of treat that brings everyone together—even if they don’t realize there’s zucchini hiding inside!
Top Tips for Perfecting Your Zucchini Chocolate Swirl Cake
Having baked this cake dozens of times, I can tell you a few things that make all the difference. First, when grating the zucchini, always squeeze out as much moisture as possible—this keeps your batter from becoming too watery. I keep a clean dish towel nearby for that step; it’s a tiny trick but a game changer.
Second, don’t overmix once you’ve added the dry ingredients—stir just until they disappear. Overmixing can result in dense, rubbery cake. Trust me, I’ve learned this the hard way after trying to rush through it!
For the swirl, try to be gentle and avoid overmixing the batter after you add the chocolate. The more marbled and uneven the pattern, the more charming your cake looks, and it also adds a lovely texture contrast.
If you want to make it healthier, swap out half the sugar for coconut sugar or honey. I tested this with a touch of maple syrup, and it was equally delicious—just adjust the liquids slightly.
Baking with fan convection ovens? Reduce the temperature by about 25°F and keep a close eye on the timing. Every oven is different!
Lastly, the glaze is optional but adds a professional finish—if you’re in a hurry, a dusting of powdered sugar works just fine. But I highly recommend the rich cocoa glaze—it makes every slice feel special. This recipe is totally forgiving, so don’t stress over minor tweaks. I’ve learned that the best baking is about having fun and making it your own.
Storing and Reheating Tips
This cake stays moist and fresh for a couple of days if stored properly. I like to keep mine covered loosely with foil or in an airtight container at room temperature—if it’s super hot or humid outside, then the fridge is your friend. Just know that storing it in the fridge can make the cake a little denser, but it’ll still taste amazing. When you want to enjoy leftovers, just reheat slices in the microwave for about 15-20 seconds—perfect for that warm, freshly-baked feel.
For longer storage, pop individual slices or whole cake into the freezer wrapped tightly in plastic wrap, then foil. It keeps well for up to two months. Thaw at room temperature for a few hours, then give it a quick warm-up in the microwave. I’ve tested this with both cooled and partially frozen slices, and it’s still just as delicious.
If you added glaze, it’s best to apply it right before serving, as it can soften or dissolve during storage. But honestly, this cake is resilient—fat and moisture help keep each piece tender over time.
Frequently Asked Questions
Final Thoughts
This zucchini chocolate swirl cake is one of those recipes that’s become a beloved staple in my kitchen. It’s less about fuss and more about creating something totally satisfying that feels a little indulgent but still wholesome. Every time I bake it, memories flood back—family gatherings, lazy Sunday mornings, spontaneous coffee dates with friends. The best part? It’s adaptable, forgiving, and endlessly customizable. I’ve shared it with neighbors, taken it to potlucks, and always get asked for the recipe. Once you try it, I have a sneaky feeling it’ll become a part of your regular baking line-up, too. So go ahead, give it a shot—your taste buds and loved ones will thank you. Happy baking, and I can’t wait to hear how yours turns out!

banana bread pudding
Ingredients
Method
- Preheat oven to 350°F (175°C). Grease a baking dish.
- In a large mixing bowl, mash ripe bananas until smooth.
- Add sugar, eggs, vanilla, cinnamon, and salt to the mashed bananas and whisk until combined.
- Gradually add milk to the mixture and stir well.
- Add bread cubes to the mixture and fold until evenly coated.
- Pour the mixture into the prepared baking dish and bake for 35-40 minutes until golden brown.
- Allow to cool slightly before serving.