How to Make a Luscious Coffee Chocolate Cake
There’s something about baking that instantly takes me back — to Sunday afternoons in my grandmother’s kitchen, the warm smell of vanilla wafting through the air, and the sound of my kids giggling as they peeked over my shoulder. This zucchini swirl cake is one of those recipes that feels like a hug in dessert form. It’s sweet, moist, with just a hint of fresh zucchini that sneaks in without anyone really noticing — except for how incredibly good it tastes. Honestly, I always do this when I want a treat that’s a little special but easy enough for a weekday snack. It’s kinda like that classic marble cake but with a cozy, healthier twist. I’ve tested it with almond milk and it actually made it even creamier, which my dairy-loving kids totally approved! Plus, this one’s a lifesaver on busy nights — just mix, swirl, bake, and you’re practically done. Trust me, once you try it, you’ll keep coming back because every slice is just as decadent as the last. Ready to make a homemade treat that feels like a little kitchen hug? Let’s do it!
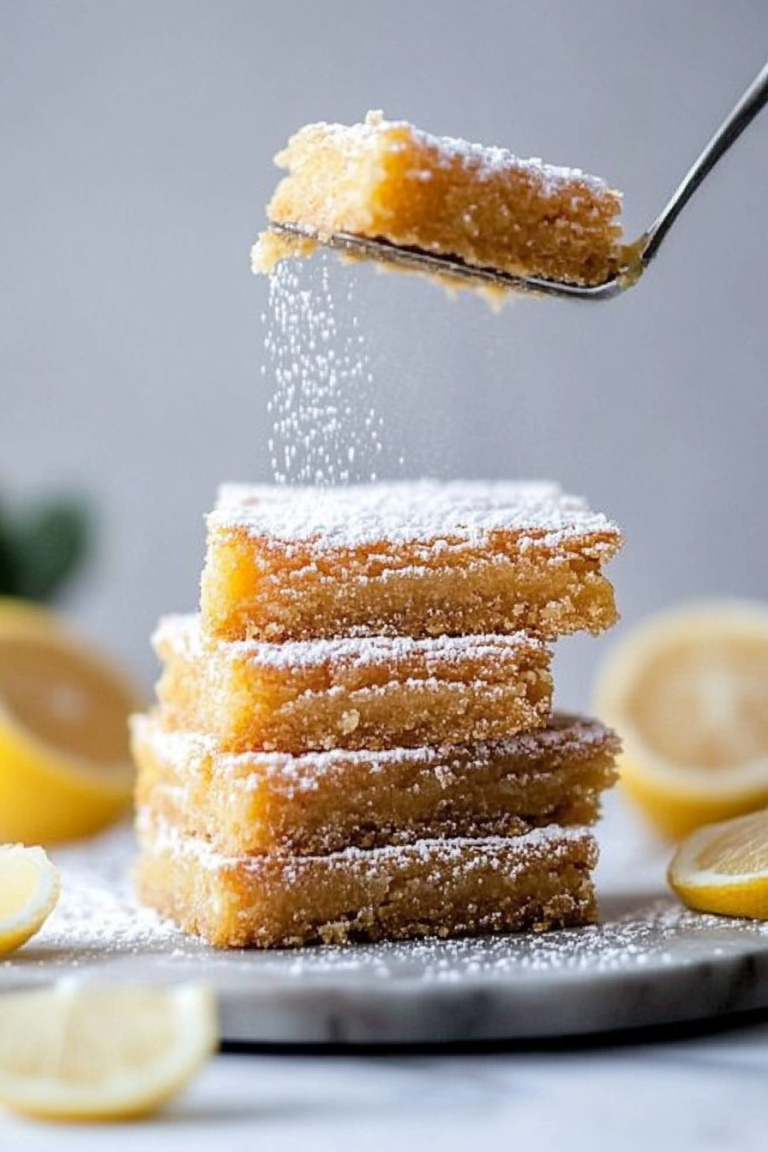
What is Zucchini Swirl Cake?
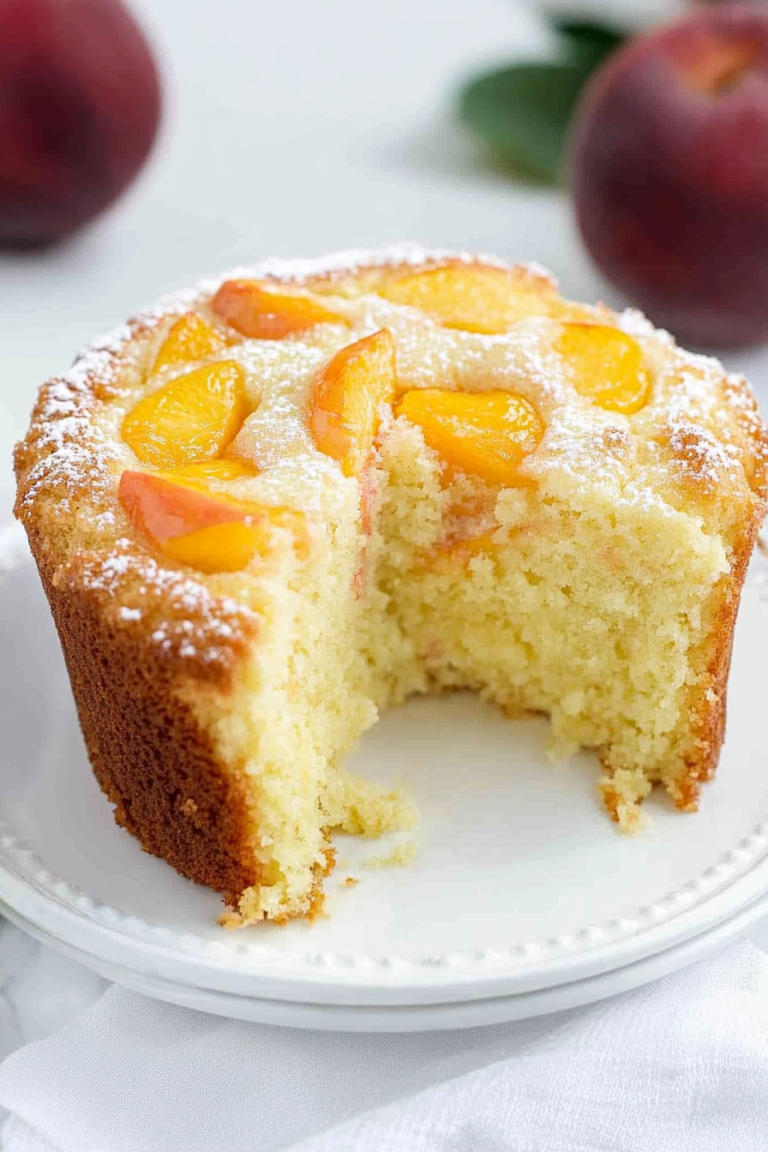
Think of zucchini swirl cake as the love child of a classic marble cake and your favorite veggie-packed muffin. It’s essentially a soft, tender cake infused with grated zucchini — but don’t worry, the zucchini’s presence is more about moisture and texture than flavor. The swirl comes from a dark, chocolaty or cinnamon-infused batter that gets marbled into the lighter vanilla base, giving each slice a beautiful, eye-catching pattern. The name “zucchini” often throws people off because most assume it’s a savory dish, but really, this cake is all about balancing subtle sweetness with fresh, slightly earthy zucchini—almost like a secret ingredient that makes the cake so moist and tender. It’s a wonderful way to sneak some extra veggies into your kids’ diets without fuss, and honestly, it’s become one of my go-to family desserts that everyone asks for again and again. Think of it as a cozy, wholesome treat but still fancy enough to serve to guests—because, why not?
Why you’ll love this recipe?
What I love most about this zucchini swirl cake is how flexible and forgiving it is — it’s one of those recipes you can really make your own. The flavor profile is just divine; the subtle hint of zucchini keeps it moist, while whatever you swirl in adds a touch of richness. Plus, it’s so straightforward to make that even a baking novice can pull it off with confidence. For the budget-conscious, the ingredients are simple pantry staples — flour, sugar, eggs, and of course, zucchini from the garden or farmer’s market—making this a wallet-friendly treat that feels special. Now, about versatility — I’ve made it with chocolate, cinnamon, even a splash of maple syrup in the swirl, and each version was a hit. You can also adapt it to your dietary needs: gluten-free, dairy-free, or even vegan by swapping a few ingredients. This isn’t just dessert; it’s a comforting, feel-good slice of home that feels like coming home after a long day. My kids ask for this all the time, and honestly, it’s become a family favorite that I genuinely look forward to baking. What’s more satisfying than a baked good that’s both pretty and delicious? Yes, please!
How do I make Zucchini Swirl Cake?
Quick Overview
This zucchini swirl cake comes together quickly — no complicated steps or fancy techniques. You start with a basic batter, then prepare a contrasting swirl—be it chocolaty or cinnamon-spiced—and layer it beautifully. The secret is gently swirling the batter to create those pretty marbled effects without overmixing, ensuring every slice has that wonderful streaked look. The batter itself is super forgiving — I often test with different milks or sweeteners, and it always turns out moist and tender. The whole process from mixing to baking takes under an hour, making it perfect for busy mornings or spontaneous sweet cravings. The best part? The smell alone will get everyone in the house asking, “Is it ready yet?” Trust me, this one’s a keeper.
Ingredients
[Organize ingredients by purpose with detailed explanations:]
For the Main Batter:
– 1 ½ cups all-purpose flour (or a gluten-free blend if needed, I love a 1:1 ratio for perfect texture)
– ¾ cup granulated sugar (can adjust to taste)
– ½ teaspoon baking powder
– ¼ teaspoon baking soda
– A pinch of salt
– 1 teaspoon vanilla extract
– 2 large eggs (preferably at room temperature)
– ½ cup vegetable oil or melted butter
– ½ cup milk (dairy or almond milk work well here)
– 1 cup freshly grated zucchini (squeeze out excess moisture with a paper towel—trust me, it makes a huge difference!)
For the Filling (Swirl):
– 3 tablespoons cocoa powder + 2 tablespoons sugar for a chocolate swirl
– Or 1 teaspoon ground cinnamon + 2 tablespoons brown sugar for a cinnamon swirl
– 1-2 teaspoons milk to loosen the mixture for easy swirling
For the Glaze:
– ½ cup powdered sugar
– 1-2 teaspoons milk
– A splash of vanilla or a sprinkle of cinnamon for extra flavor
Step-by-Step Instructions
Step 1: Preheat & Prep Pan
Preheat your oven to 350°F (175°C). Grease a 9-inch loaf pan or round cake pan with butter or non-stick spray, and line the bottom with parchment if you want an easy release. I always do this because it saves a lot of frustration when it’s time to serve. Set aside while we get the batter ready.
Step 2: Mix Dry Ingredients
In a large bowl, whisk together the flour, sugar, baking powder, baking soda, and salt. This step is crucial to ensure everything is evenly distributed — nobody wants a surprise dense spot in their cake! I always do this first to make sure my baking powders are fresh, especially if I’ve had the flour sitting around for a bit.
Step 3: Mix Wet Ingredients
In another bowl, beat the eggs, then add in the vanilla, oil, and milk. Whisk until smooth. I find this step makes everything come together faster and helps with a nice, even texture. Make sure your zucchini is grated and pressed to remove excess moisture — this prevents the batter from getting too wet and dense, which can be a rookie mistake I learned the hard way!
Step 4: Combine
Pour the wet mixture into the dry ingredients and gently fold with a spatula until just combined. Don’t overmix — treat it like baking a muffin batter. The goal is moist, tender crumbs, not a chewy glue ball. A few lumps are totally fine; trust me, they bake out beautifully.
Step 5: Prepare Filling
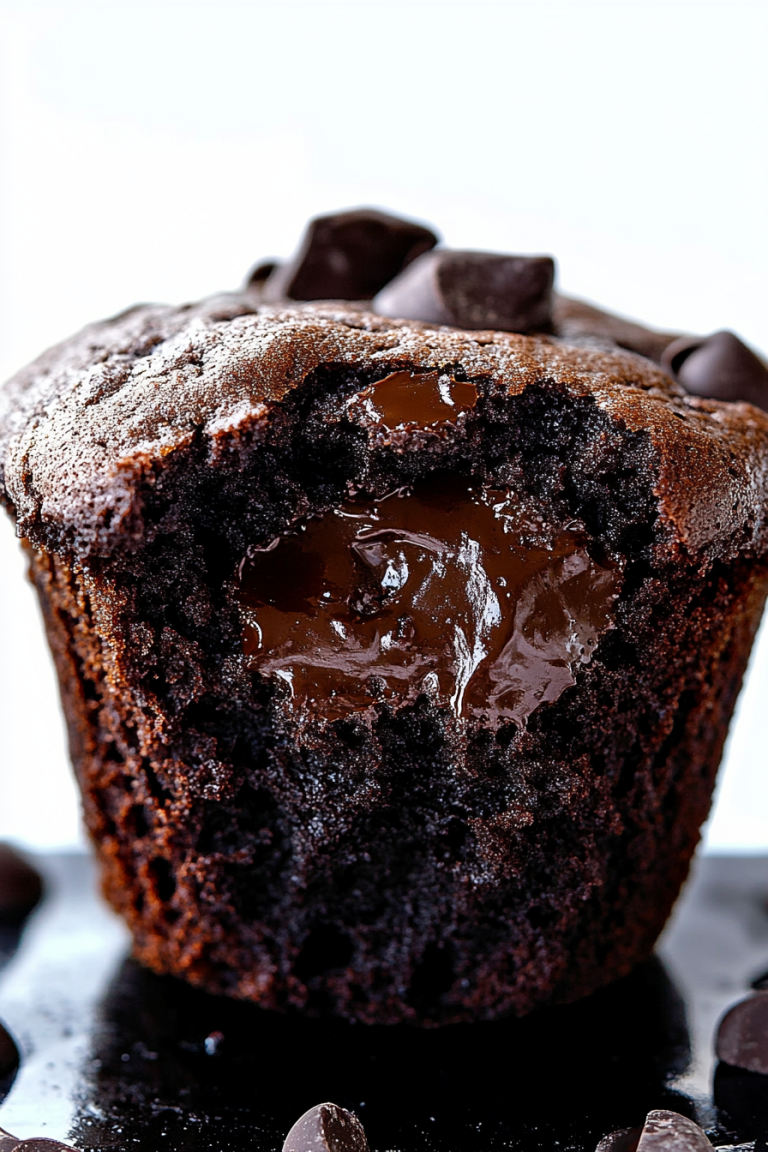
In a small bowl, combine your chosen swirl ingredients — either cocoa and sugar or cinnamon and brown sugar — with enough milk to loosen everything into a thick, drizzle-able paste. This is where you get to get creative. You could even add a splash of espresso for a mocha twist or a pinch of nutmeg for extra warmth. My kids love the chocolate version, especially with a sprinkle of mini chocolate chips stirred in.
Step 6: Layer & Swirl
Pour half of the batter into your prepared pan, then dollop half of the filling on top. Spread gently with a spatula, then add the remaining batter and the rest of the swirl. Using a butter knife or skewer, swirl gently through the batter to create pretty marbled streaks — don’t overdo it or the pattern will blur, but you want enough to see those lovely contrasting lines.
Step 7: Bake
Pop it into the oven and bake for about 40-45 minutes. Check doneness with a toothpick — insert it in the center and make sure it comes out clean. Every oven is a little different, so start checking at 40 minutes. I sometimes rotate the pan halfway through if I notice uneven browning. The smell when it’s close? Unreal. Like warm chocolate and vanilla combined into pure happiness.
Step 8: Cool & Glaze
Let the cake cool in the pan for about 10 minutes, then transfer to a wire rack. Once cooled slightly, drizzle with your simple glaze — powdered sugar mixed with a tiny splash of milk and vanilla. This adds a lovely sweet finishing touch. If I’m in a hurry, I skip the glaze; the cake is still moist and flavorful on its own.
Step 9: Slice & Serve
Use a sharp serrated knife for clean slices, especially if your cake has a beautiful swirl pattern. Serve at room temperature or slightly warm, with a cup of coffee or tea. I love pairing this with a dollop of whipped cream or a splash of fresh berries for an elegant touch. And honestly, it disappears faster than I can say “delicious” — best enjoyed with family around.
What to Serve It With
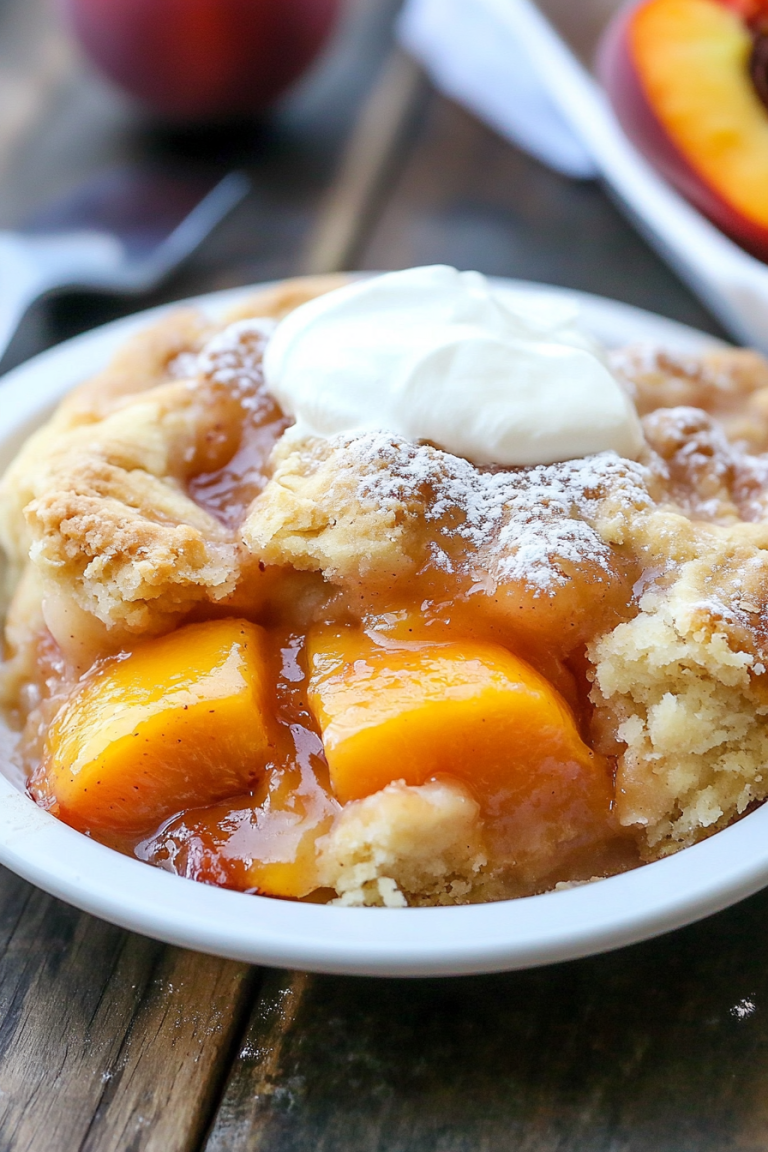
This zucchini swirl cake is so versatile, it’s tackled breakfast, brunch, or dessert with ease. For breakfast, pair slices with a strong cup of coffee and a smear of cream cheese – it’s like a veggie-strewn coffee cake that kicks off your day on a sweet note. At brunch, serve it alongside fresh fruit, a drizzle of honey, and maybe some yogurt — it feels chic but is actually super simple. As an after-dinner dessert, I like to dust it lightly with powdered sugar or add a creamy scoop of vanilla ice cream. When I want a cozy snack, this cake is perfect when still warm, topped with simple whipped cream or even a splash of caramel. It’s that kind of recipe everyone loves — easy, beautiful, and packed with comfort.
Top Tips for Perfecting Your Zucchini Swirl Cake
Over the years, I’ve picked up a few tricks that make this cake turn out perfect every time. First, always squeeze out excess moisture from your zucchini; wet zucchini can make the batter too thin, leading to a dense, soggy result. A quick press with paper towels or a cheesecloth makes a huge difference. When mixing the batter, I recommend folding gently rather than stirring vigorously — this keeps the cake tender and light. For swirling, try to add a few more dollops near the center and drag the swirl outward with a skewer, creating a marbled effect that’s more impressive visually. Testing different ingredient swaps — like coconut oil instead of vegetable oil or honey instead of sugar — I’ve found that they can add a personal touch, but always keep an eye on the consistency — too wet, and the batter can get unruly in the oven. When baking, I usually position the rack in the middle to ensure even heat distribution, but if your oven runs hot, consider reducing the temperature slightly or covering the top with foil for the last 10 minutes to prevent over-browning. As for the glaze, I love adding a splash of citrus zest or a splash of coffee extract for a flavor boost. Trust me, how you tweak these little details can totally elevate your cake from good to unforgettable. I’ve tested and re-tested this recipe so many times I feel like I’ve got a little zen for perfect results. Remember, every tweak is a chance to make it your own, so don’t be afraid to experiment!
Storing and Reheating Tips
This cake keeps beautifully for several days, which is perfect if you want to make it ahead of time. Store it in an airtight container at room temperature for up to two days — just make sure it’s covered tightly to keep moist. If you’re not eating it right away, I recommend refrigerating sliced pieces in a sealed container; it stays fresh for about 4-5 days. To bring it back to life, simply warm a slice in the microwave for 15-20 seconds — it’ll taste almost freshly baked. If you want to freeze it, wrap individual slices or the whole cake tightly in plastic wrap, then foil. It freezes well for up to 3 months! Just let it thaw at room temp for about 30 minutes before serving. As for the glaze, I suggest adding it after reheating; if you store it with the glaze on, it can get a little sticky or hard. Trust me, these little storage tips keep your cake tasting its best any day of the week.
Frequently Asked Questions
Final Thoughts
There’s honestly nothing quite like sinking into a slice of homemade zucchini swirl cake — it’s one of those recipes that reminds me why I love baking so much. It’s simple, charming, and the ingredients are so basic, yet the end result feels like a little gift. I love to make it on weekends when I have a little extra time, but most days it’s my quick fix for a cozy moment with a cup of coffee. Every batch I’ve made has brought a smile to my family’s faces, and I’ve learned that the little imperfections — a slightly uneven swirl or a crack on top — just add character. Don’t be afraid to make this your own. Add your favorite mix-ins, swap flavors, or top with fresh fruit. Most importantly, enjoy every crumb of your baking adventure. Happy baking! I can’t wait to hear how yours turns out — share your stories or variations below, I love hearing from fellow kitchen lovers.
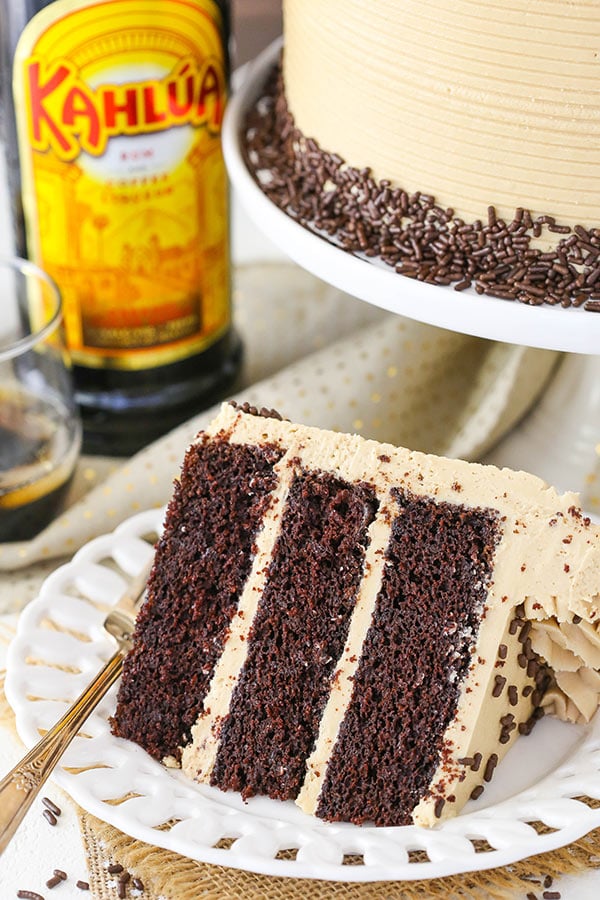
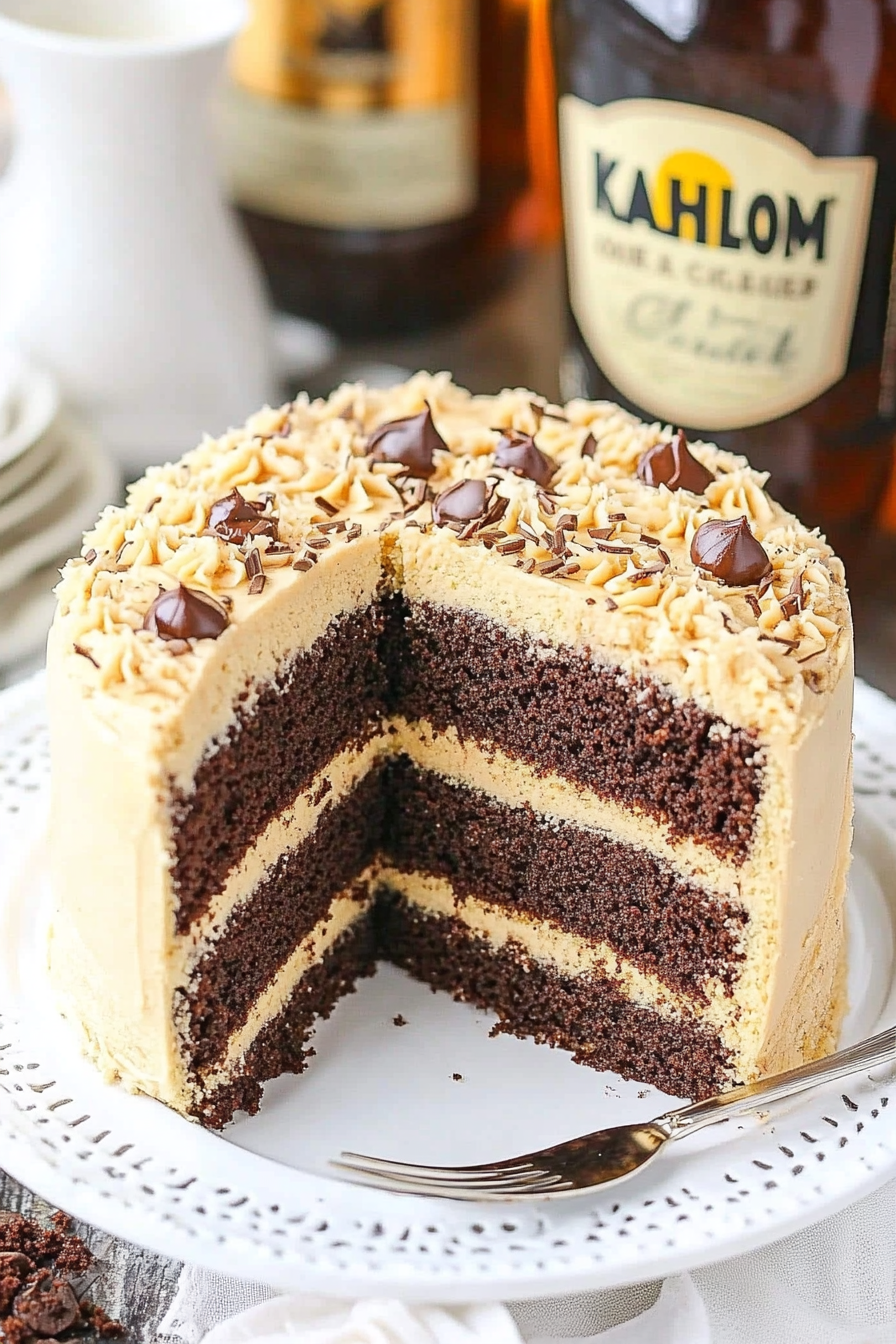
Kahlua Coffee Cake
Ingredients
Method
- Preheat oven to 300°F. Prepare three 8-inch cake pans with parchment paper and grease the sides.
- Mix dry ingredients in a large bowl: flour, sugar, cocoa powder, baking soda, and salt.
- Add eggs, milk, vegetable oil, Kahlua, and vanilla to dry ingredients and blend well.
- Pour in hot coffee and mix until smooth. Batter will be thin.
- Divide batter evenly among prepared pans and bake for 32-35 minutes. Cool completely.
- To prepare the frosting, heat Kahlua to boil and add espresso powder. Stir until dissolved.
- Beat butter and shortening until smooth. Gradually add powdered sugar and Kahlua mixture, beating until fluffy.
- Level cakes and stack with frosting in between. Cover the outside of the cake with remaining frosting.
- Decorate the edge with chocolate sprinkles and pipe additional swirls on top.
- Store in an airtight container. Best enjoyed within 2-3 days.