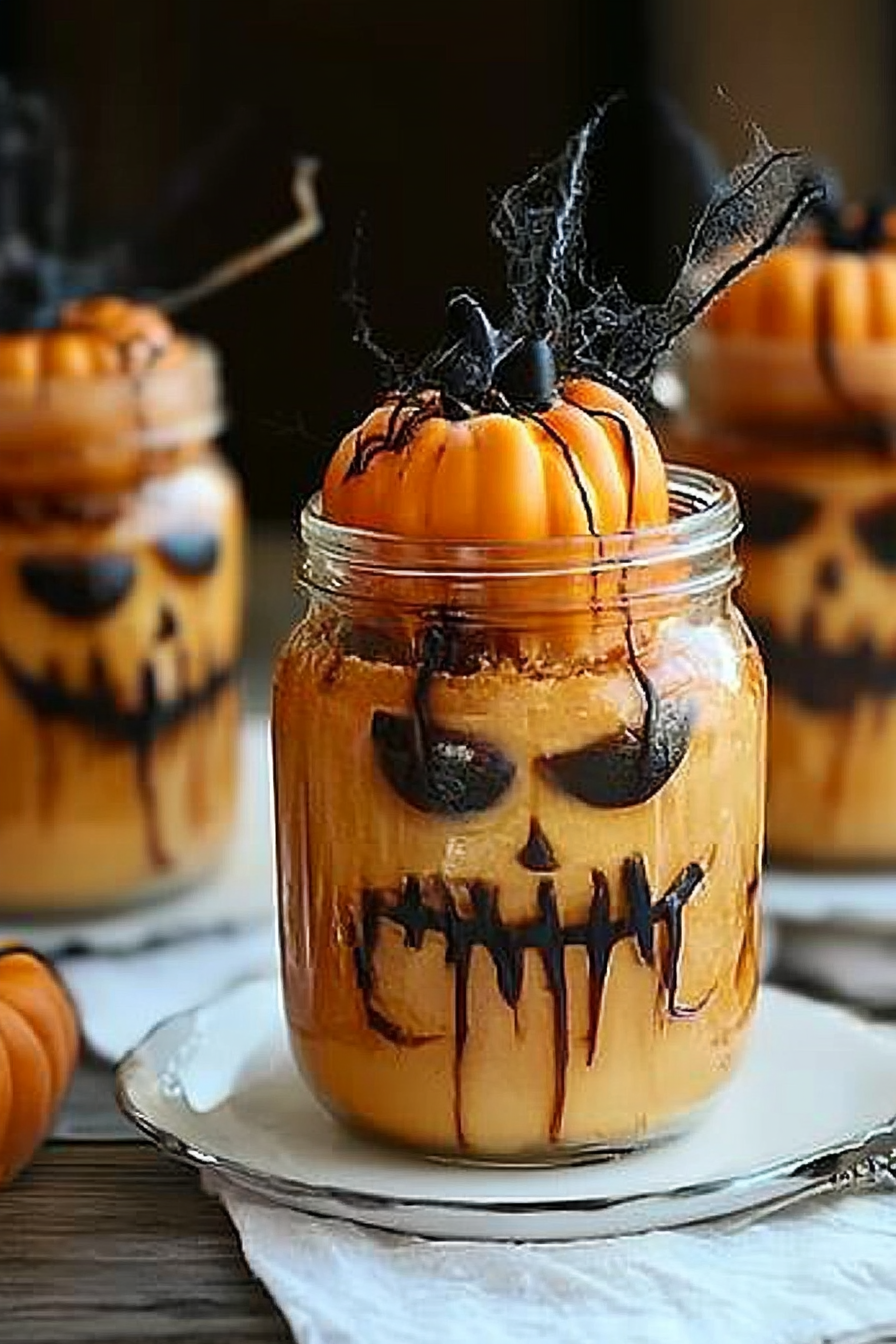
Spooky Cake Jars How to Make Them Easy
There’s something about banana bread that always feels like a warm hug. I remember when I first tried making it in my tiny apartment kitchen — I was probably about 12, sneaking a slice right out of my mom’s loaf just because I couldn’t resist the smell. Years later, I still find myself reaching for those overripe bananas, knowing exactly what cozy comfort this bread can bring. And let me tell you, my version of this chocolate chip banana bread is the kind that disappears in minutes at my house. It’s moist, sweet, with just the right touch of gooey chocolate chips that make every bite feel almost decadent, but it’s honestly so simple to whip up. No fancy ingredients, no complicated steps, and it’s perfect for weekend brunch, quick snacks, or even to warm up those lone bananas you forgot you had. If you love a good tear-and-share kind of crumb, stick around — I promise this one’s a lifesaver on busy nights or when you’re craving something sweet, but don’t want to turn on the oven for hours.
What is chocolate chip banana bread?
Think of chocolate chip banana bread as a cozy twist on the classic loaf. It’s essentially a soft, tender bread made from mashed ripe bananas, which lend a natural sweetness and moistness. The “chocolate chip” part is just what it sounds like — melty bits of chocolate stirred right into the batter, giving every slice a little surprise of richness. The name might sound clever, but honestly, it’s just a no-fuss, tasty way to use up those bananas that are just starting to get a little too ripe. It’s kind of like comfort food you can actually feel good about because it’s got fruit, and maybe a little chocolate, but mostly it’s just pure, nostalgic goodness. I love how flexible it is, too — you can toss in walnuts, blueberries, or even a handful of oats if you want to make it a bit heartier. It’s the kind of recipe that’s both a breeze to make and makes everyone ask for seconds.
Why you’ll love this recipe?
What I love most about this chocolate chip banana bread is how it feels like a warm, familiar treat, but it’s actually so straightforward to pull together. No complicated mixing techniques or fancy ingredients — just honest-to-goodness comfort. The flavor? Oh, it’s incredible. The bananas give a gentle caramel-like sweetness that’s perfectly complemented by the slightly bitter, rich chocolate chips. And the smell alone — it’s like a bakery in my kitchen, drawing everyone from the living room to see what’s baking. Plus, this bread is so versatile. I’ve made it as a quick breakfast, a brunch centerpiece, or even a late-night snack when I’m craving something sweet but don’t want to bake a whole cake. Budget-wise, it’s super friendly, relying mostly on pantry staples like bananas, flour, sugar, and chocolate chips — ingredients I always keep on hand. Honestly, what makes this recipe stand out is its forgiving nature. I’ve tested it with different types of chocolate, swapped in coconut sugar, and it still comes out moist and flavorful every time. It’s one of those recipes I come back to when I need something comforting quick, and honestly, it never fails to bring a smile to my face.
How do I make chocolate banana bread?
Quick Overview
This banana bread recipe is all about simplicity. You start by mashing ripe bananas, mixing dry ingredients in one bowl, wet ingredients in another, then gently combining them. The batter gets a splash of vanilla and a handful of chocolate chips stirred in before pouring into a loaf pan. You bake it until golden and a toothpick comes out clean—easy! The best part? It’s super forgiving — overmix a tiny bit, and it’s still delicious. It’s just one of those ’measure, mix, bake’ recipes that never lets you down. Perfect for busy mornings or when you want a warm slice to brighten your day.
Ingredients
For the Main Batter:
- 3 ripe bananas, mashed (trust me, the riper, the better!)
- 1/3 cup melted butter or neutral oil
- 1 cup granulated sugar (or honey/maple syrup if you prefer natural sweeteners)
- 2 large eggs
- 1 teaspoon vanilla extract
- 1 1/2 cups all-purpose flour (whole wheat works beautifully too)
- 1 teaspoon baking soda
- 1/2 teaspoon salt
For the Filling:
- 1 cup semi-sweet chocolate chips (or dark chocolate if you like it richer)
- Optional: 1/2 cup chopped nuts or blueberries for extra flair
For the Glaze:
- 1/2 cup powdered sugar
- 1-2 teaspoons milk or cream
- Few drops vanilla or lemon zest for flavor variation
Step-by-Step Instructions
Step 1: Preheat & Prep Pan
Set your oven to 350°F (175°C) and line a loaf pan with parchment paper or just grease it with butter. I always do this first — that way, I can focus on mixing without pan-mess worries. If you want your bread to have a little extra crust, sprinkle a tiny bit of flour on the greased pan, tap out the excess, and you’re set.
Step 2: Mix Dry Ingredients
In a medium bowl, whisk together the flour, baking soda, and salt. This ensures even distribution of the leavening and salt, which is key for a uniform rise. Trust me, don’t skip this step — it makes a difference!
Step 3: Mix Wet Ingredients
In a large bowl, mash the bananas thoroughly, then stir in the melted butter, sugar, eggs, and vanilla. I usually do this with a whisk or a sturdy fork. When everything’s nicely combined, it should look creamy and fragrant — bananas are naturally sweet and give off that unmistakable smell.
Step 4: Combine
Pour the dry ingredients into the wet, then fold gently just until no streaks of flour remain. Be careful not to overmix — a few lumps are okay! Overmixing can make the bread dense, and nobody wants that.
Step 5: Prepare Filling
Stir in most of the chocolate chips, saving a few to sprinkle on top later if you like a melty topping. If you’re adding nuts or berries, fold those in now. I personally love swapping some chocolate for white or peanut butter chips midday because, well, *why not?*
Step 6: Layer & Swirl
Pour half of the batter into your loaf pan, then scatter the remaining chocolate chips over the surface. Pour the rest of the batter on top. If you want to make it pretty and marbled, use a toothpick or skewer to gently swirl the batter around — it makes every slice look like a tiny piece of art.
Step 7: Bake
Pop it into your preheated oven and bake for about 50-60 minutes. Check after 50 — the top should be golden, and a toothpick inserted into the center should come out clean. If it’s browning too fast but still moist inside, tent it with foil to prevent overbaking.
Step 8: Cool & Glaze
Allow the bread to cool in the pan for about 10 minutes, then transfer it to a wire rack. I love glazing mine while slightly warm — it melts beautifully and adds a shiny, sweet finish. Mix the powdered sugar with a splash of milk and vanilla, then drizzle all over. It’s optional, but I swear it makes the loaf prettier and more indulgent.
Step 9: Slice & Serve
Once completely cool, slice with a serrated knife, and enjoy! I like to serve mine with a cup of coffee or a glass of cold milk. And honestly, it’s just as good warmed up the next day. Trust me on this one — leftovers never last long in my house.
What to Serve It With
Here’s the thing — this banana bread is so versatile, I’ve never had a bad pairing. For breakfast, I love a smear of butter with my morning coffee — that first warm, buttery bite is everything. Sometimes I even add a little peanut butter or cream cheese—it’s like a mini treat. At brunch, I’ll cut thick slices and serve with fresh fruit and a drizzle of honey or whipped cream — looks fancy but is totally casual. As a dessert, I like pairing it with vanilla ice cream or a dollop of greek yogurt topped with berries. This bread is cozy enough to be a snack on its own, but it also plays well with a glass of wine or sparkling cider for a little celebratory vibe. I’ve made it for picnics, school lunchboxes, and weekend mornings, and it’s always a hit. If I had to pick, my family asks for this one all the time — I think it’s the chocolate chips that win everyone over. Honestly, I love how it makes me *feel* — like I’m baking up childhood memories, one loaf at a time.
Top Tips for Perfecting Your Chocolate Chip Banana Bread
Getting this bread just right took me a few tries, so I want to share some lessons learned. First, ripeness matters — bananas with dark spots give the sweetest, most flavorful bread. I used to peel them all, but now I just mash them with the peel on and scoop out the soft insides, which saves time. Be careful not to overmix — I do a gentle fold, like folding in fabric, and that keeps the bread light and fluffy. When adding the chocolate chips, I toss them in a tiny bit of flour first — it helps prevent them from sinking to the bottom during baking. Swirling the batter with a skewer adds that beautiful marbled look and makes the slices more fun to serve. I’ve tried substituting half the flour with oats, and it added a nice chewy texture — just remember that oats absorb more moisture, so add a splash more milk or bananas. And if your oven runs hot, lower the temperature by 10-15°F or keep an eye on the loaf — I’ve learned to trust that toothpick test. For glaze variations, I sometimes add a little espresso powder or orange zest to make it more grown-up. The key? Taste and tweak — every oven is different, and your perfect loaf might need a little adjusting. The main thing is to keep it simple and enjoy the process — nothing beats the smell of fresh banana bread wafting through the house.
Storing and Reheating Tips
This bread is best enjoyed within the first couple of days, but it stays surprisingly good for up to 4 days at room temperature if wrapped well in plastic wrap or stored in an airtight container. I find that covering it keeps it from drying out too quickly. If you want to keep it longer, just pop it in the fridge — it’ll stay fresh for about a week, but I recommend bringing it to room temperature or giving it a quick warm-up in the microwave to revive that soft center. Freezing is a game-changer: wrap slices individually in plastic wrap, then stash them in an airtight container or zip-top bag. They keep for up to 3 months, and I just grab a slice out to thaw for a quick snack. Honestly, I think the key to reheating is just giving it a few seconds in the microwave — about 15-20 seconds usually does the trick — or popping a sliced piece in the toaster for a crispy edge. The glaze, if added beforehand, might soften a bit, but trust me, it still tastes amazing. Just don’t forget to wait until it’s fully cooled before slicing or glazing — that way, you keep the crumb perfect and avoid any mess!
Frequently Asked Questions
Final Thoughts
Honestly, this chocolate chip banana bread has become one of my go-to comfort snacks. It’s one of those recipes that’s both forgiving and endlessly adaptable — I’ve done oats, swap in different chocolate varieties, even added a dash of cinnamon or espresso powder. The aroma alone makes my kitchen feel like a cozy little bakery, and the first warm bite always starts a little happy dance in my family. Whether you’re whipping it up for a last-minute brunch, sneaking a piece during that afternoon slump, or adding it to a breakfast platter, I know you’ll love how easy and comforting it is. Trust me, once you master this, it’ll be the one you make over and over, tweaking just a little each time. Happy baking! I can’t wait to hear how yours turns out — please leave me a comment or share your own variations. Now, go grab those bananas and get baking — you deserve this treat!
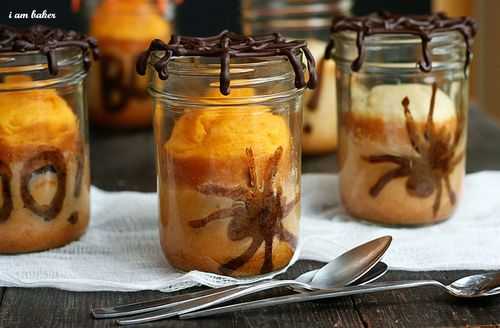
Halloween cake
Ingredients
Method
- Preheat the oven to 350°F (175°C). Grease and flour two 9-inch round cake pans.
- In a large mixing bowl, combine flour, sugar, cocoa powder, baking powder, baking soda, and salt.
- Add buttermilk, vegetable oil, eggs, and vanilla extract to the dry ingredients. Mix until smooth.
- Divide batter evenly between the prepared cake pans. Bake for 40-45 minutes or until a toothpick inserted in the center comes out clean.
- Allow cakes to cool completely before frosting and decorating with Halloween-themed decorations.