Sweet Pecan Pie Delight How to Make It
I still remember the first time my grandma handed me a slice of her zucchini bread. I was maybe eight, and she’d just pulled this gorgeous, golden loaf from her oven, the scent of cinnamon and sweet zucchini wafting through her cozy kitchen. I’ll be honest, I was a little hesitant. Zucchini? In *bread*? It sounded… odd. But one bite, and I was completely hooked. That first bite was pure magic – incredibly moist, perfectly spiced, and just sweet enough to make my taste buds sing. It’s one of those recipes that has stayed with me, a staple in my own kitchen now, and honestly, it’s even better than the original. My kids ask for this all the time, and it’s a lifesaver on busy afternoons when we need a quick, delicious snack that feels like a treat.
What is Zucchini bread?
So, what exactly *is* zucchini bread? At its heart, it’s a quick bread, meaning it uses chemical leaveners like baking soda and baking powder instead of yeast, so you don’t have to wait for dough to rise. Think of it as a super moist, subtly sweet cake that just happens to have vegetables hidden inside! The zucchini itself is the secret weapon here. When grated and baked, it practically melts into the batter, adding an incredible amount of moisture and tenderness without imparting any strong vegetable flavor. It’s like a magic trick for your baking! This recipe is a classic for a reason – it’s comforting, familiar, and always comes out perfectly, especially when you’re craving something sweet but don’t want the fuss of a full-blown cake. It’s the kind of treat that feels like a hug from the inside.
Why you’ll love this recipe?
What are some of the best zucchini bread recipes?flavor is just out of this world. It’s got that warm, comforting hug of cinnamon and nutmeg, balanced by the sweetness of the sugar and vanilla. The zucchini makes it incredibly moist, so you never get that dry, crumbly texture that some quick breads suffer from. And the best part? It’s ridiculously simpleWhat are some easy ways to make this dish in 15 minutes?cost-efficient. Zucchini is usually pretty affordable, especially when it’s in season, and the other ingredients are pantry staples. What I love most about this recipe is its versatility. You can easily add in chopped walnuts or pecans for a bit of crunch, or even some chocolate chips – though my kids will tell you, chocolate chips are non-negotiable! It’s perfect for breakfast, a delightful afternoon snack, or even a light dessert. If you’ve ever loved my banana bread recipe, I promise you’ll adore this too; it’s got that same comforting, delicious vibe but with a unique twist.
How to Make Zucchini Bread
Quick Overview
This recipe is all about ease and delicious results. You’ll simply whisk together your dry ingredients, then your wet ingredients, combine them gently, fold in the star of the show (zucchini!), pour into a prepared pan, and bake until golden and fragrant. The beauty of this method is how the zucchini completely disappears, leaving behind pure moisture and tenderness. It’s foolproof, even if you’re new to baking. You’ll be amazed at how something so simple can yield such a wonderfully moist and flavorful loaf.
Ingredients
For the Main Batter:
This is the foundation of our delicious bread. I always recommend using fresh zucchini for the best moisture and flavor. You’ll need about 2 cups of grated zucchini – that’s usually about 2 medium zucchinis. Make sure to squeeze out some of the excess moisture after grating; I’ll explain how later! You’ll also need all-purpose flour (about 2 cups), granulated sugar (1 cup is perfect, but you can adjust to your sweetness preference), a teaspoon of baking soda, half a teaspoon of baking powder for that extra lift, a generous teaspoon of ground cinnamon, a quarter teaspoon of ground nutmeg (don’t skip this, it adds warmth!), and a pinch of salt to balance everything out. And of course, we need eggs! Two large ones are perfect for binding and enriching the batter.
For the Filling:
This is where we can get a little creative! The classic addition is chopped nuts – about 1 cup of walnuts or pecans. They add a fantastic texture. For the chocolate lovers in your life (my house!), I always add about 1 cup of semi-sweet chocolate chips. You can also do a mix of both! If you’re feeling adventurous, a tablespoon or two of cocoa powder can be added to the dry ingredients for a chocolate-zucchini swirl effect.
For the Glaze:
This is optional but highly recommended for that extra touch of sweetness and visual appeal. I like to make a simple powdered sugar glaze. You’ll need about 1 cup of powdered sugar, a tablespoon or two of milk (or even a little lemon juice for a brighter flavor!), and a splash of vanilla extract. We’ll mix this up once the bread has cooled a bit.
Step-by-Step Instructions
Step 1: Preheat & Prep Pan
First things first, get your oven preheating to 350 degrees Fahrenheit (175 degrees Celsius). This ensures it’s nice and hot when your batter is ready. Next, grab a standard 9×5 inch loaf pan. You want to grease it really well. I like to use butter or cooking spray, and then I dust it lightly with flour. This little bit of extra effort prevents any sticking, and trust me, there’s nothing worse than a beautiful loaf of bread getting stuck to the pan! You can also line it with parchment paper for even easier removal.
Step 2: Mix Dry Ingredients
In a large bowl, whisk together your flour, granulated sugar, baking soda, baking powder, cinnamon, nutmeg, and salt. Whisking them together well ensures that all the leavening agents and spices are evenly distributed throughout the batter. This step is super important for an even rise and consistent flavor in every single bite. I always do this first; it just gets everything organized!
Step 3: Mix Wet Ingredients
In a separate medium bowl, whisk your two eggs until they’re nice and lightly beaten. Then, stir in about half a cup of melted butter (or vegetable oil – I’ve tried both and it’s delicious either way!). Add in your vanilla extract. Make sure everything is well combined. The butter will help make this bread incredibly tender and moist.
Step 4: Combine
Now, pour the wet ingredients into the bowl with the dry ingredients. Using a spatula or a wooden spoon, gently fold them together until *just* combined. It’s really important not to overmix here! A few streaks of flour are okay; they’ll disappear as you add the zucchini. Overmixing can lead to a tough bread, and we want ours to be super tender.
Step 5: Prepare Filling
This is where you add your delicious mix-ins! Gently fold in your grated zucchini, followed by your chopped nuts and/or chocolate chips, if you’re using them. The zucchini should distribute fairly evenly. Just give it a few gentle stirs until everything is incorporated. Don’t overwork the batter!
Step 6: Layer & Swirl
Pour the batter into your prepared loaf pan. If you’re adding chocolate chips or nuts, you can sprinkle a few extra on top before baking for a nice finish. If you’re going for a swirl effect (like with cocoa powder or a different kind of jam), you’d do that here by dolloping it on top and swirling gently with a knife. For this basic recipe, just smoothing the top is perfect.
Step 7: Bake
Pop that pan into your preheated oven. Bake for about 50-65 minutes. Now, ovens can be finicky, so you’ll want to check for doneness around the 50-minute mark. Insert a toothpick or a thin knife into the center of the loaf. If it comes out clean, it’s ready! If it has moist crumbs, let it bake for another 5-10 minutes and check again. If the top starts to get too brown before the center is cooked, you can loosely tent it with aluminum foil.
Step 8: Cool & Glaze
Once baked, take the loaf pan out of the oven and let it cool in the pan on a wire rack for about 15-20 minutes. This allows it to firm up a bit. Then, carefully invert the pan to release the bread onto the wire rack to cool completely. If you’re making the glaze, whisk together the powdered sugar, milk/lemon juice, and vanilla until smooth. You want it thick but pourable. Drizzle it over the *completely cooled* loaf. If you glaze it while it’s warm, the glaze will just melt right off!
Step 9: Slice & Serve
Once the glaze is set (or if you skipped the glaze), it’s time to slice! I usually wait until it’s fully cooled, but if I’m really impatient, I’ll slice it when it’s just slightly warm. Use a serrated knife for the cleanest slices. Serve a thick slice with a cup of coffee or tea, and just enjoy that moment of deliciousness. It’s truly the perfect treat!
What to Serve It With
This zucchini bread is so versatile, it fits into almost any meal or occasion! For a simple, comforting breakfast, I love it alongside a steaming mug of my favorite dark roast coffee. It’s a great way to start the day with something a little sweet but still satisfying. When we’re having a relaxed brunch with family or friends, I’ll often serve a slice with a dollop of cream cheese or Greek yogurt, maybe even a few fresh berries on the side. It adds a lovely homemade touch to the spread. As a more elegant dessert, especially if I’ve added chocolate chips, I’ll serve a warm slice with a scoop of vanilla bean ice cream or a drizzle of caramel sauce. For those late-night cozy snacks, when you just need something sweet to curl up with on the couch, a plain slice with a glass of cold milk is pure, unadulterated comfort. My kids’ favorite is definitely the chocolate chip version, and they’ll ask for it after school practically every day!
Top Tips for Perfecting Your Zucchini Bread
After making this recipe more times than I can count, I’ve picked up a few tricks that I think really make a difference. For zucchini prep, the key is to grate it and then squeeze out the excess moisture. I use the large holes on my box grater and then wrap the grated zucchini in a clean kitchen towel or cheesecloth and wring it out. This prevents the bread from becoming too wet and dense. If you skip this step, your bread might end up gummy. When it comes to mixing advice, remember: gentle hands are best! Overmixing the batter develops the gluten too much, resulting in a tough loaf. Mix until just combined, and don’t worry if there are a few tiny flour streaks left – they’ll disappear during baking. For swirl customization, if you’re adding cocoa powder for a chocolate swirl, mix it with a little sugar and a tiny bit of milk to make a paste before swirling. This ensures it distributes well and doesn’t dry out. I’ve experimented with ingredient swaps quite a bit. If you don’t have butter, a neutral oil like vegetable or canola oil works beautifully and keeps the bread incredibly moist. For a dairy-free option, I’ve tested this with almond milk and it actually made it even creamier! I’ve also tried using a mix of whole wheat and all-purpose flour, using about half and half, and it turned out great, just a little denser. When it comes to baking tips, always know your oven. If your oven tends to run hot, you might need to reduce the temperature slightly or cover the loaf with foil sooner. A good test for doneness is the toothpick test, but I also like to gently press the top of the loaf; it should spring back. For glaze variations, if you prefer a less sweet glaze, add a squeeze of lemon juice or a bit of orange zest to the powdered sugar mixture. A simple dusting of powdered sugar through a sieve is also a lovely, lighter alternative.
Storing and Reheating Tips
This zucchini bread is fantastic for making ahead, which is why I often bake a few loaves at once. For room temperature storage, once the bread is completely cool, wrap it tightly in plastic wrap or place it in an airtight container. It will stay fresh and moist for about 2-3 days. If you live in a warm climate or it’s humid, refrigerating might be a better option to prevent spoilage. For refrigerator storage, wrap it tightly and it should last for up to a week. When you’re ready to enjoy a slice from the fridge, you can just eat it cold, or pop it in the toaster for a minute or two to warm it up – it’s delicious either way! If you want to freeze this for later, that’s absolutely doable. For freezer instructions, wrap the cooled loaf very tightly in a double layer of plastic wrap, then a layer of aluminum foil or a freezer bag. It can be stored in the freezer for up to 3 months. To thaw, simply unwrap it and let it sit at room temperature for a few hours, or warm it gently in a low oven (around 300°F or 150°C) for about 10-15 minutes. Regarding glaze timing advice, always add the glaze *after* the bread has completely cooled, whether you’re storing it at room temperature, in the fridge, or even before freezing. If you glaze a warm loaf, the glaze will become sticky and messy.
Frequently Asked Questions
Final Thoughts
This zucchini bread recipe is more than just a bake; it’s a memory maker. It’s the smell of comfort wafting from the oven, the joy on my kids’ faces when they take their first bite, and the simple satisfaction of creating something so wonderfully delicious from scratch. It’s proof that sometimes, the best recipes are the ones that are both incredibly easy and utterly delightful. I truly hope you’ll give this a try, because I genuinely believe it’s one of the best zucchini bread recipes out there. If you love this, you might also enjoy my {{% post_link ‘other_recipe_name’ %}} or my {{% post_link ‘another_recipe_name’ %}} for more baking inspiration! I can’t wait to hear how yours turns out, so please leave a comment below and tell me your favorite additions or any memories this recipe brings back for you. Happy baking, my friends!
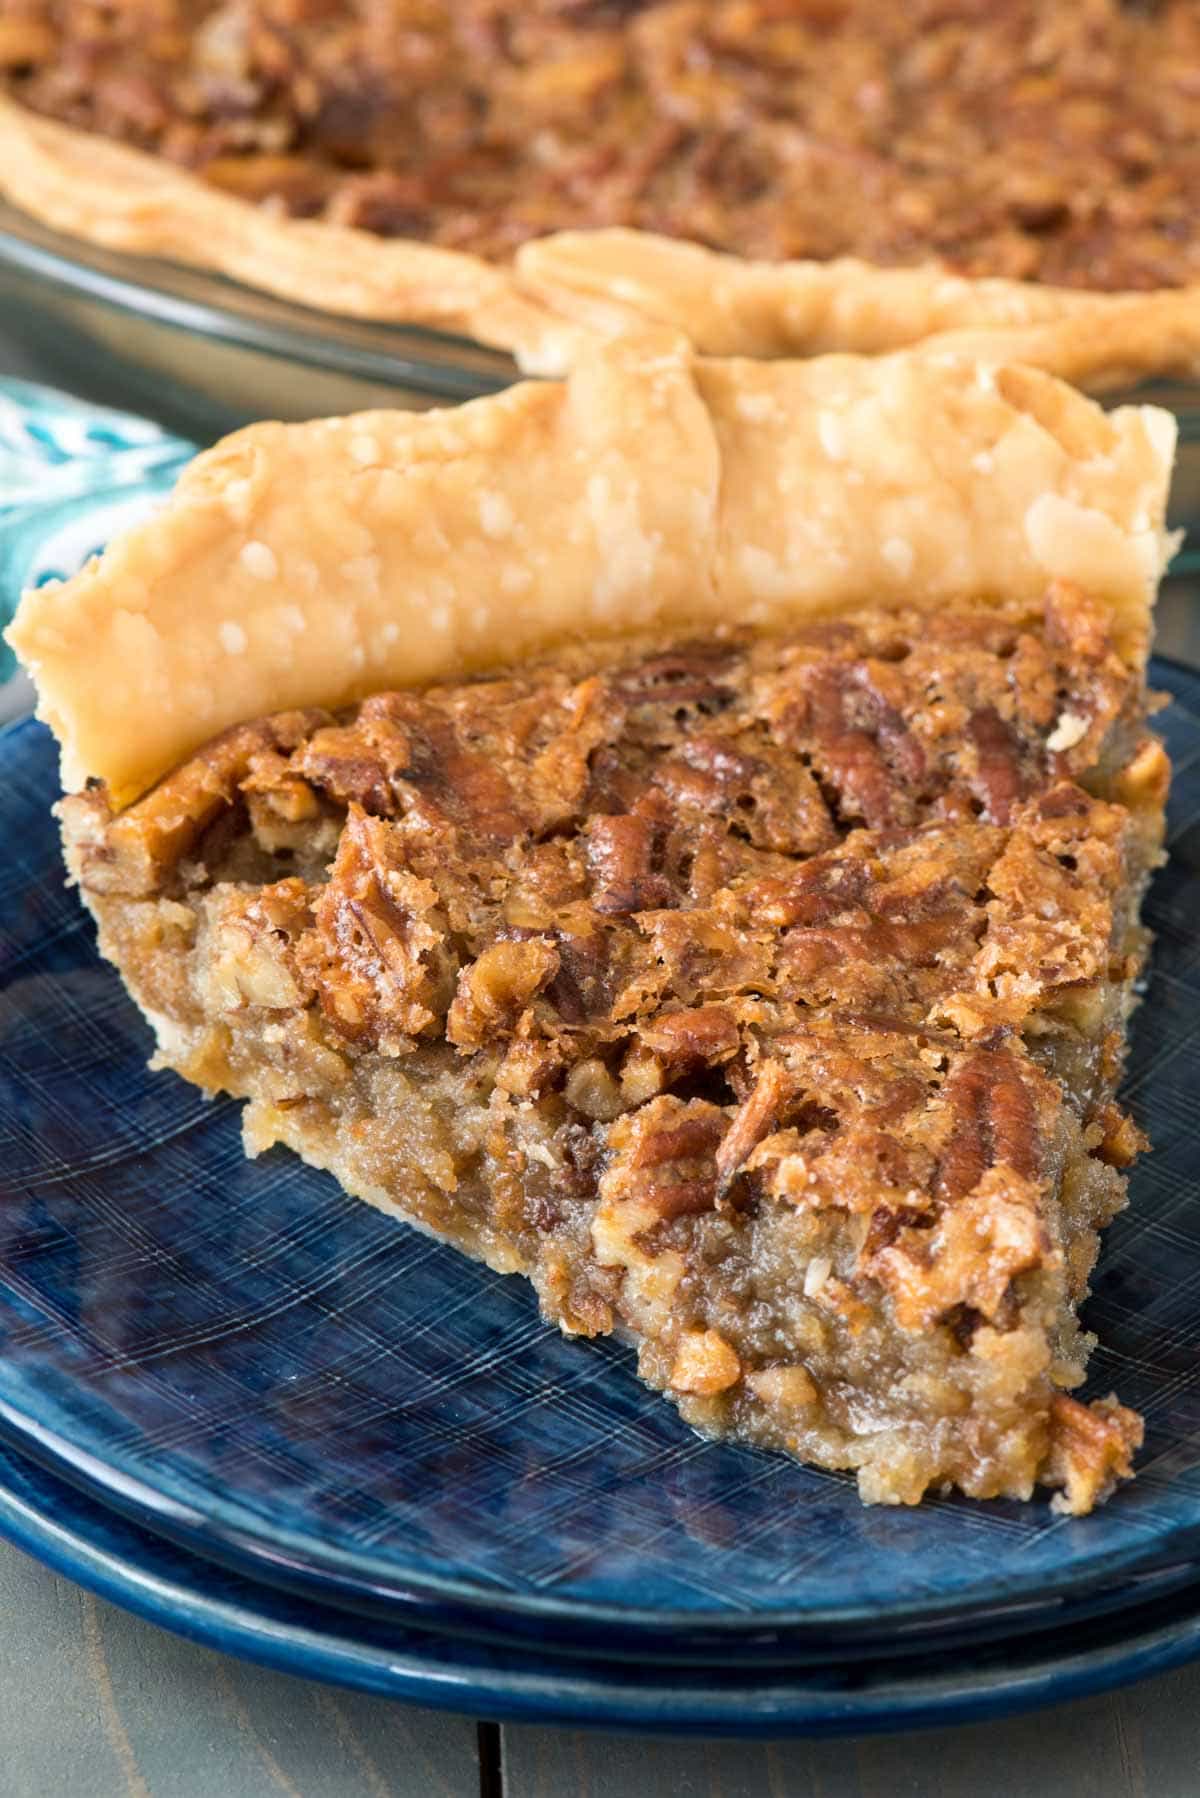
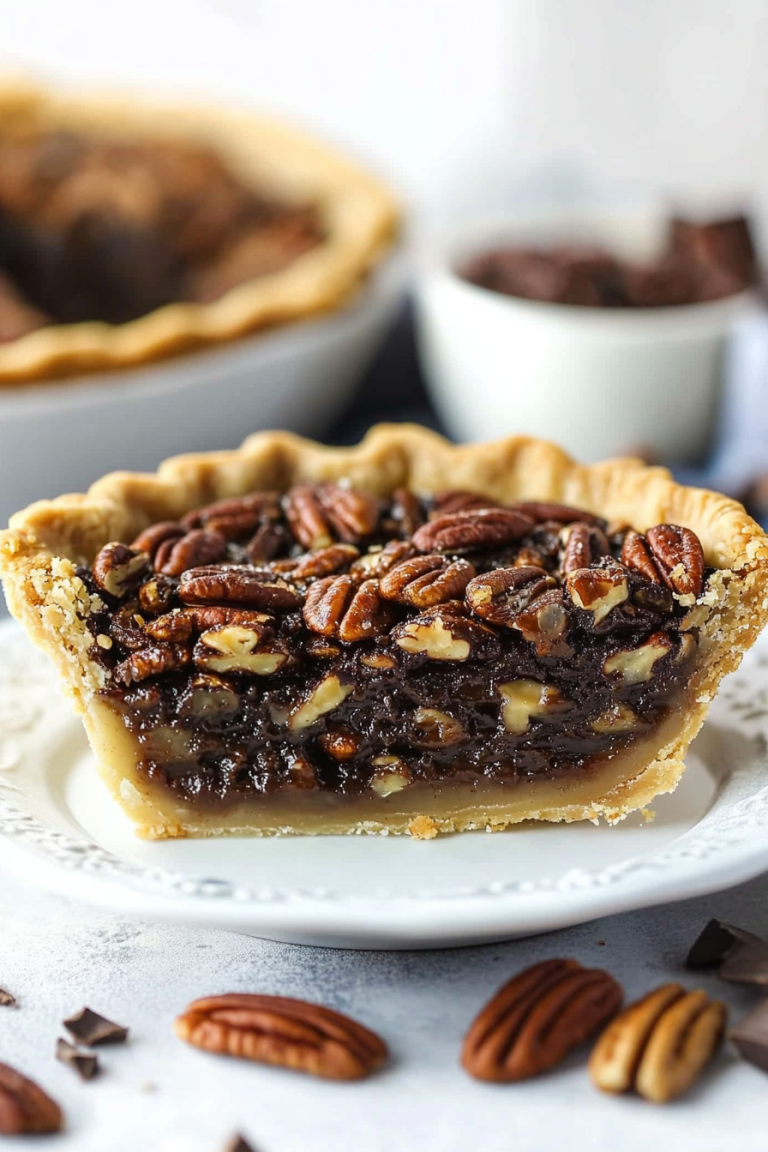
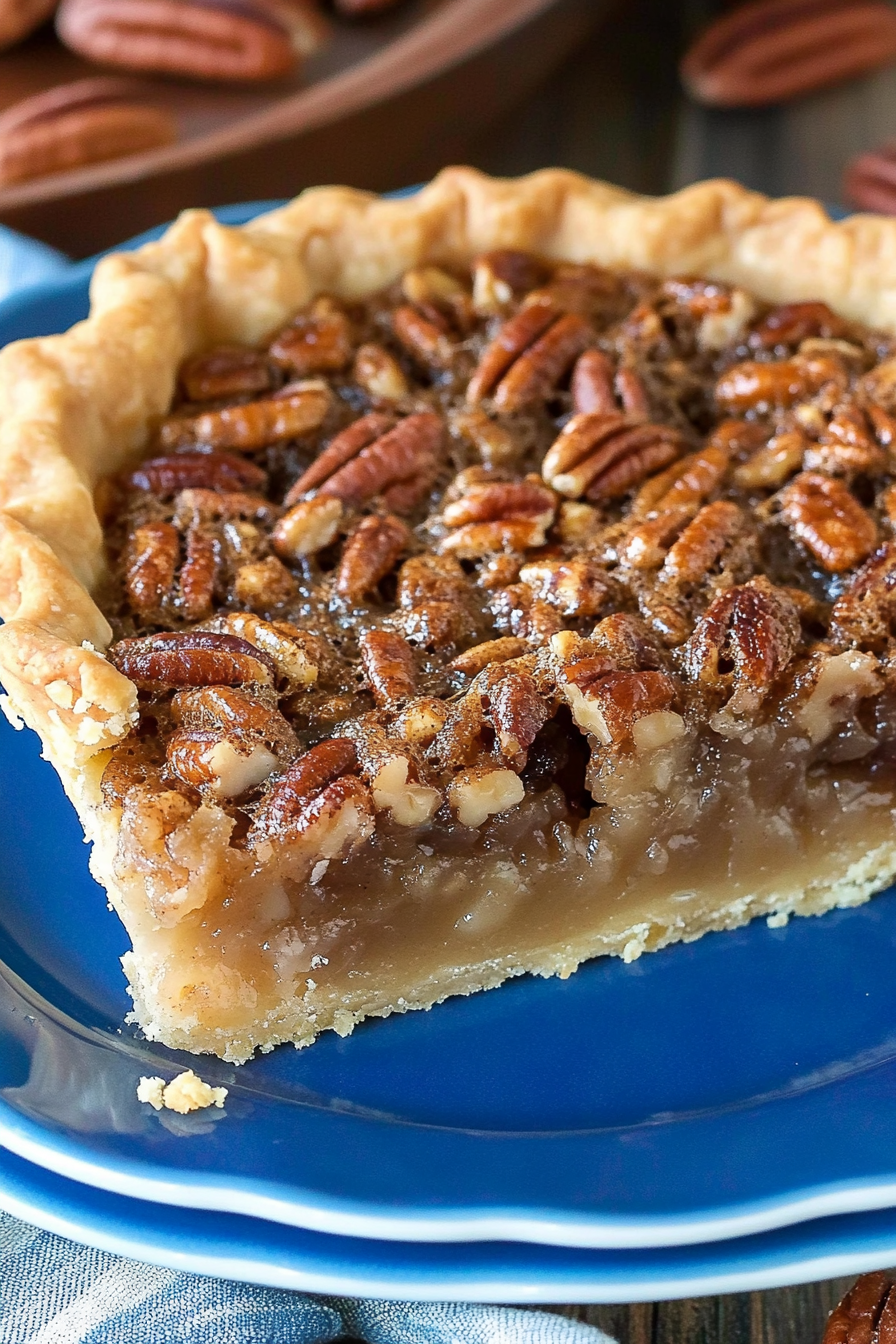
Brown Sugar Pecan Pie
Ingredients
Method
- Preheat oven to 400°F (200°C).
- Place the pie crust in a 9-inch pie pan and crimp the edges as desired. Chill until ready to fill.
- In a large bowl, whisk together the brown sugar, granulated sugar, melted butter, salt, eggs, flour, milk, and vanilla until smooth. Stir in the chopped pecans.
- Pour the filling into the prepared pie crust. Cover the edges of the pie crust with foil or a pie crust shield to prevent over-browning. Bake for 10 minutes at 400°F (200°C).
- Reduce the oven temperature to 350°F (175°C) and bake for an additional 30-40 minutes, or until the center is only slightly jiggly and the edges are set. Cool completely on a wire rack before slicing and serving.