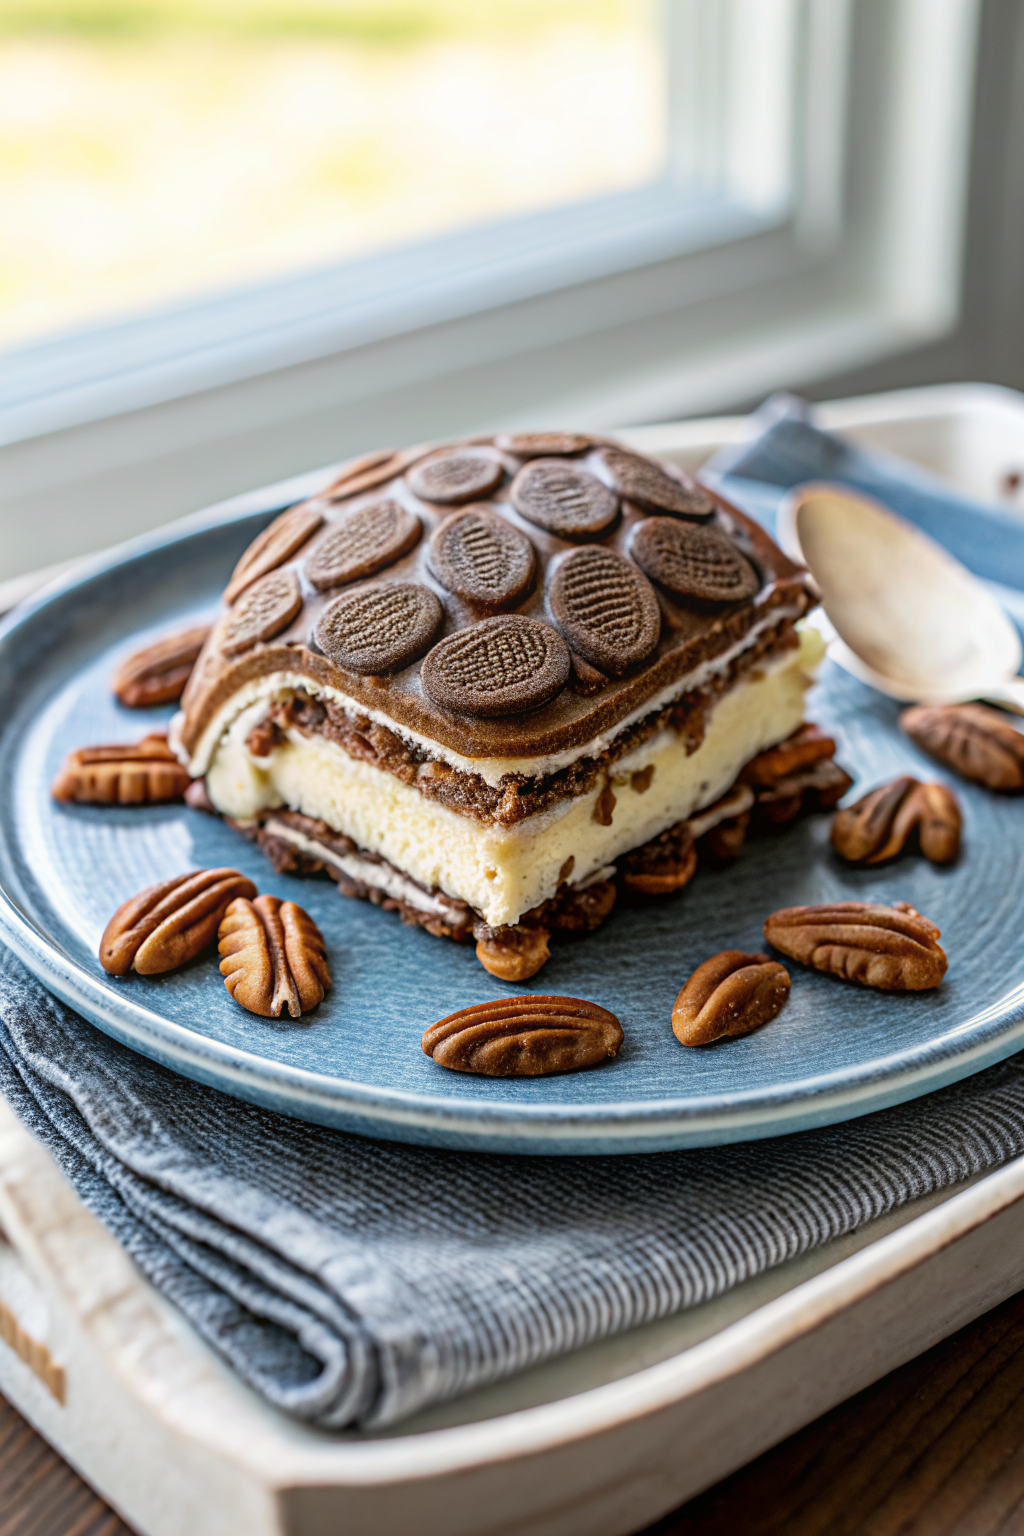
Turtle Ice Cream Sandwich Cake
Turtle Ice Cream Sandwich Cake
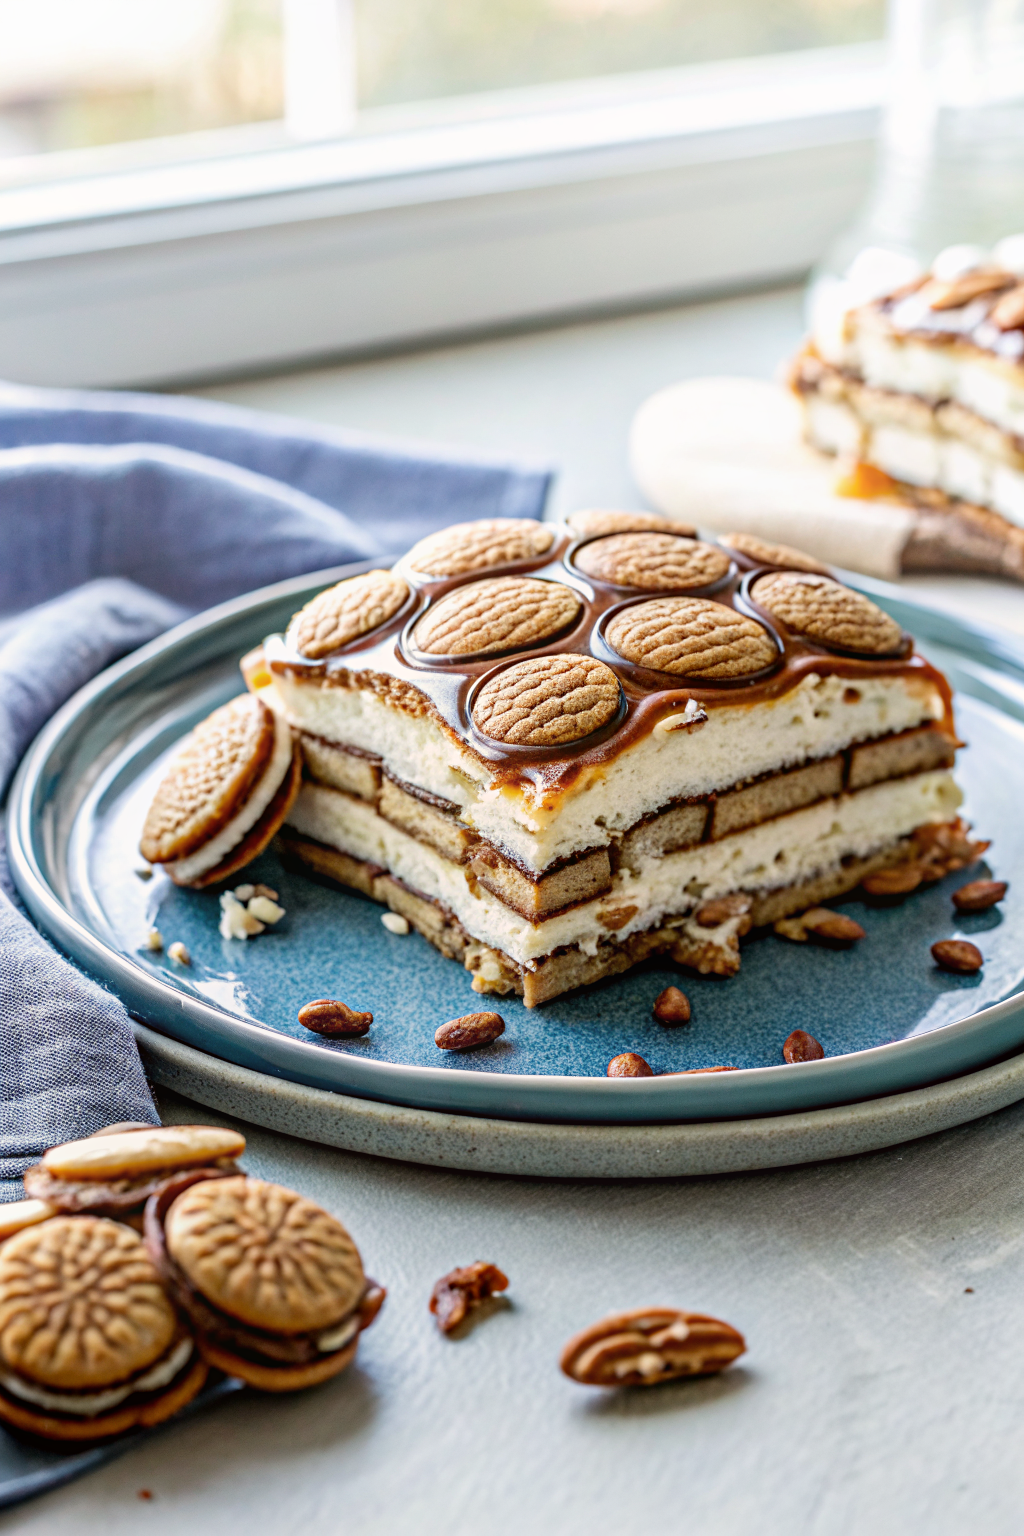
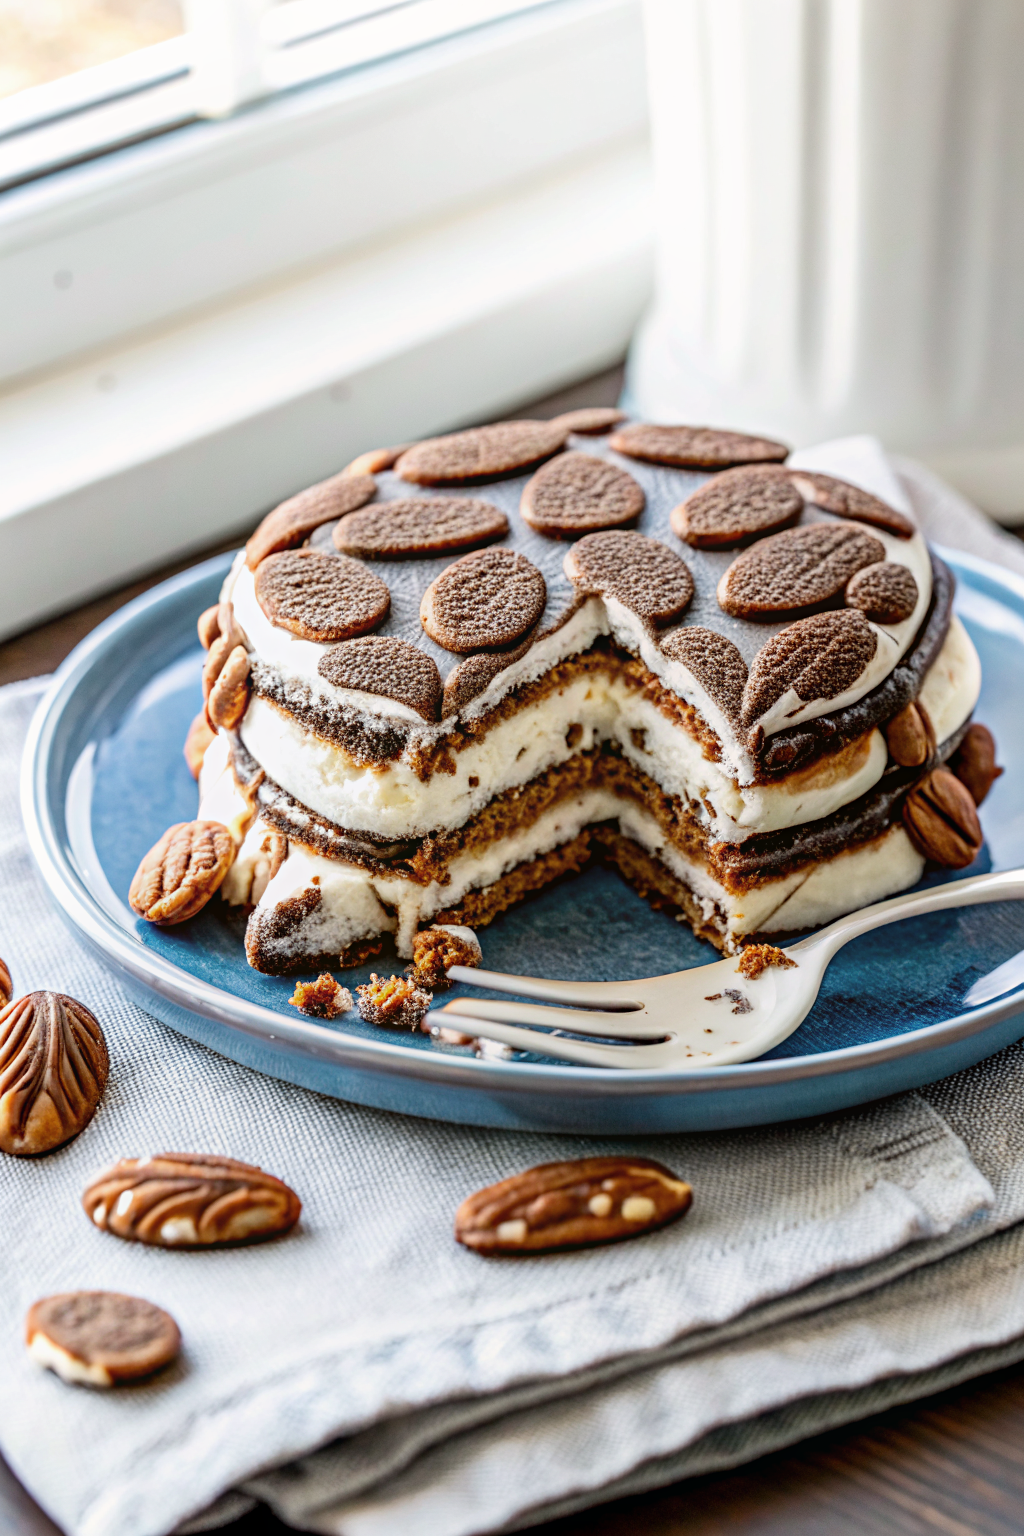
Oh, sweet summertime magic—this Turtle Ice Cream Sandwich Cake is everything I love about decadent desserts but with zero oven time and maximum joy. Picture layers of soft vanilla ice cream sandwiches, swirled with gooey chocolate and caramel sauces, topped with crunchy pecans and mini chocolate chips. It’s creamy, it’s crunchy, it’s sweet without being overwhelming… and honestly? It feels like a hug in dessert form. I first made this for a family picnic last July, and by the second slice, everyone was asking for the recipe. Seriously—it’s that good. The best part? No baking required. Just grab your favorite ice cream sandwiches, a few pantry staples, and let the freezer do the rest. Trust me when I say this will become your new go-to party dessert—or your secret midnight snack. You won’t believe how simple it is to impress anyone (including yourself!) with this crowd-pleaser.
What Is Turtle Ice Cream Sandwich Cake?
This no-bake treat takes the classic candy bar flavor profile—think caramel, chocolate, and nuts—and transforms it into a dreamy frozen cake using store-bought or homemade ice cream sandwiches as its base. Each bite delivers that beloved combo you know and love: smooth vanilla ice cream sandwiched between soft cookies, all layered with silky Cool Whip, rich chocolate drizzle, sticky caramel, and toasted pecans. It’s essentially a grown-up version of a childhood favorite, reimagined for adults who still crave those nostalgic flavors but want something more elegant and shareable. Because let’s be real—who doesn’t want their Turtles served on a platter instead of straight from the wrapper?
Why You’ll Love This Recipe
If you’re tired of complicated desserts that take hours in the kitchen, this one’s your answer. With just five core ingredients and minimal prep, you can have this showstopper ready in under 20 minutes—then let the freezer work its magic for 3 to 4 hours. It’s perfect for summer potlucks, last-minute guests, or whenever you need something sweet without sacrificing flavor. Kids absolutely adore helping assemble it (they especially love the drizzling part!), and adults appreciate that it doesn’t require fancy techniques or specialty equipment. Plus, it travels beautifully, so whether you’re taking it to a barbecue or serving it at home, it always looks as good as it tastes. And since it freezes well, you can actually make it ahead of time—just keep it covered until you’re ready to dig in. Honestly, there’s no reason not to try this now.
How to Make Turtle Ice Cream Sandwich Cake
Quick Overview
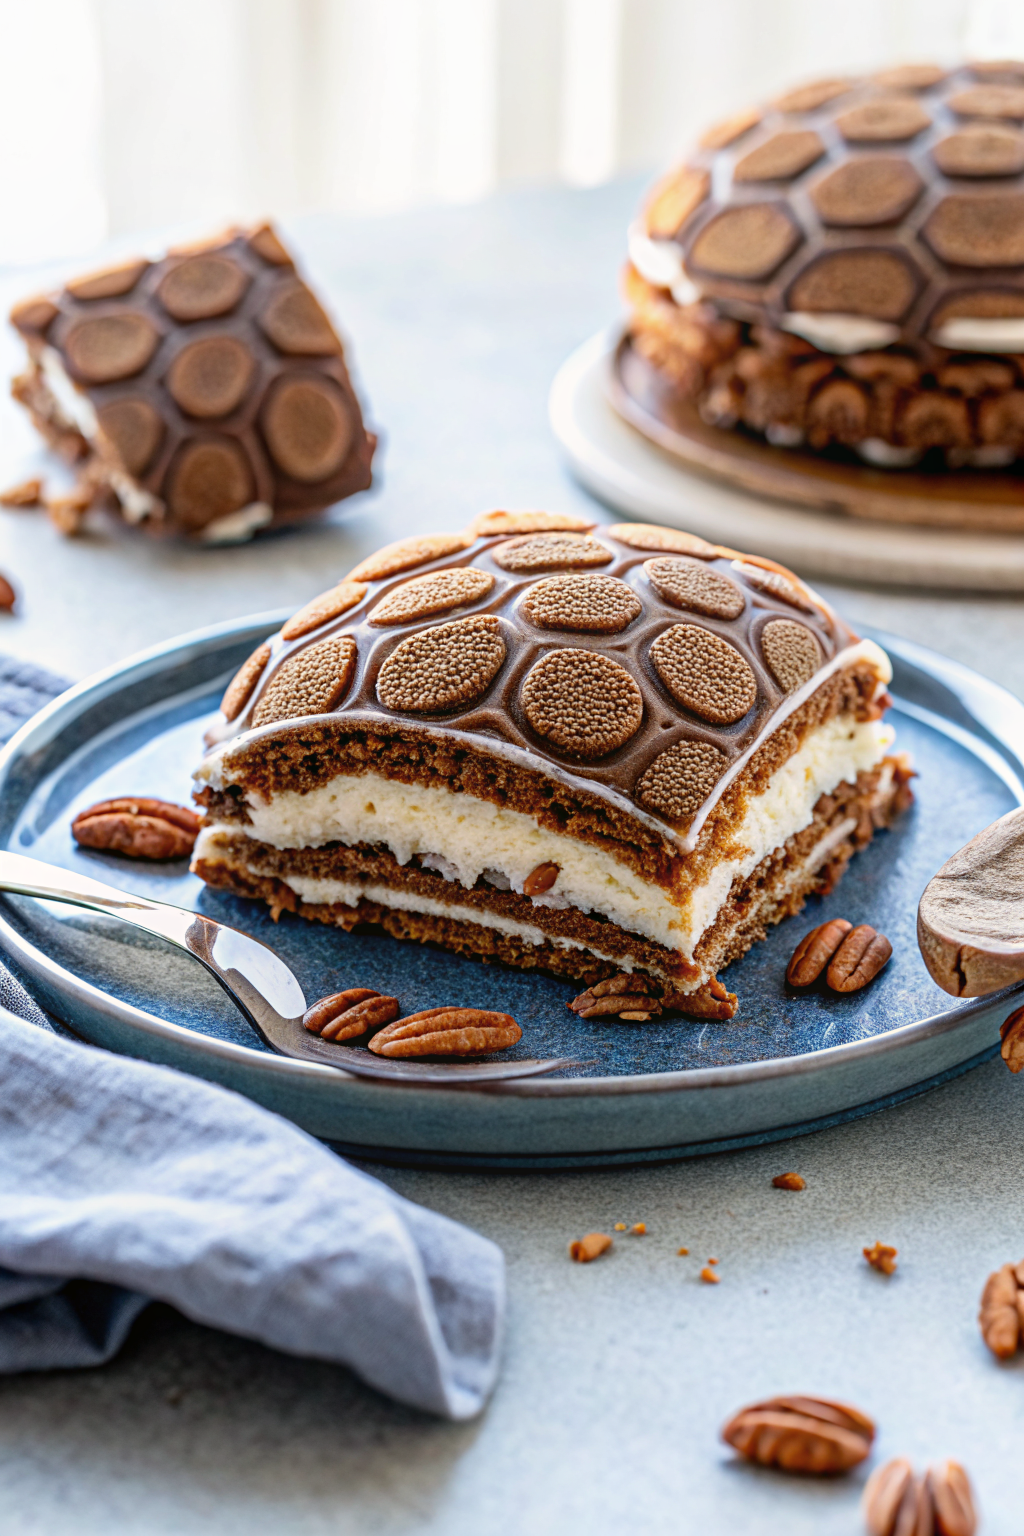
Assemble layers of ice cream sandwiches, Cool Whip, chocolate and caramel sauces, pecans, and chocolate chips in a 9×13-inch pan. Freeze for 3 to 4 hours until firm, then slice into squares. That’s it! This dessert comes together faster than you can say “more please,” making it ideal for spontaneous gatherings or when you simply want something indulgent without the fuss.
Ingredients
- 24 vanilla ice cream sandwiches
- 16 oz thawed Cool Whip
- ½ cup chocolate sauce
- ½ cup caramel sauce
- ½ cup chopped pecans
- ⅓ cup mini chocolate chips
Step-by-Step Instructions
- Line the bottom of a 9×13-inch pan with 12 ice cream sandwiches. If needed, slice a couple to fit snugly.
- Spread half of the Cool Whip evenly over the ice cream sandwich layer.
- Drizzle ¼ cup of chocolate sauce followed by ¼ cup of caramel sauce over the Cool Whip. Sprinkle half the pecans and half the chocolate chips on top.
- Repeat these steps with the remaining ice cream sandwiches, Cool Whip, sauces, pecans, and chocolate chips.
- Cover loosely with aluminum foil and freeze for 3 to 4 hours before serving. Slice into squares and enjoy!
What to Serve It With
Paired with a scoop of cold chocolate ice cream on the side, this cake becomes even more irresistible. For extra decadence, serve alongside a warm slice of chocolate cake or a handful of crushed Oreos. A dollop of peanut butter magic shell topping adds a delightful contrast, while a glass of milk or iced coffee completes the experience perfectly.
Top Tips for Perfecting Your Turtle Ice Cream Sandwich Cake
- Thaw the Cool Whip first: Make sure it’s softened slightly so it spreads smoothly—not too runny, but definitely not stiff.
- Use quality sauces: Whether store-bought or homemade, choose thick, pourable chocolate and caramel sauces for best results.
- Slice cleanly: Run a sharp knife under hot water, wipe it dry, and cut between layers for neat squares.
- Make it nut-free: Swap pecans for crushed pretzels or omit them entirely if needed.
- Customize the flavor: Try brownie or Neapolitan ice cream sandwiches for a fun twist.
Storing and Reheating Tips
Store leftovers tightly covered in the freezer for up to 7 days. When ready to serve, let slices sit at room temperature for 5–10 minutes to soften slightly—but don’t leave them out too long, or they’ll melt. Avoid reheating; just enjoy frozen for that classic icy texture.
Frequently Asked Questions
Final Thoughts
This Turtle Ice Cream Sandwich Cake isn’t just a dessert—it’s a moment of pure happiness captured in every bite. Whether you’re sharing it with loved ones or treating yourself after a long day, it brings people together in the most delicious way. I hope you give it a try soon. And if you do? Let me know how it turns out—I’d love to hear from you. Happy scooping!
Turtle Ice Cream Sandwich Cake
Ingredients
Method
- Line the bottom of a 9x13 inch pan with 12 ice cream sandwiches. You may need to slice one or two sandwiches to fit all into the pan.
- Spread half of the Cool Whip over the ice cream sandwich layer.
- Drizzle about 0.25 cup of the chocolate sauce over top of the Cool Whip followed by 0.25 cup of the caramel sauce. Sprinkle half of the pecans and half the chocolate chips over the top.
- Repeat the same steps with the remaining ingredients.
- Cover the baking dish loosely with aluminum foil and place in the freeze for 3 to 4 hours before serving. Slice into squares and enjoy.